v1605

joined 2 years ago
MODERATOR OF
 

I am currently in season 8, and had to build up one of these.


I've been watching Adventure Time so I had to do this build. BMO definitely needed the DMG form factor but I wanted the color screen so the DMGC was the perfect choice. https://github.com/MouseBiteLabs/Game-Boy-DMG-Color

[–] [email protected] 2 points 2 months ago (1 children)

No guide but it's pretty straightforward. I used this kit for the shell/screen/battery is here and the regulator is here. For the regulator, you should have some experience desoldering pins.

[–] [email protected] 1 points 3 months ago

I'm not aware of any that are kept reliability in stock. You can get new sticks, gears and bowls (plastic ones that will have the same problem over time, but much cheaper). I would get new sticks to go with these bowls. https://store.kitsch-bent.com/products/n64-joystick-thumbstick

[–] [email protected] 2 points 3 months ago

Thanks! Practice makes perfect


My most recent build. Removed the CPU and RAM from a very corroded board.

My post on Console Repair has some closer pictures of the soldering.

13
submitted 3 months ago* (last edited 3 months ago) by [email protected] to c/[email protected]
 

All the soldering was straight forward on this one. Just used j-tip iron with leaded plus lots of flux. The one pin that was partially corroded had enough left, so it only has to be bent back.

[–] [email protected] 3 points 3 months ago (2 children)

Ninten-drawer is a modern sliding replacement tray for the NES. It is more reliable than the cheap replacement 72 pin connector and doesn't have a death grip on the cartridge. https://youtu.be/4lpCNMxGW3s

N64 controller stick modules work by spinning rotary encoders as the stick moves. The stick is and the bowl (typo in title haha) that keeps it in place are made of plastic. Overtime, both the stick and the bowl wear down and get loose. Using a steal bowl with a new stick keeps the original feel with much less grinding.


Big news for N64 fans.

[–] [email protected] 2 points 3 months ago (1 children)

I get this is supposed to be a joke but why is it funny?

[–] [email protected] 3 points 3 months ago (3 children)

I like to take one step further and use a white pencil eraser followed by IPA. Helps get more of the dirt and oxidation off.

[–] [email protected] 2 points 3 months ago

I'm going to take the lazy approach approach and go with the funny playing board. I would also have to buy one of their slots anyway since this also had a few mangled pins.

[–] [email protected] 2 points 3 months ago (1 children)

I would swap the power supply over to the new board before doing anything like a towel fix (generally those don't last long term and risk damaging other parts of the system). It is possible to do reball yourself but it's some of the most advanced soldering you can do. This video shows a similar process around the 18min mark(the chip in this case is a PS5 ssd controller) https://m.youtube.com/watch?v=pJSheZ6A8Qo&t=671s&pp=2AGfBZACAQ%3D%3D

[–] [email protected] 2 points 3 months ago (3 children)

One thing to try is the washer fix. It probably wouldn't work long term but it could tell you if your APU needs to be reballed https://www.ifixit.com/Guide/PlayStation+4+Turns+On+Then+Back+Off+Repair/55599

[–] [email protected] 3 points 3 months ago

Definitely not spearmint, tastes too spicy

[–] [email protected] 1 points 3 months ago

I've had luck using kapton around plastic parts. The fresh solder really helps melt the components quicker. I also use a nozzle to help concentrate the heat in the area and prevent it from blowing directly on plastic parts. Depending on the board, you can go no nozzle and heat from below (which is how I replaced a PS5 ribbon connector).

[–] [email protected] 4 points 3 months ago (3 children)

Thanks. Hot air in this case. The process I use for this is to add fresh leaded solder, then some extra flux. After that, just keep moving around the hot air nozzle.


Definitely a donor board, the other side was worse (you can see the power switch to the right, it just fell off).


Had to replace this ribbon connector to get the drive working reliability again. It probably could have used a little more solder but everything is solid so I'm not messing with it further.


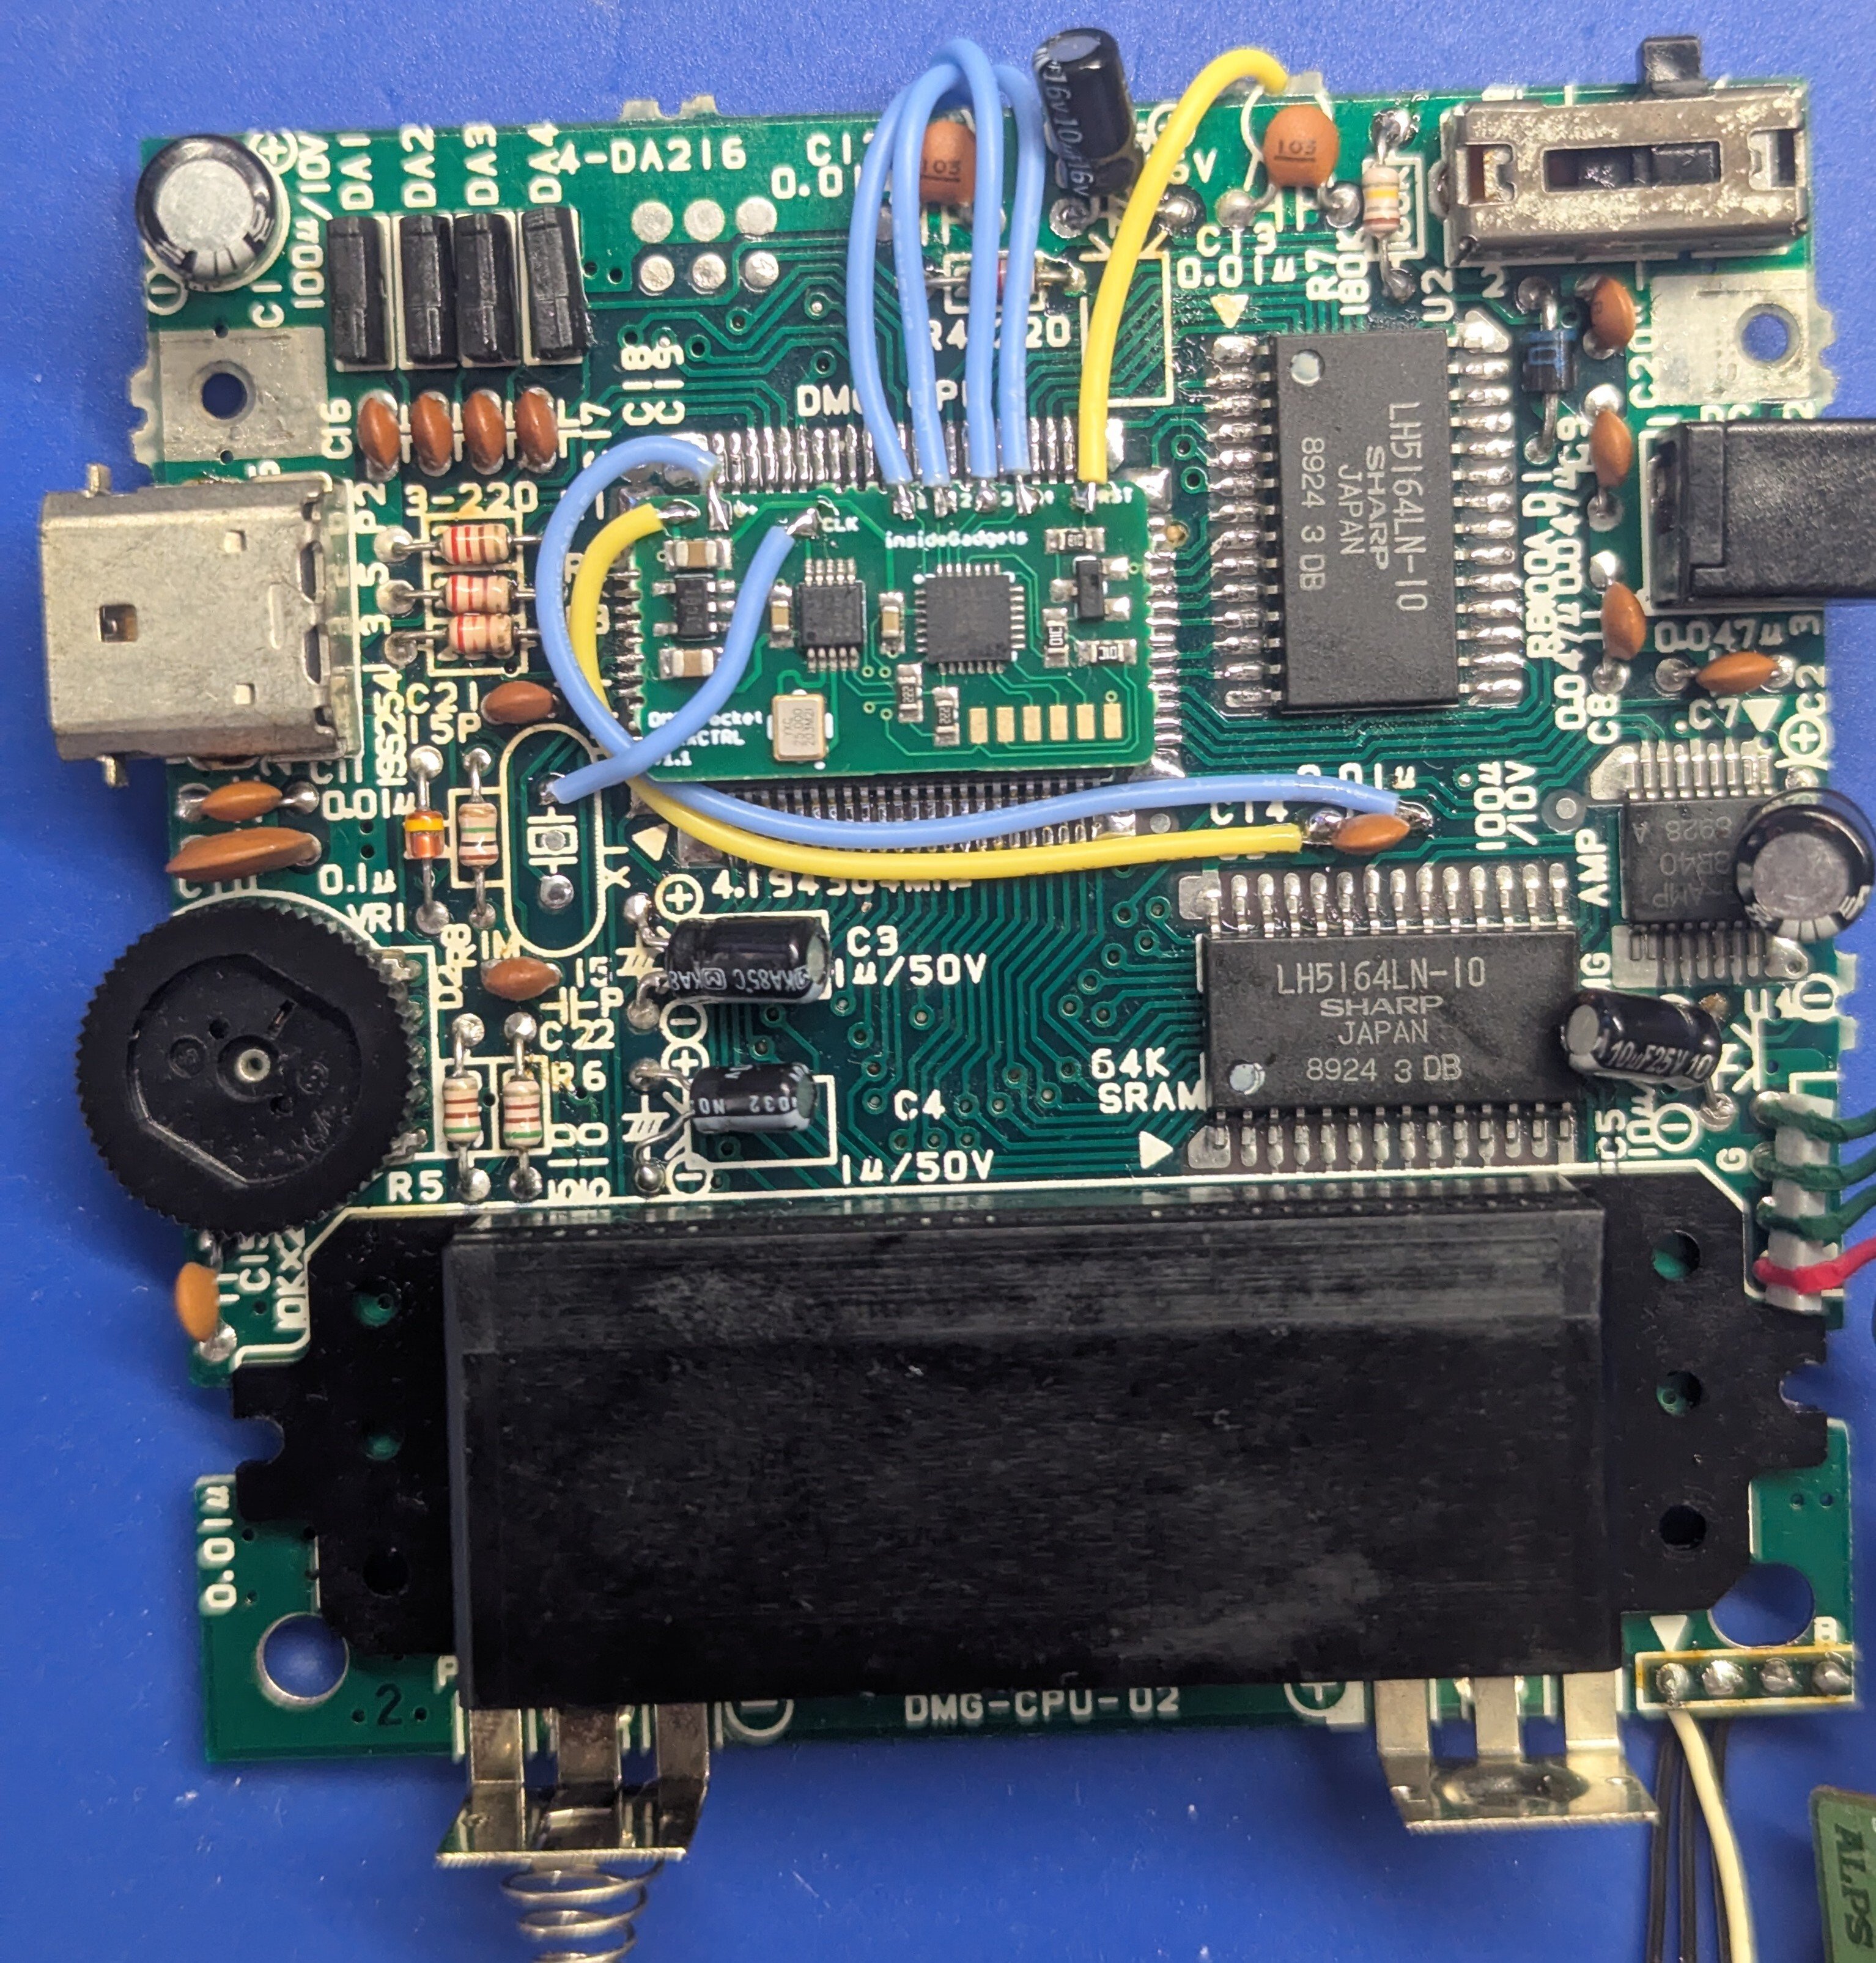
Installed this clock mod (over and under) into my SuperGameboy CPU modded Dmg. Now I can play games up to 1.5x faster with that faster boot time.


The CE is a lower power version of what is now called the 4k Pro. It is priced at $475, which puts it more in direct competition with the morph paired with a analogue bridge (I think that bundle would be $350ish). RetroRGB has a nice break down of the differences (link in the article).


cross-posted from: https://lemmy.world/post/23576994

No NFC, actually reading a file off the floppy drive


No NFC, actually reading a file off the floppy drive


I've made a python server script that can send serial commands to a connected usb serial device. I use this to control my retrotink 4k using a raspberrypi zero w, but it is generic enough that you could control other devices. In the readme, it shows how to setup a restful command.

view more: next ›