Unfinished Proje

130 readers
1 users here now

This is the graveyard of unfinished proje

the holy land of unwholely leet

This is a place for your vibrant work of progre...

Glory to the unshared,

to the dreams turned embarras...

To the moldy napkin thot,

that plant you forgot;

this is a place for spins, (when it shouldn't),

When the glass half full is a leak

any kind of un can be proje

If #todo you finish,

erors u fix,

proje you complet

GOOD 4U!

#todo write rules about not being an ass 4 code of conduct

(moderation policy light and invisible, you see something - flag it, this is your community first - a mod is just the lazy janit...

founded 10 months ago
MODERATORS
1


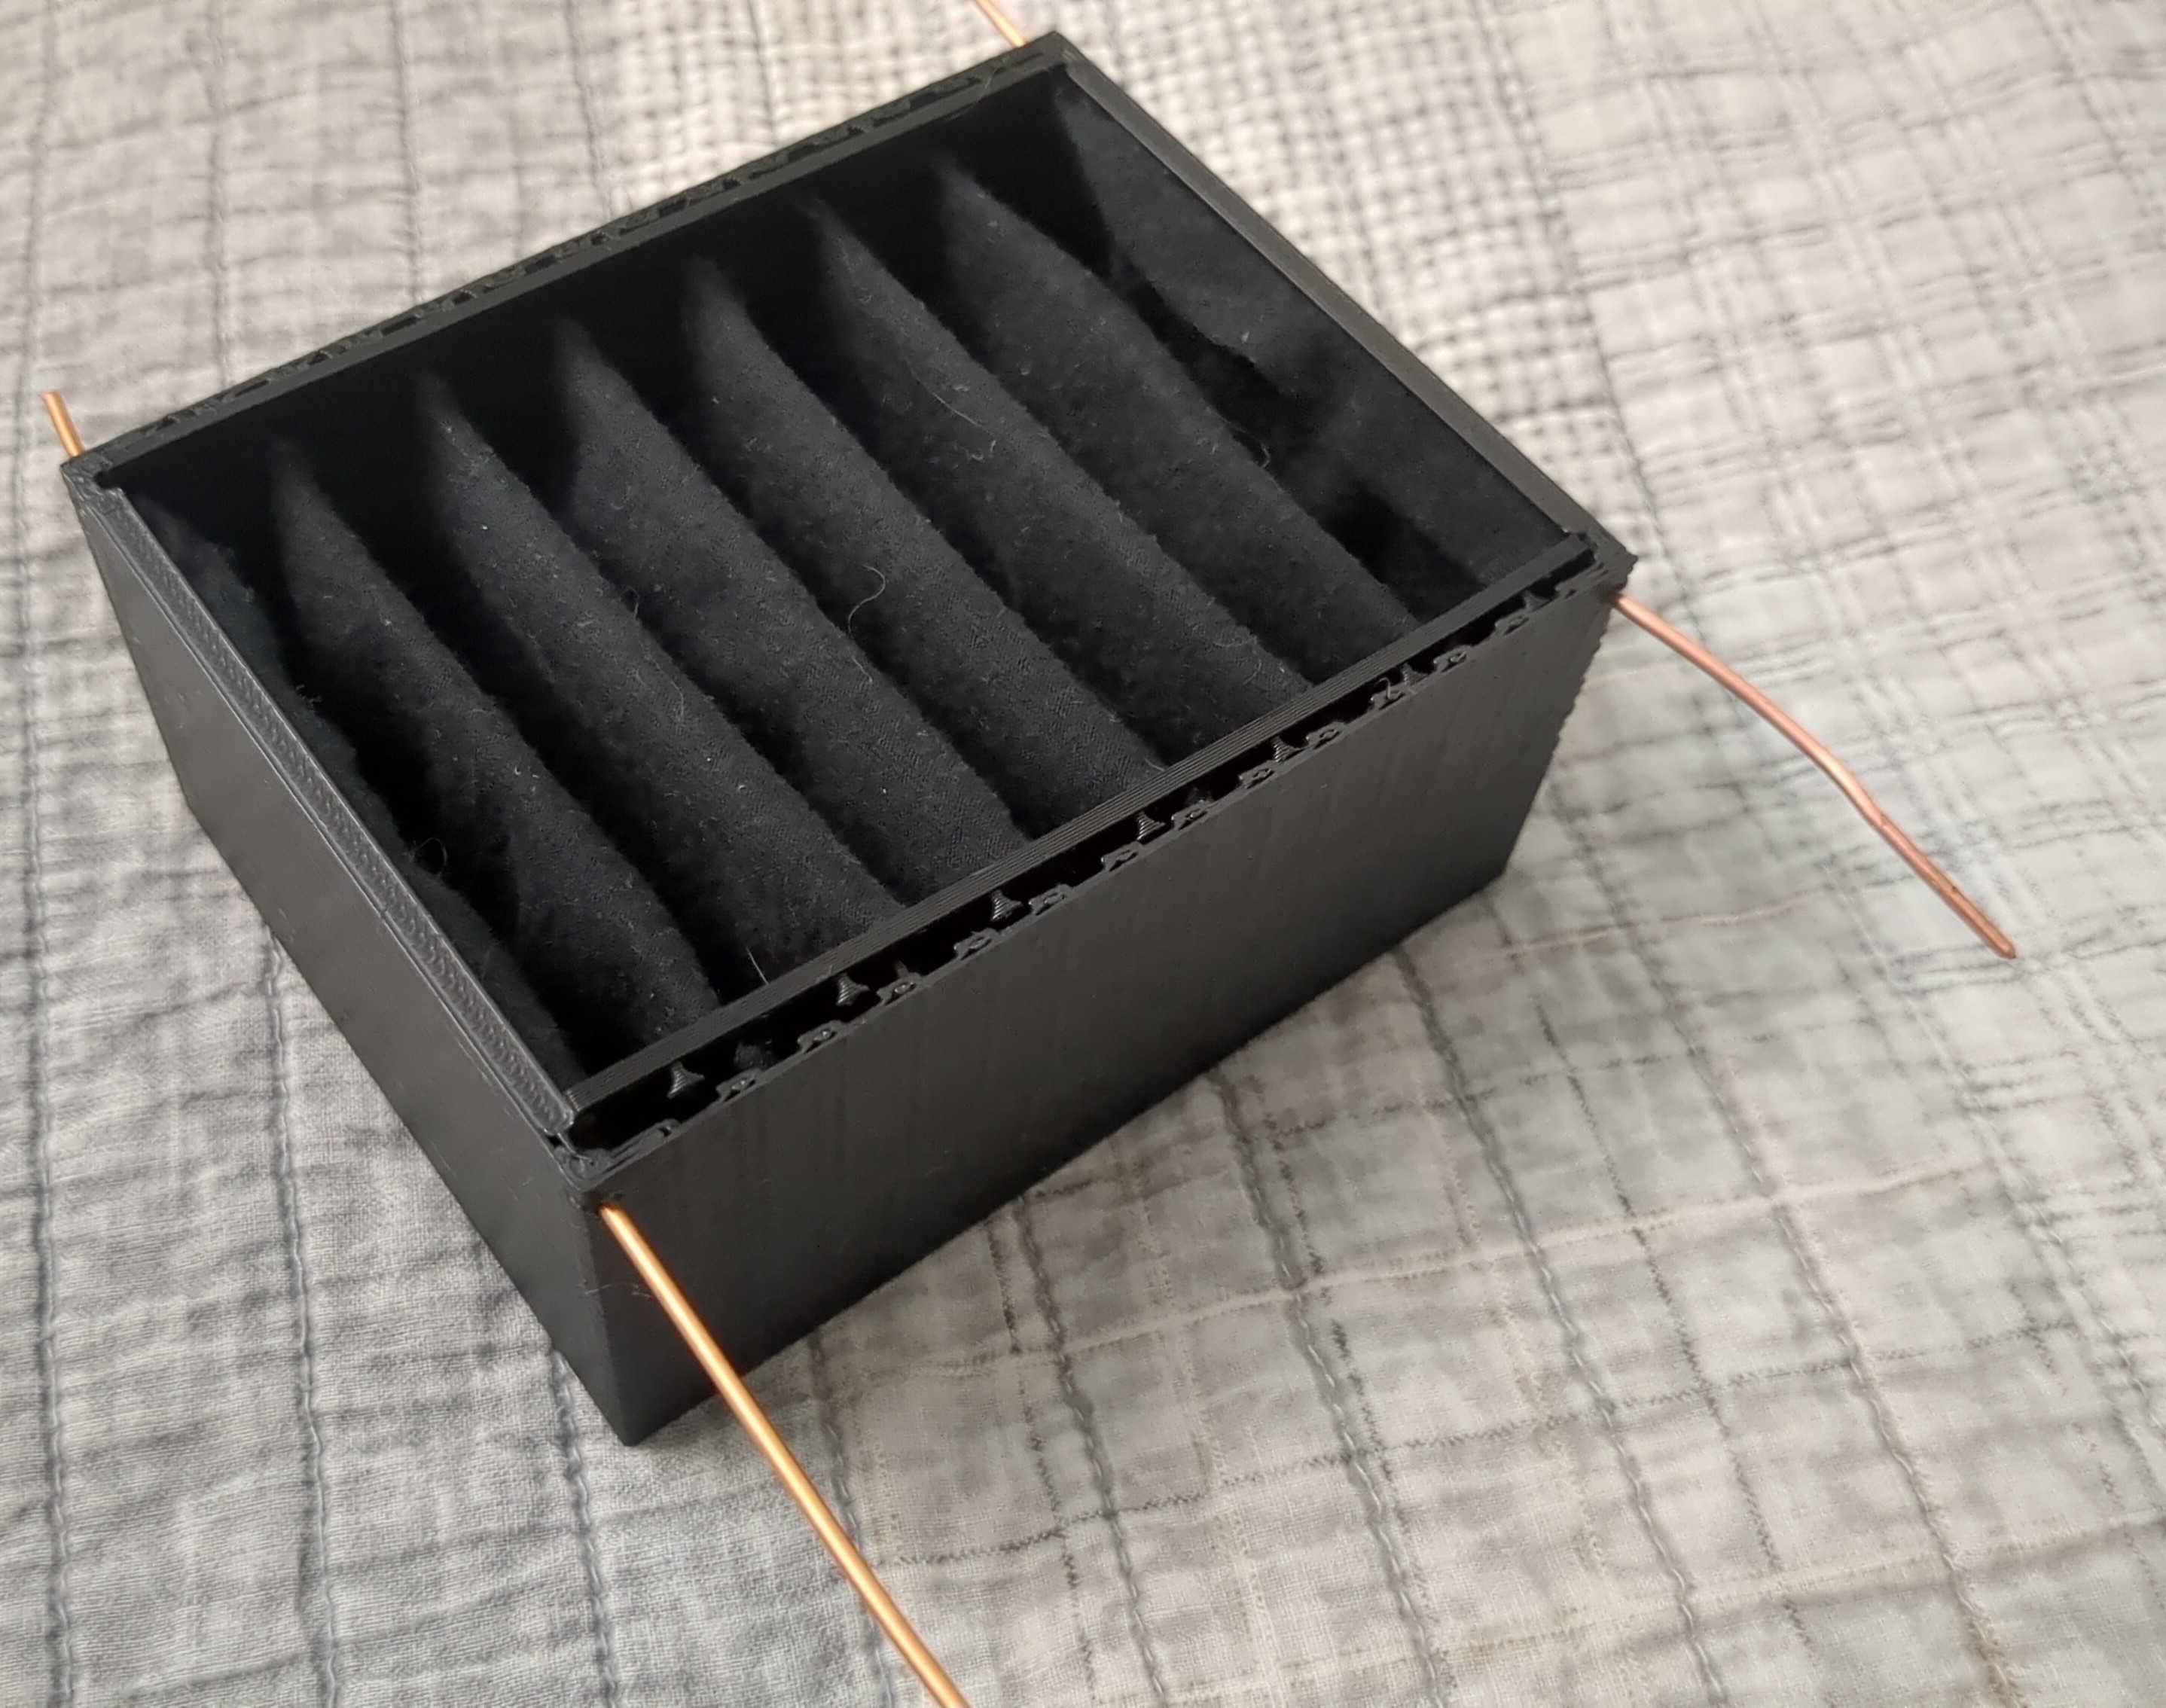
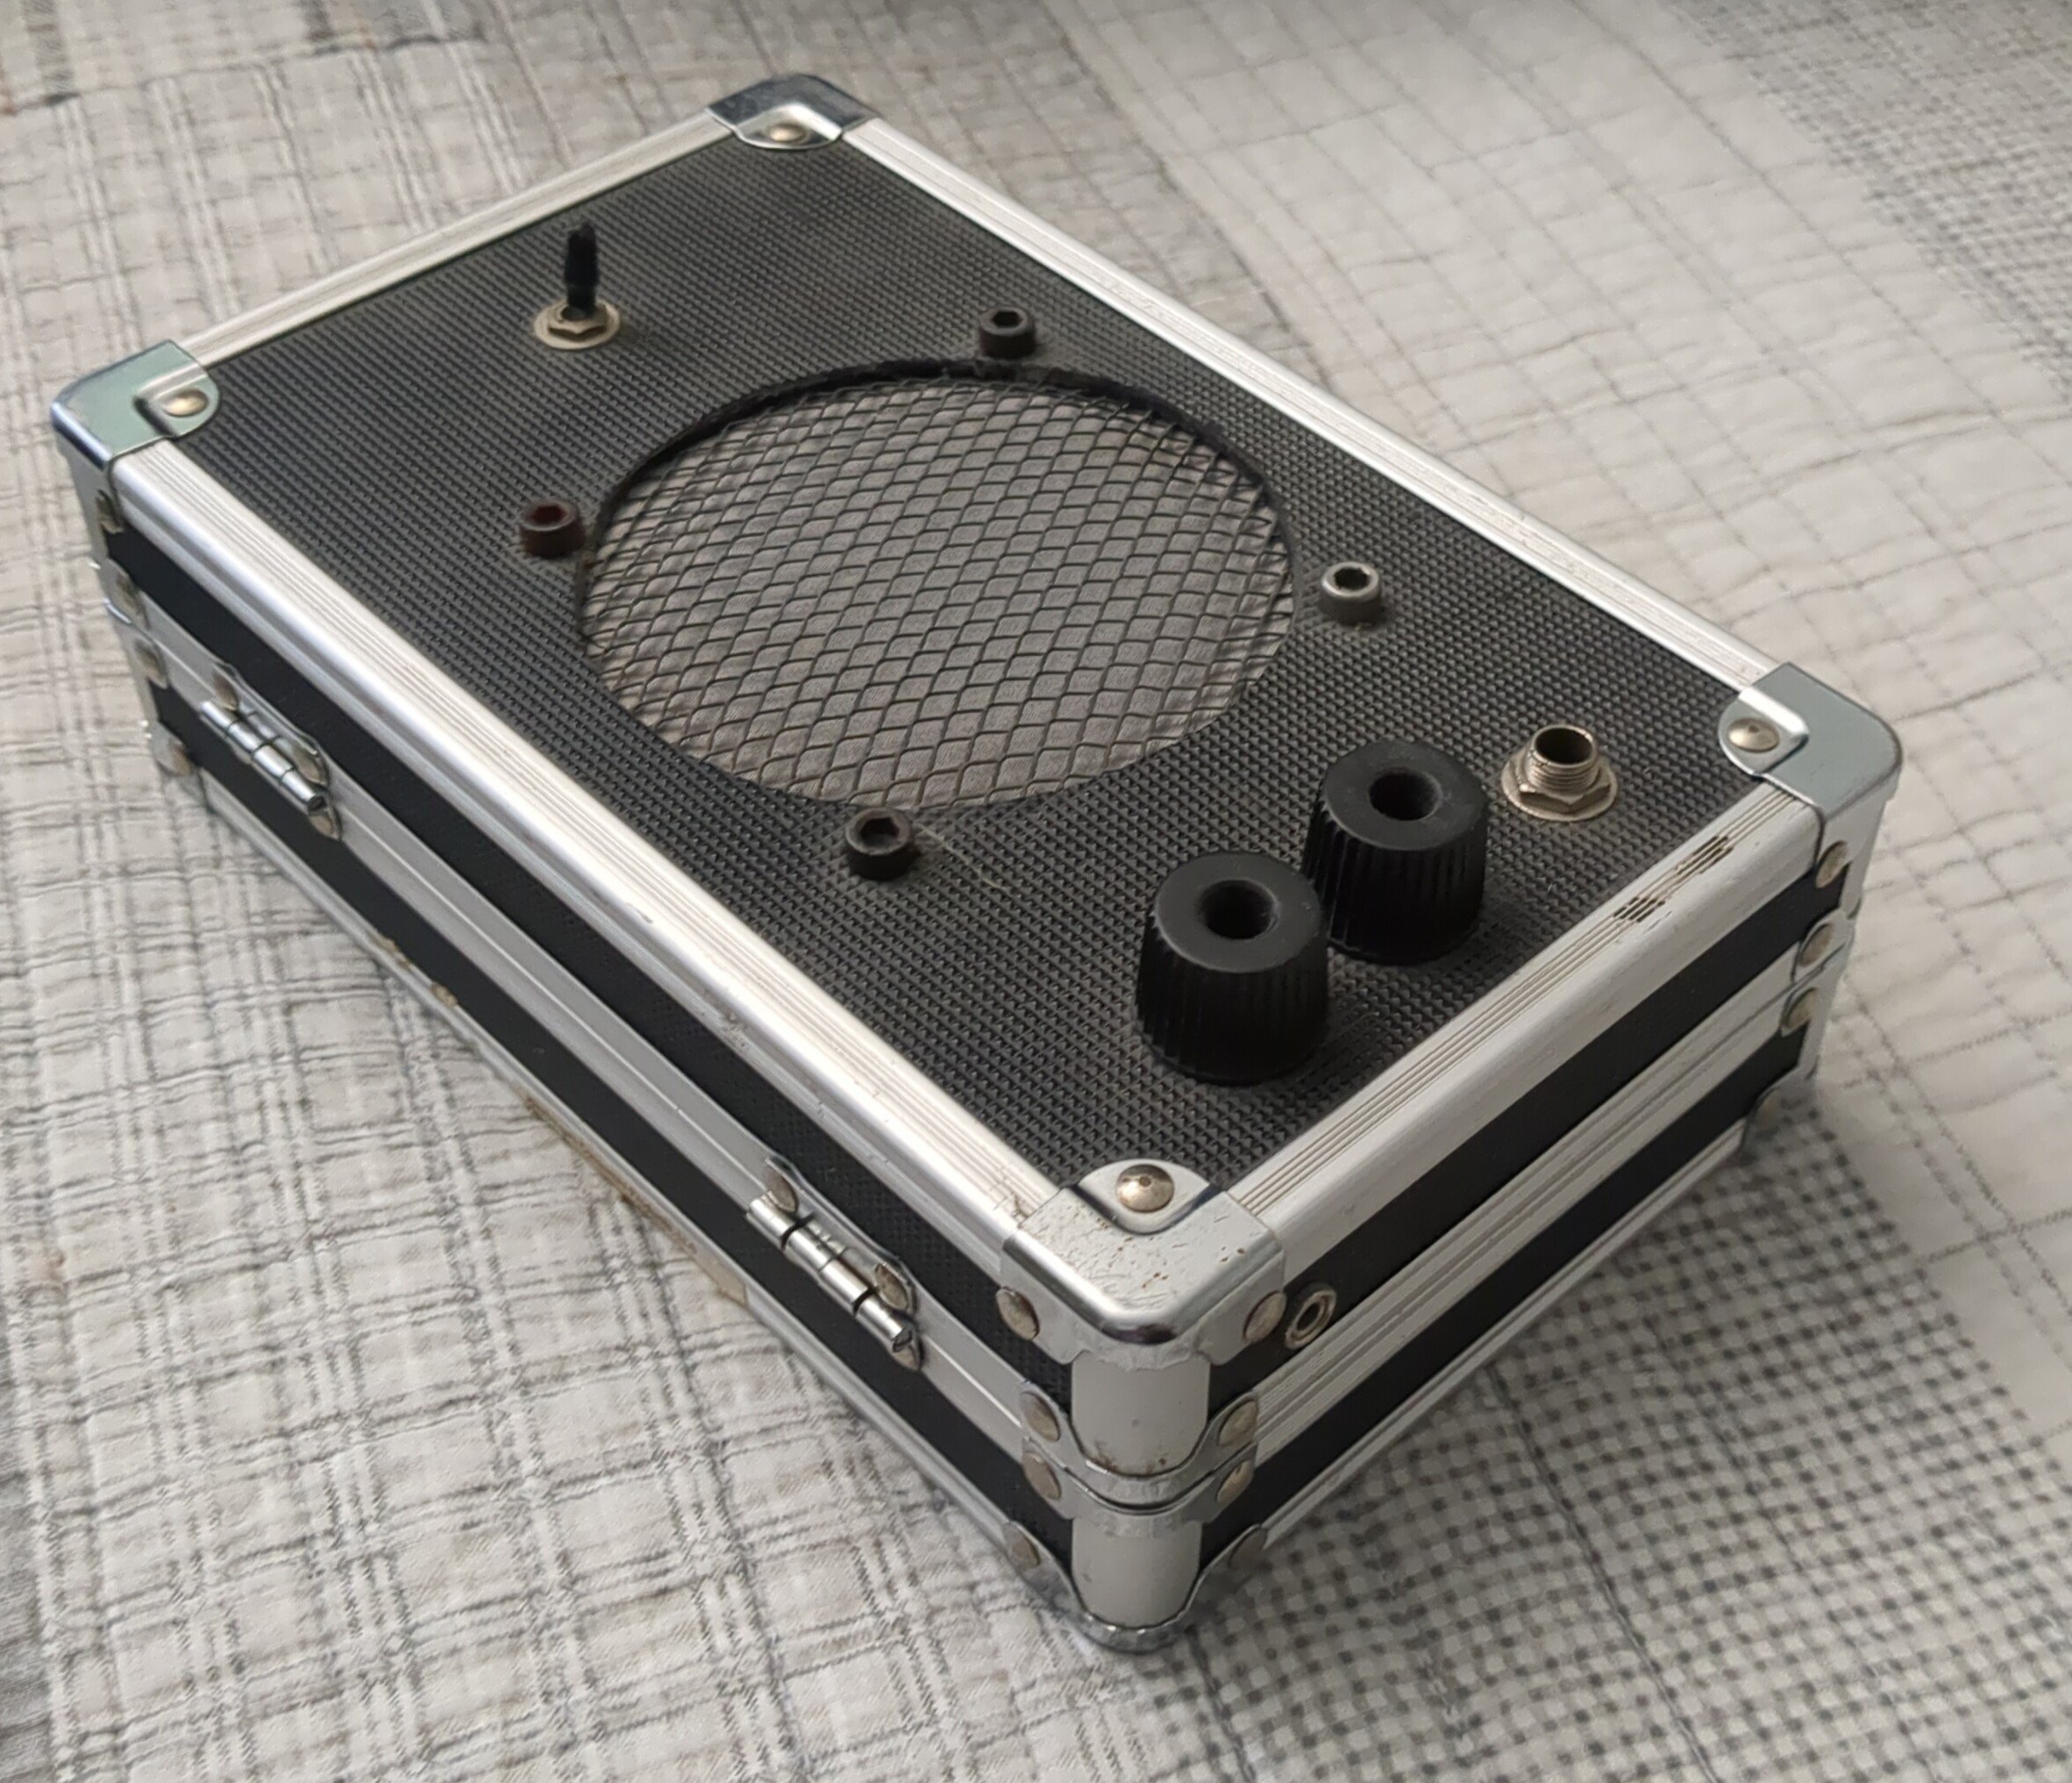
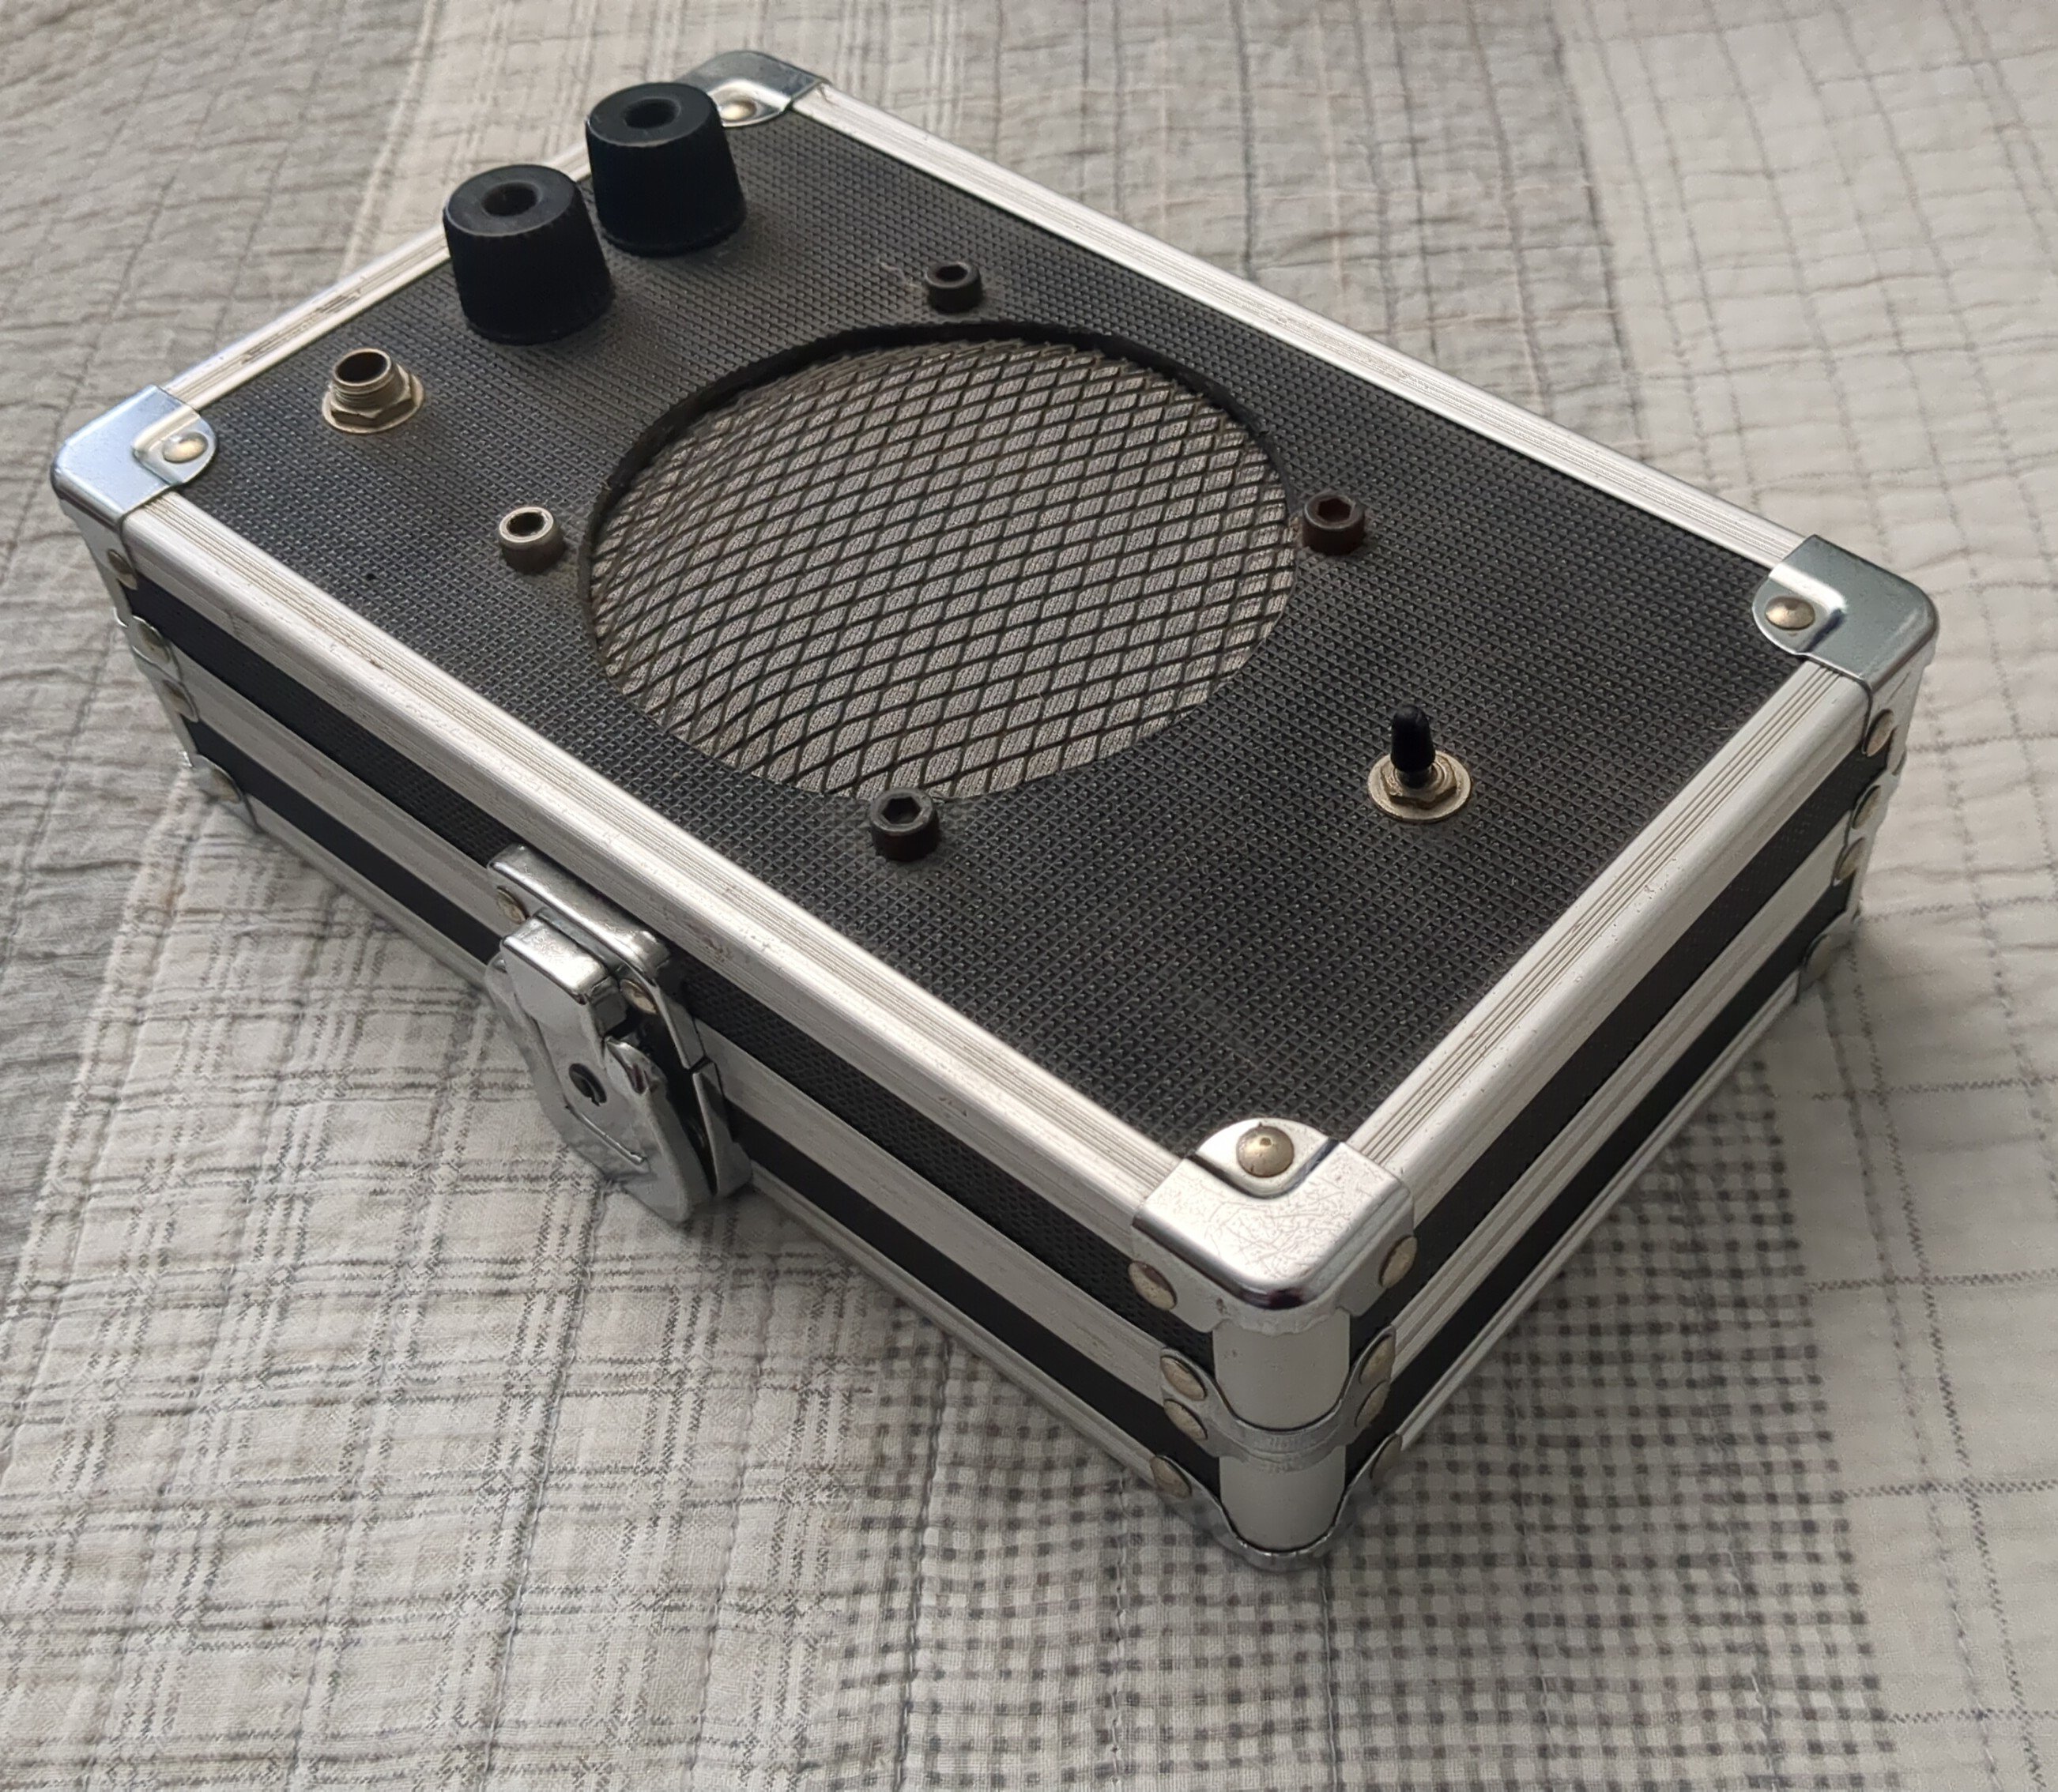
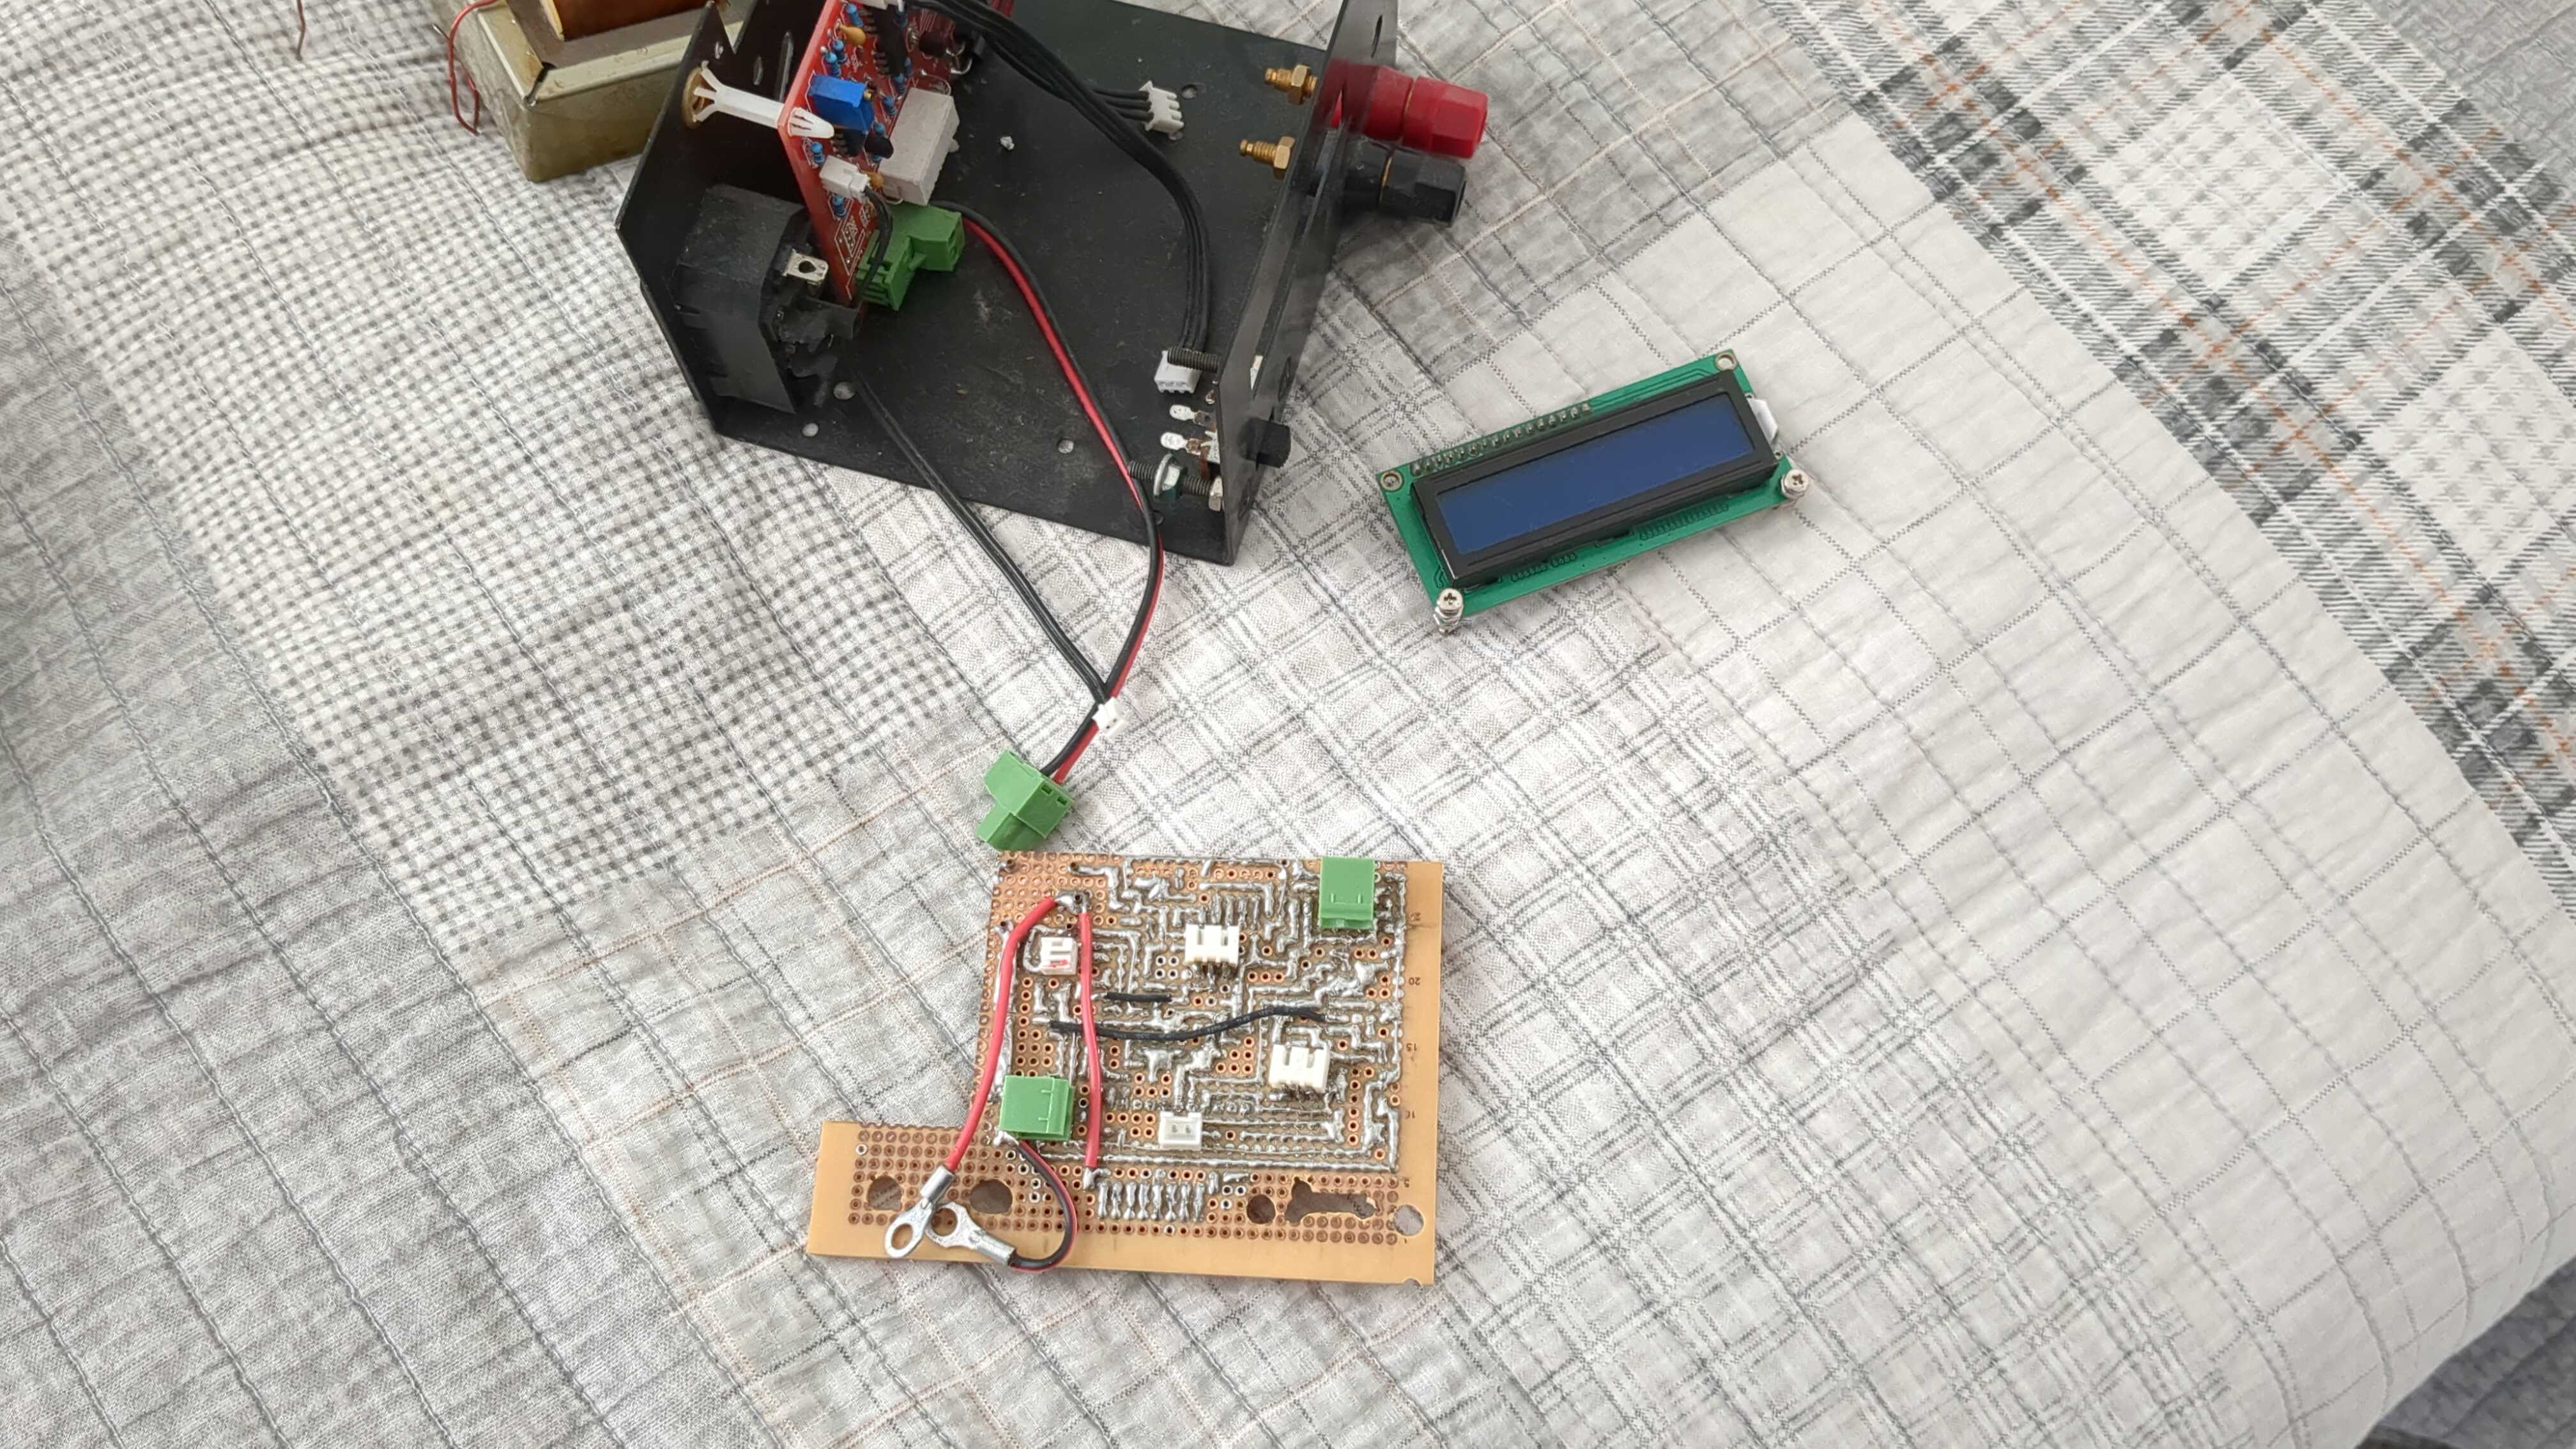
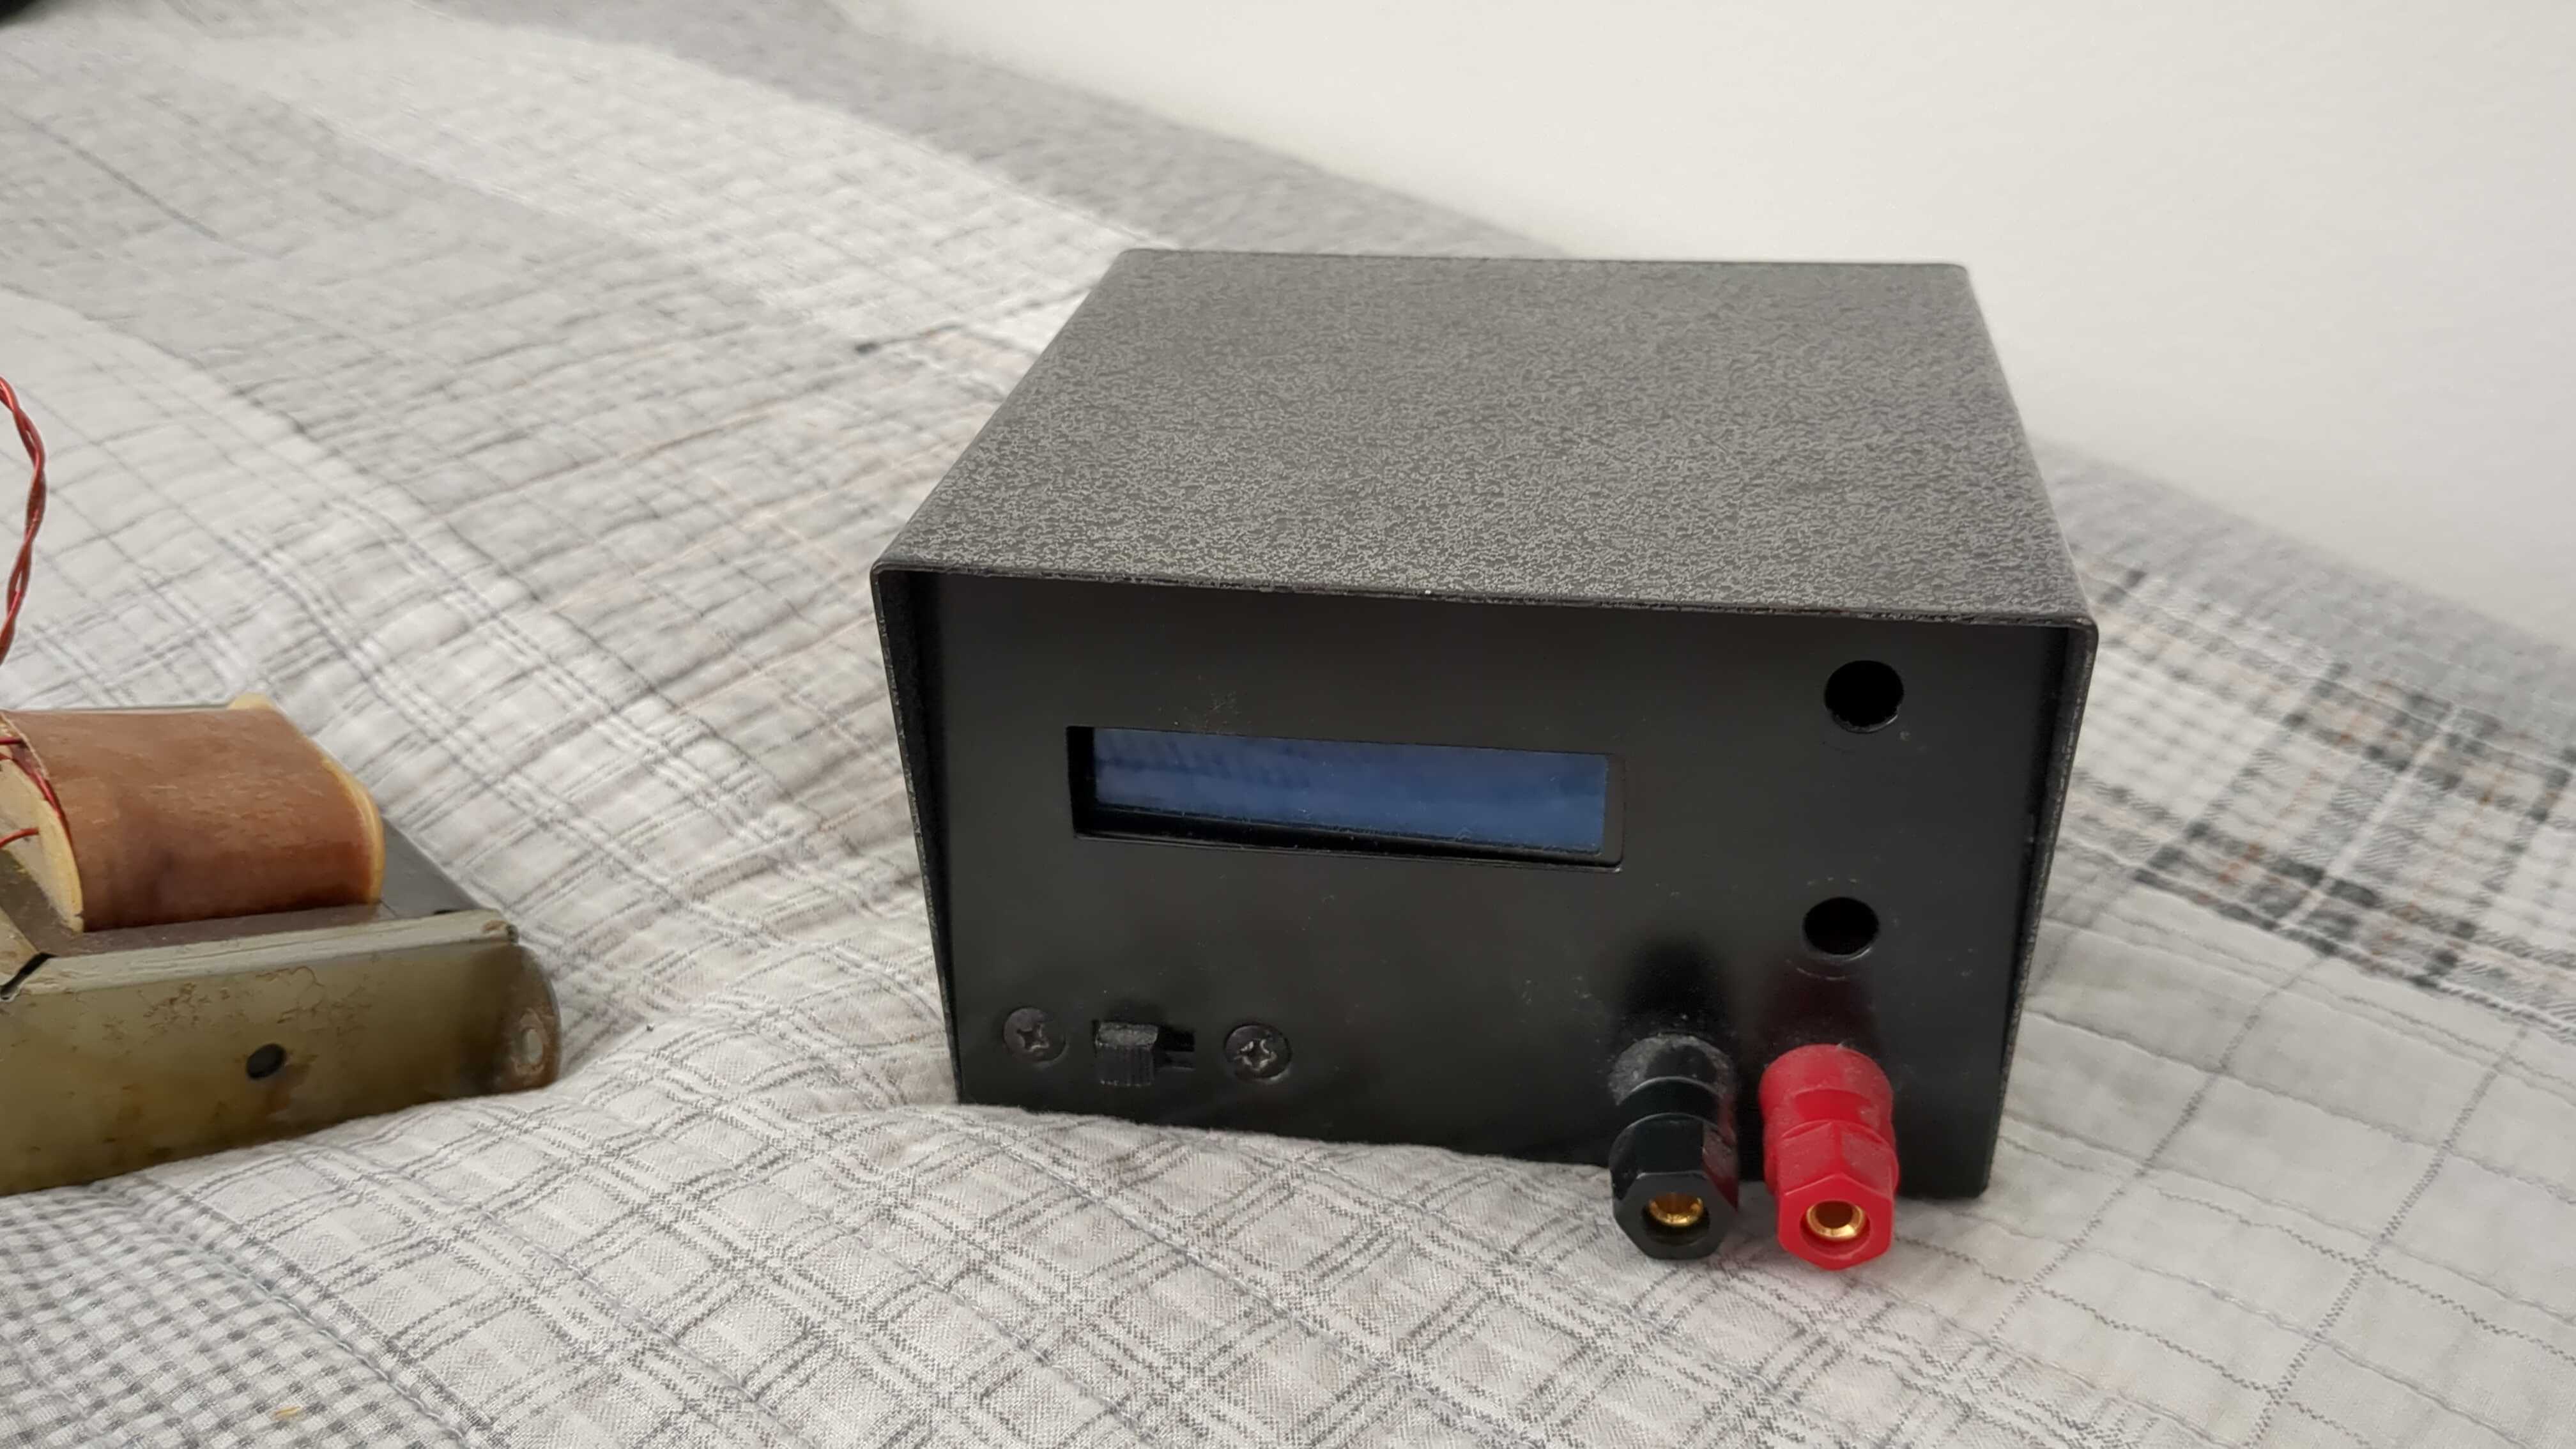
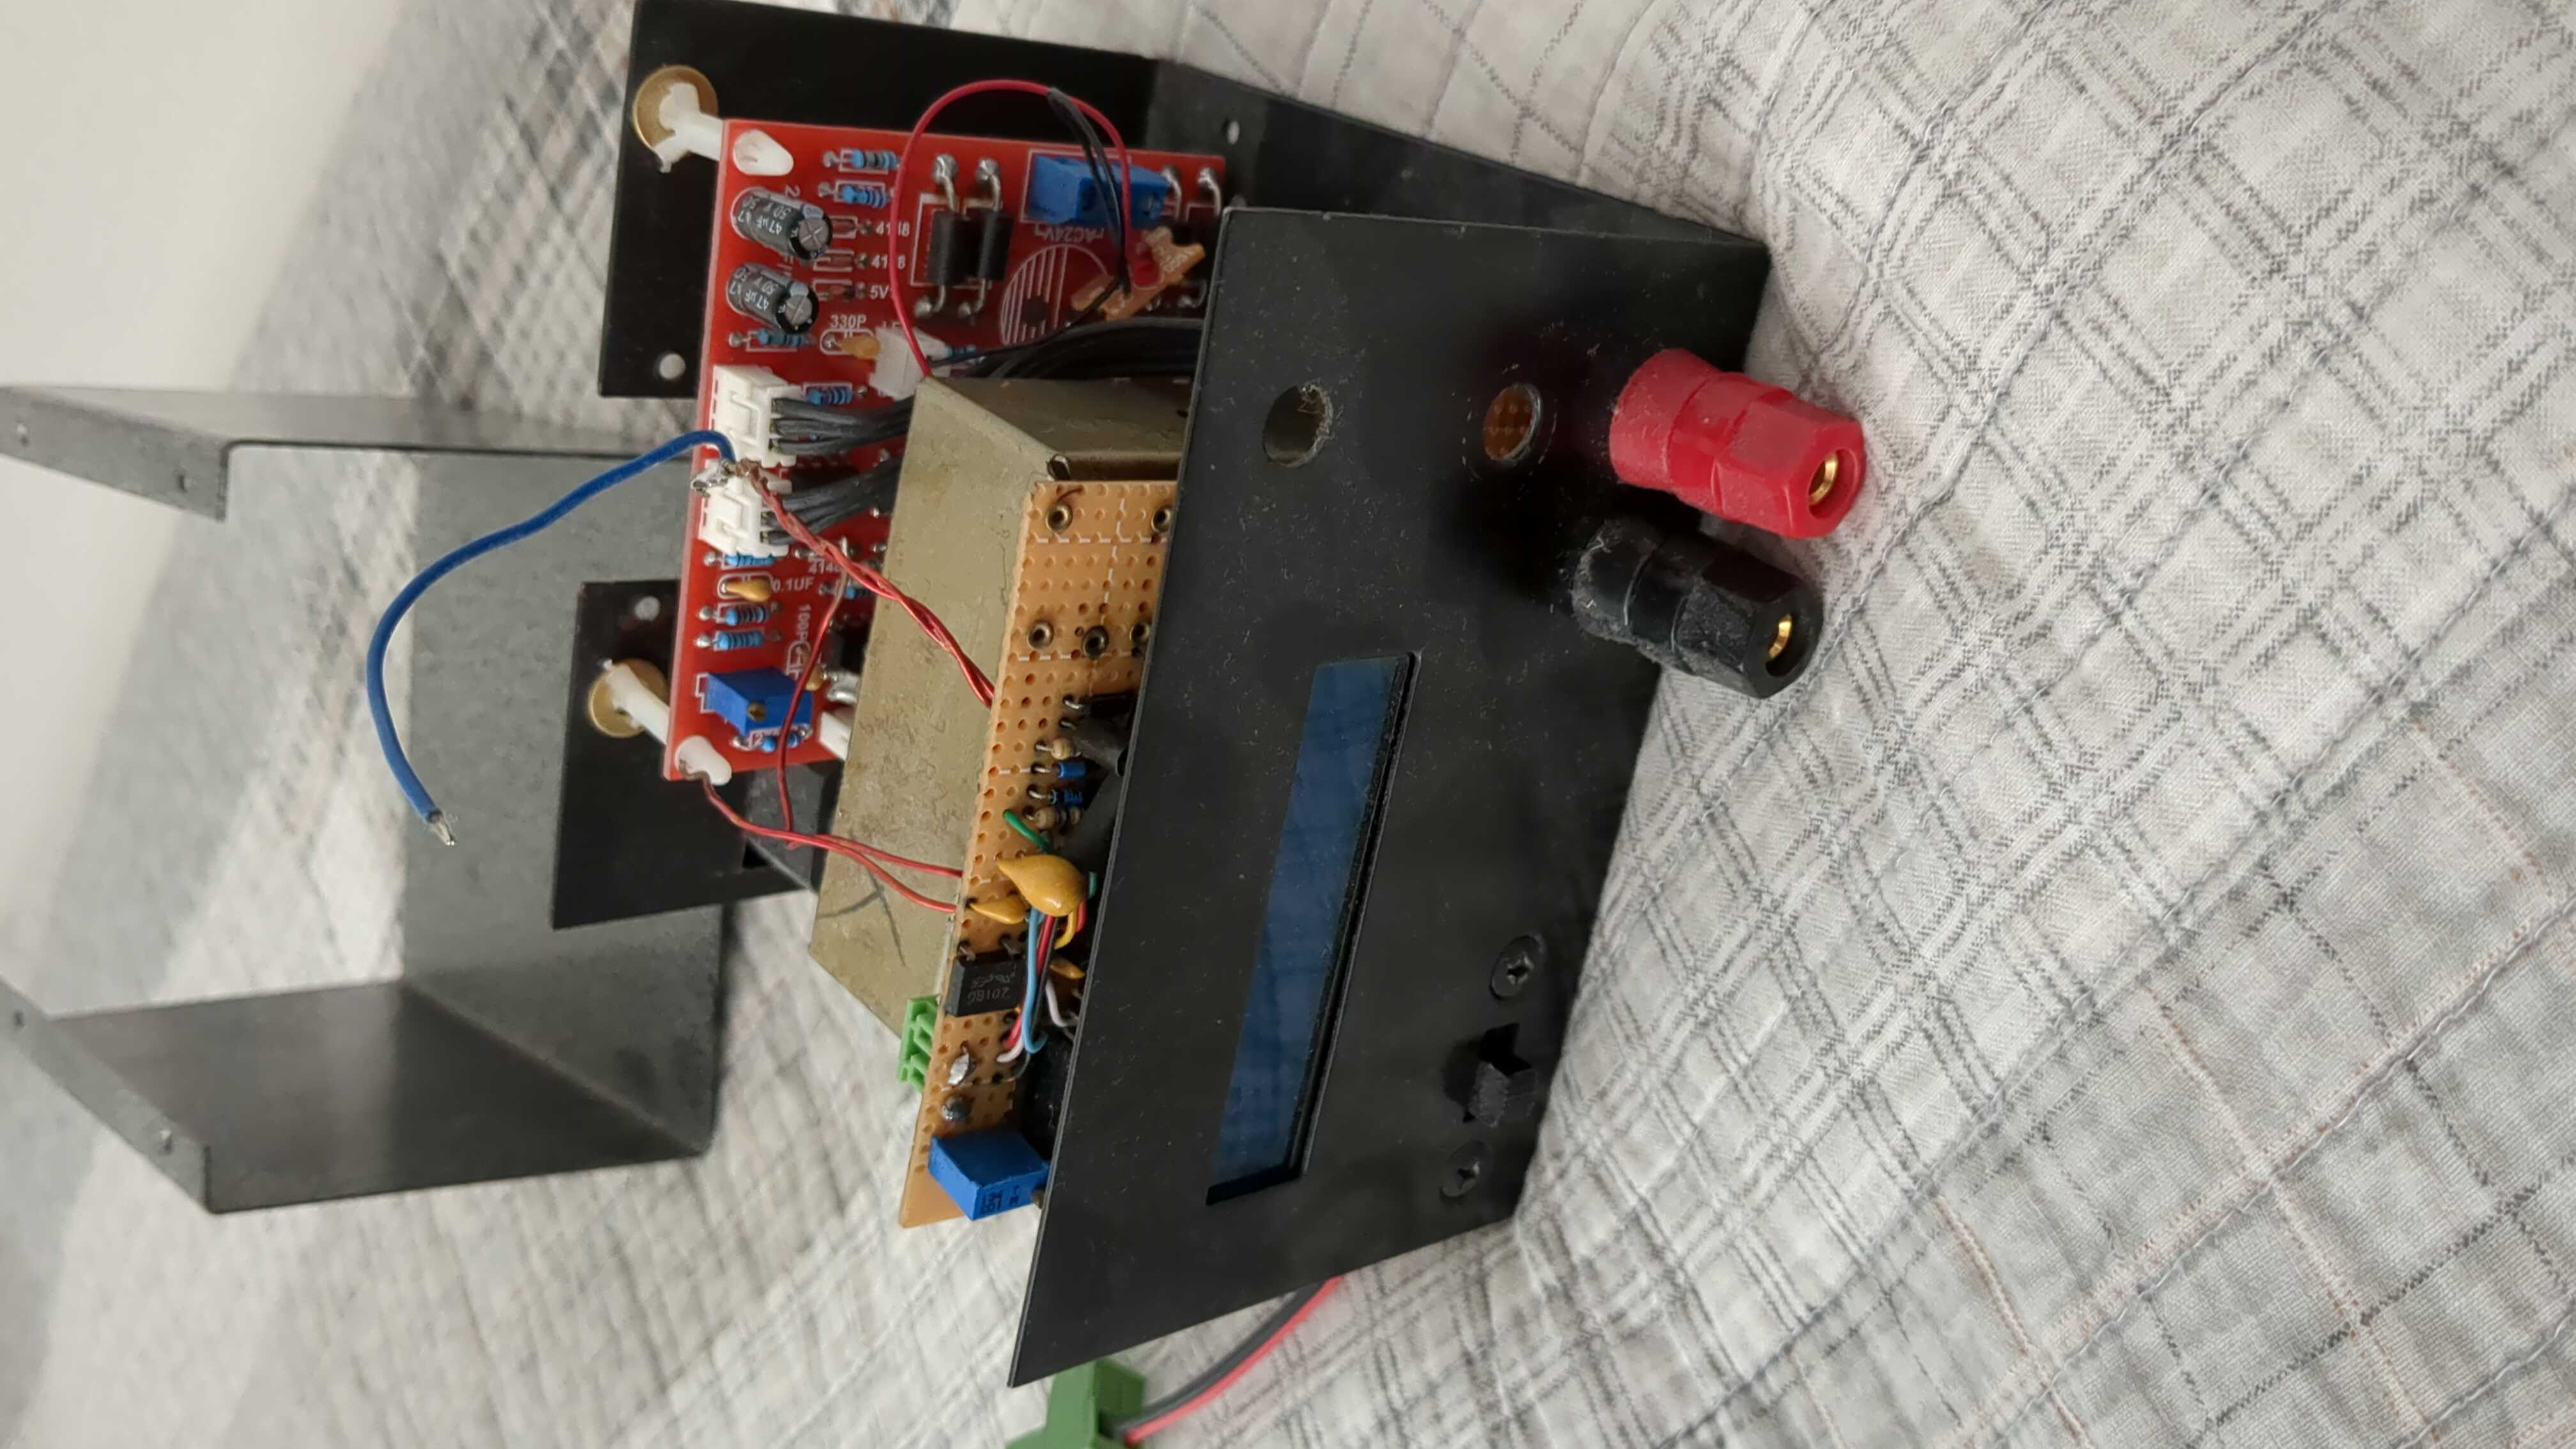
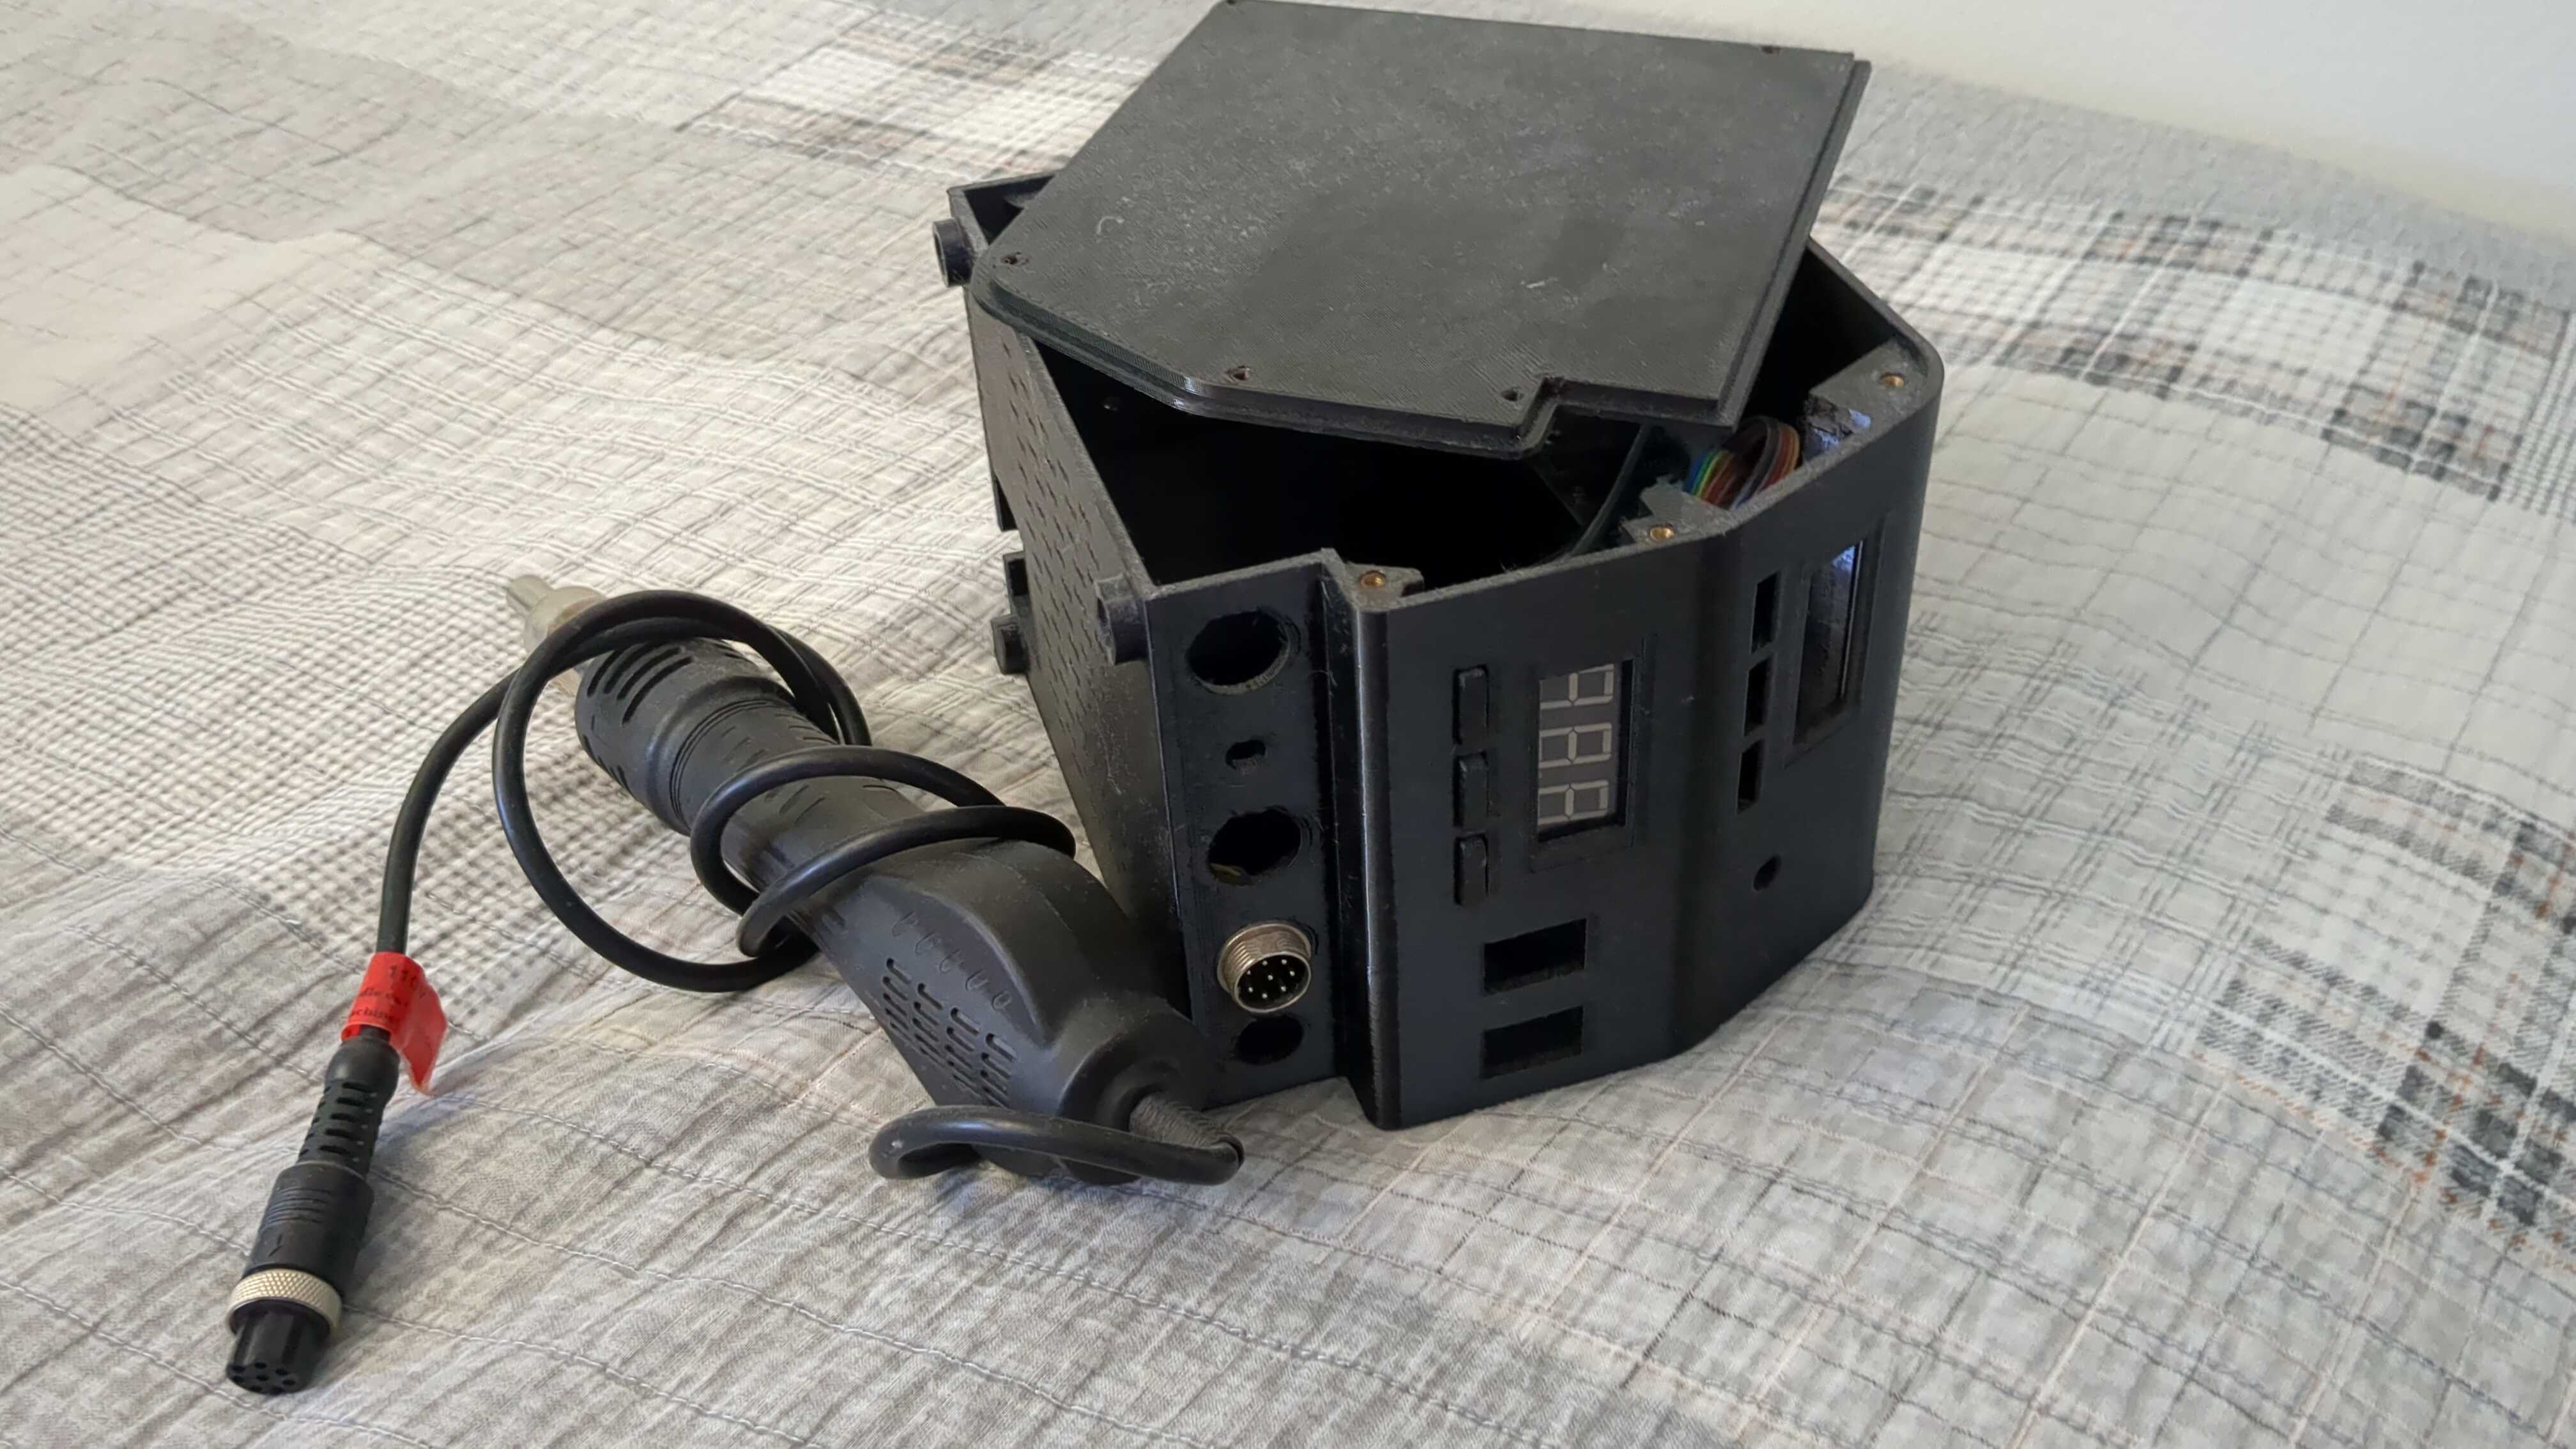
So I just designed and printed the little black enclosure (foreground) with USB and 1/4in jack inserted.

I have a half dozen old Bluetooth headphones that all broke from use over the years. Most are retired from broken wires, but one failed from flexing something loose, and another has a bad batman charge controller.

This one I designed the enclosure for is likely going to be a stand alone Bluetooth line-out to a stereo headphone jack with a battery.

I was debating taking out a Bluetooth module from one of my other designs, but then I realized I have a bunch of these headphones, so why not use them.

Today I played around a bit with some of the broken ones trying to figure out what they might do if I hook up a DC source to the battery connection and try to use them. So far the ones I tested were even 5v tolerant for 5-10 minutes at a time. That may make an interesting way to add a Bluetooth line-input into any stereo.

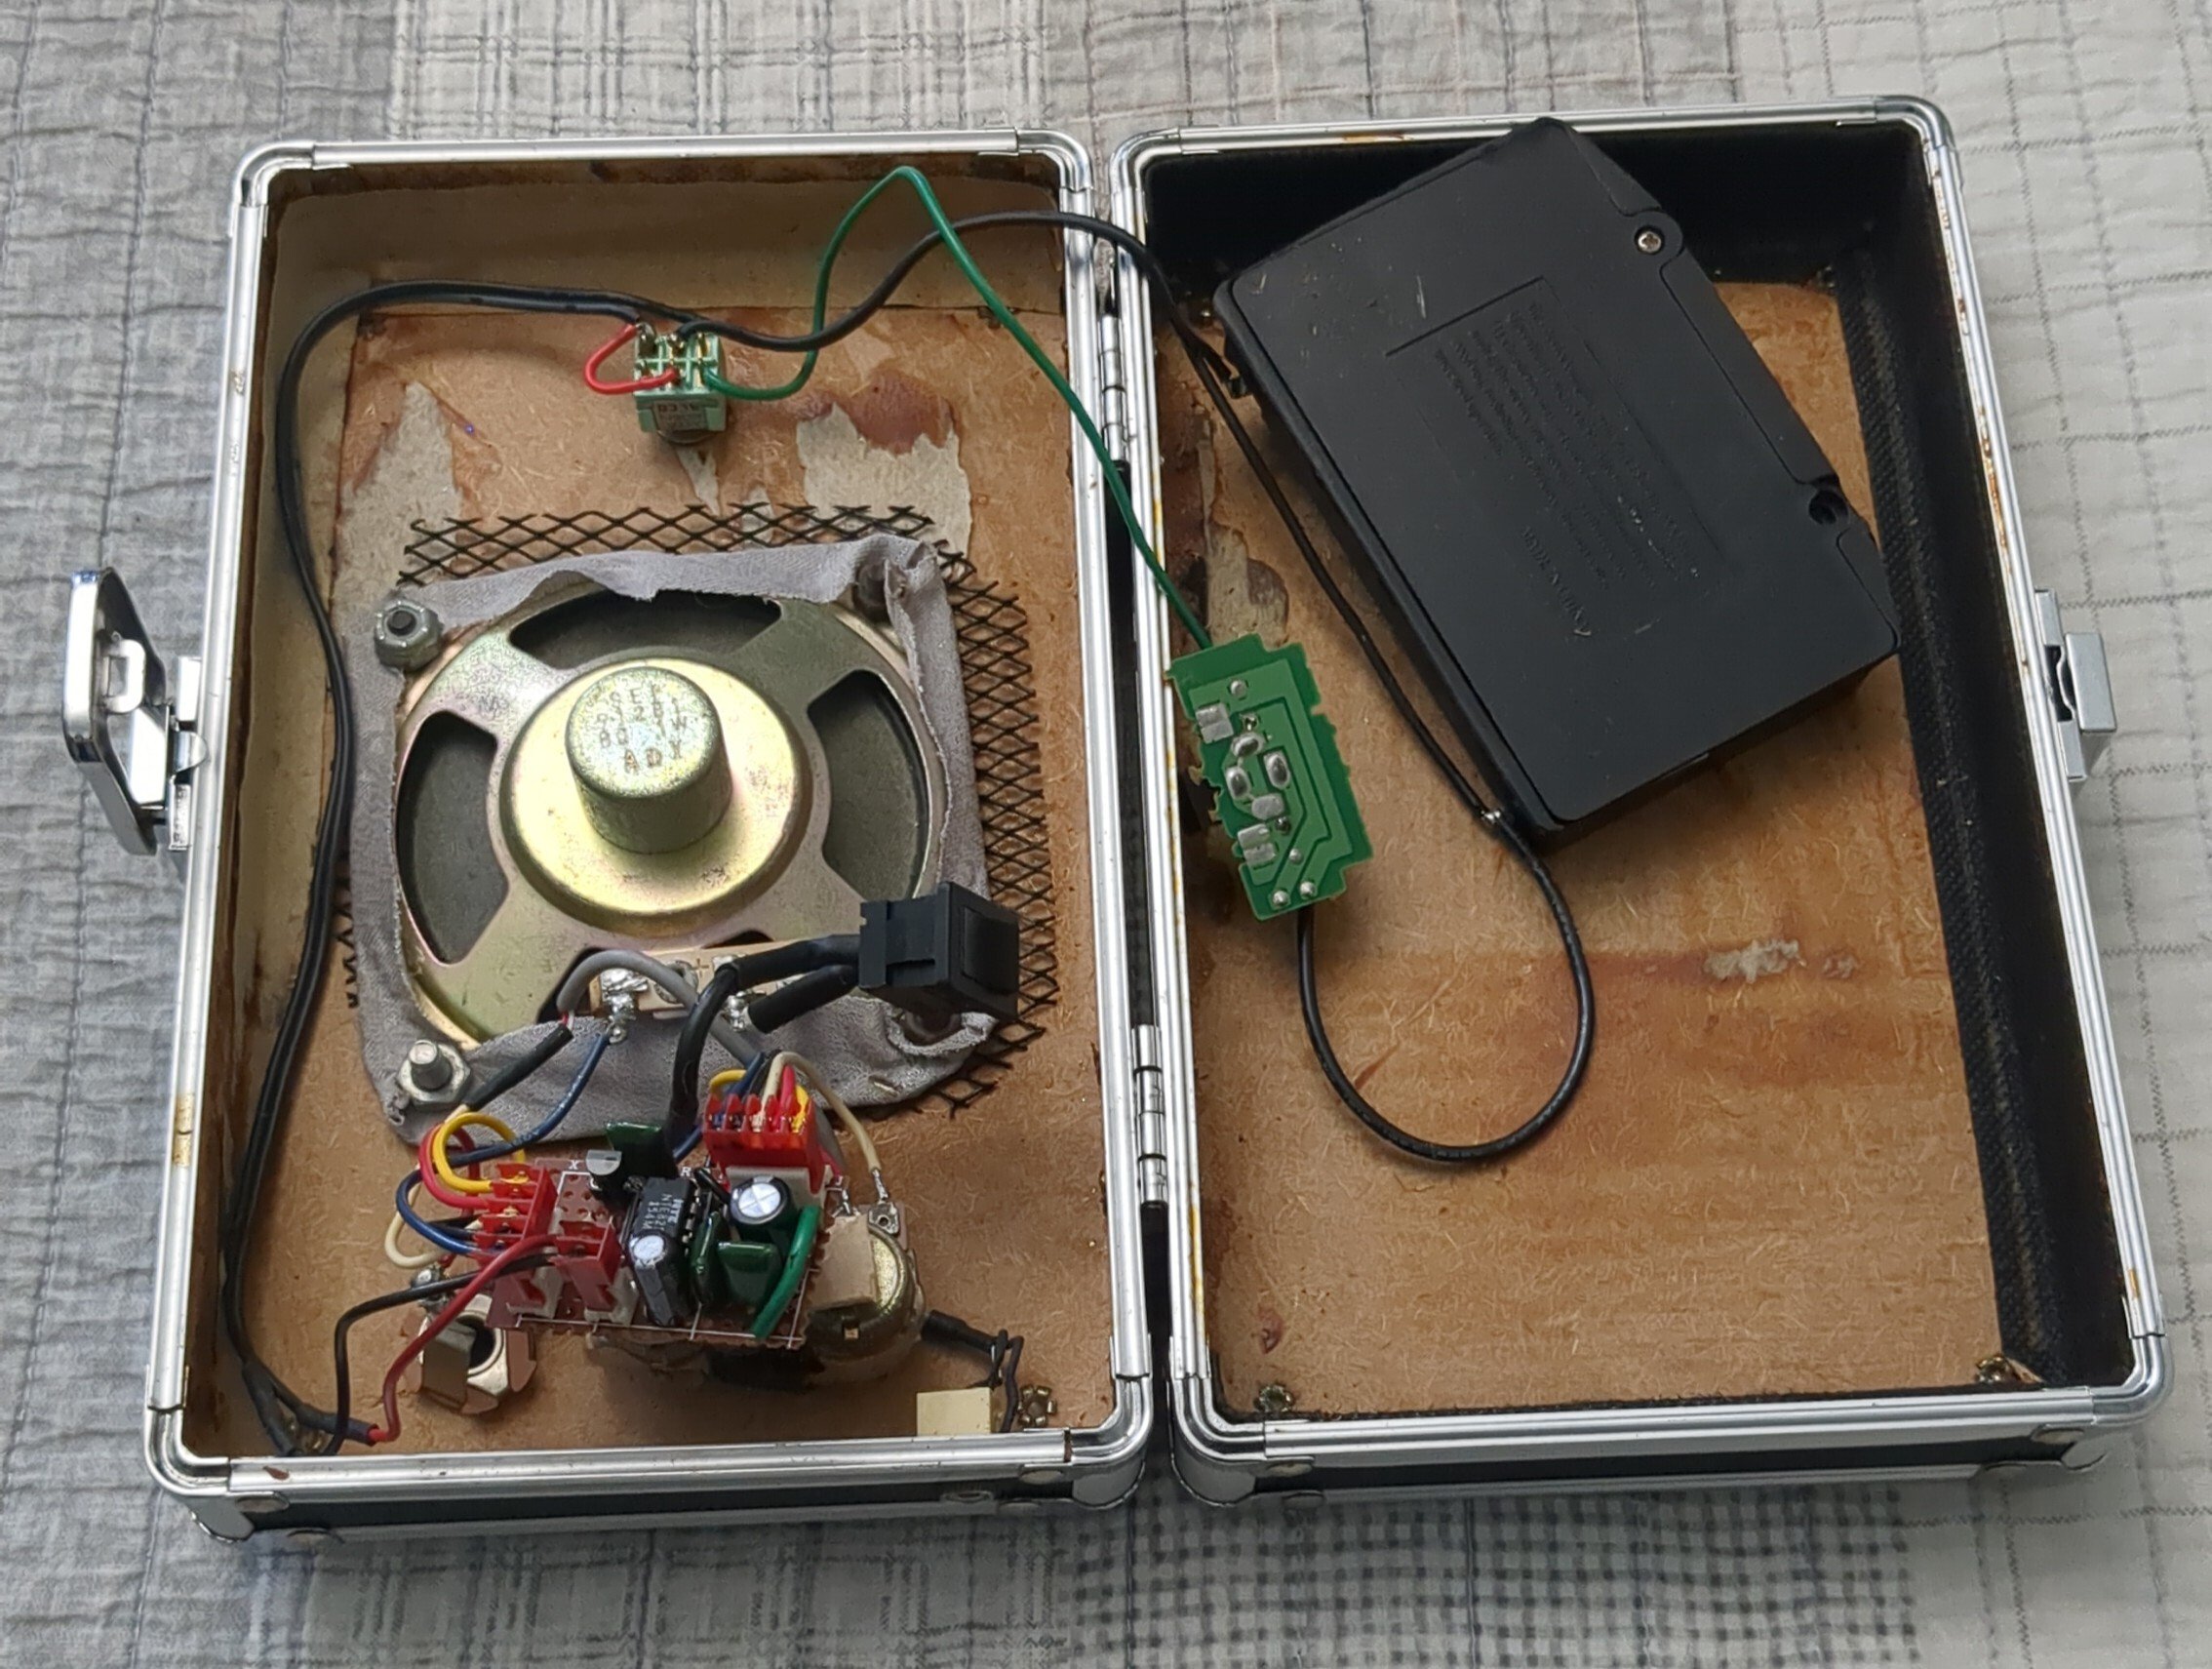
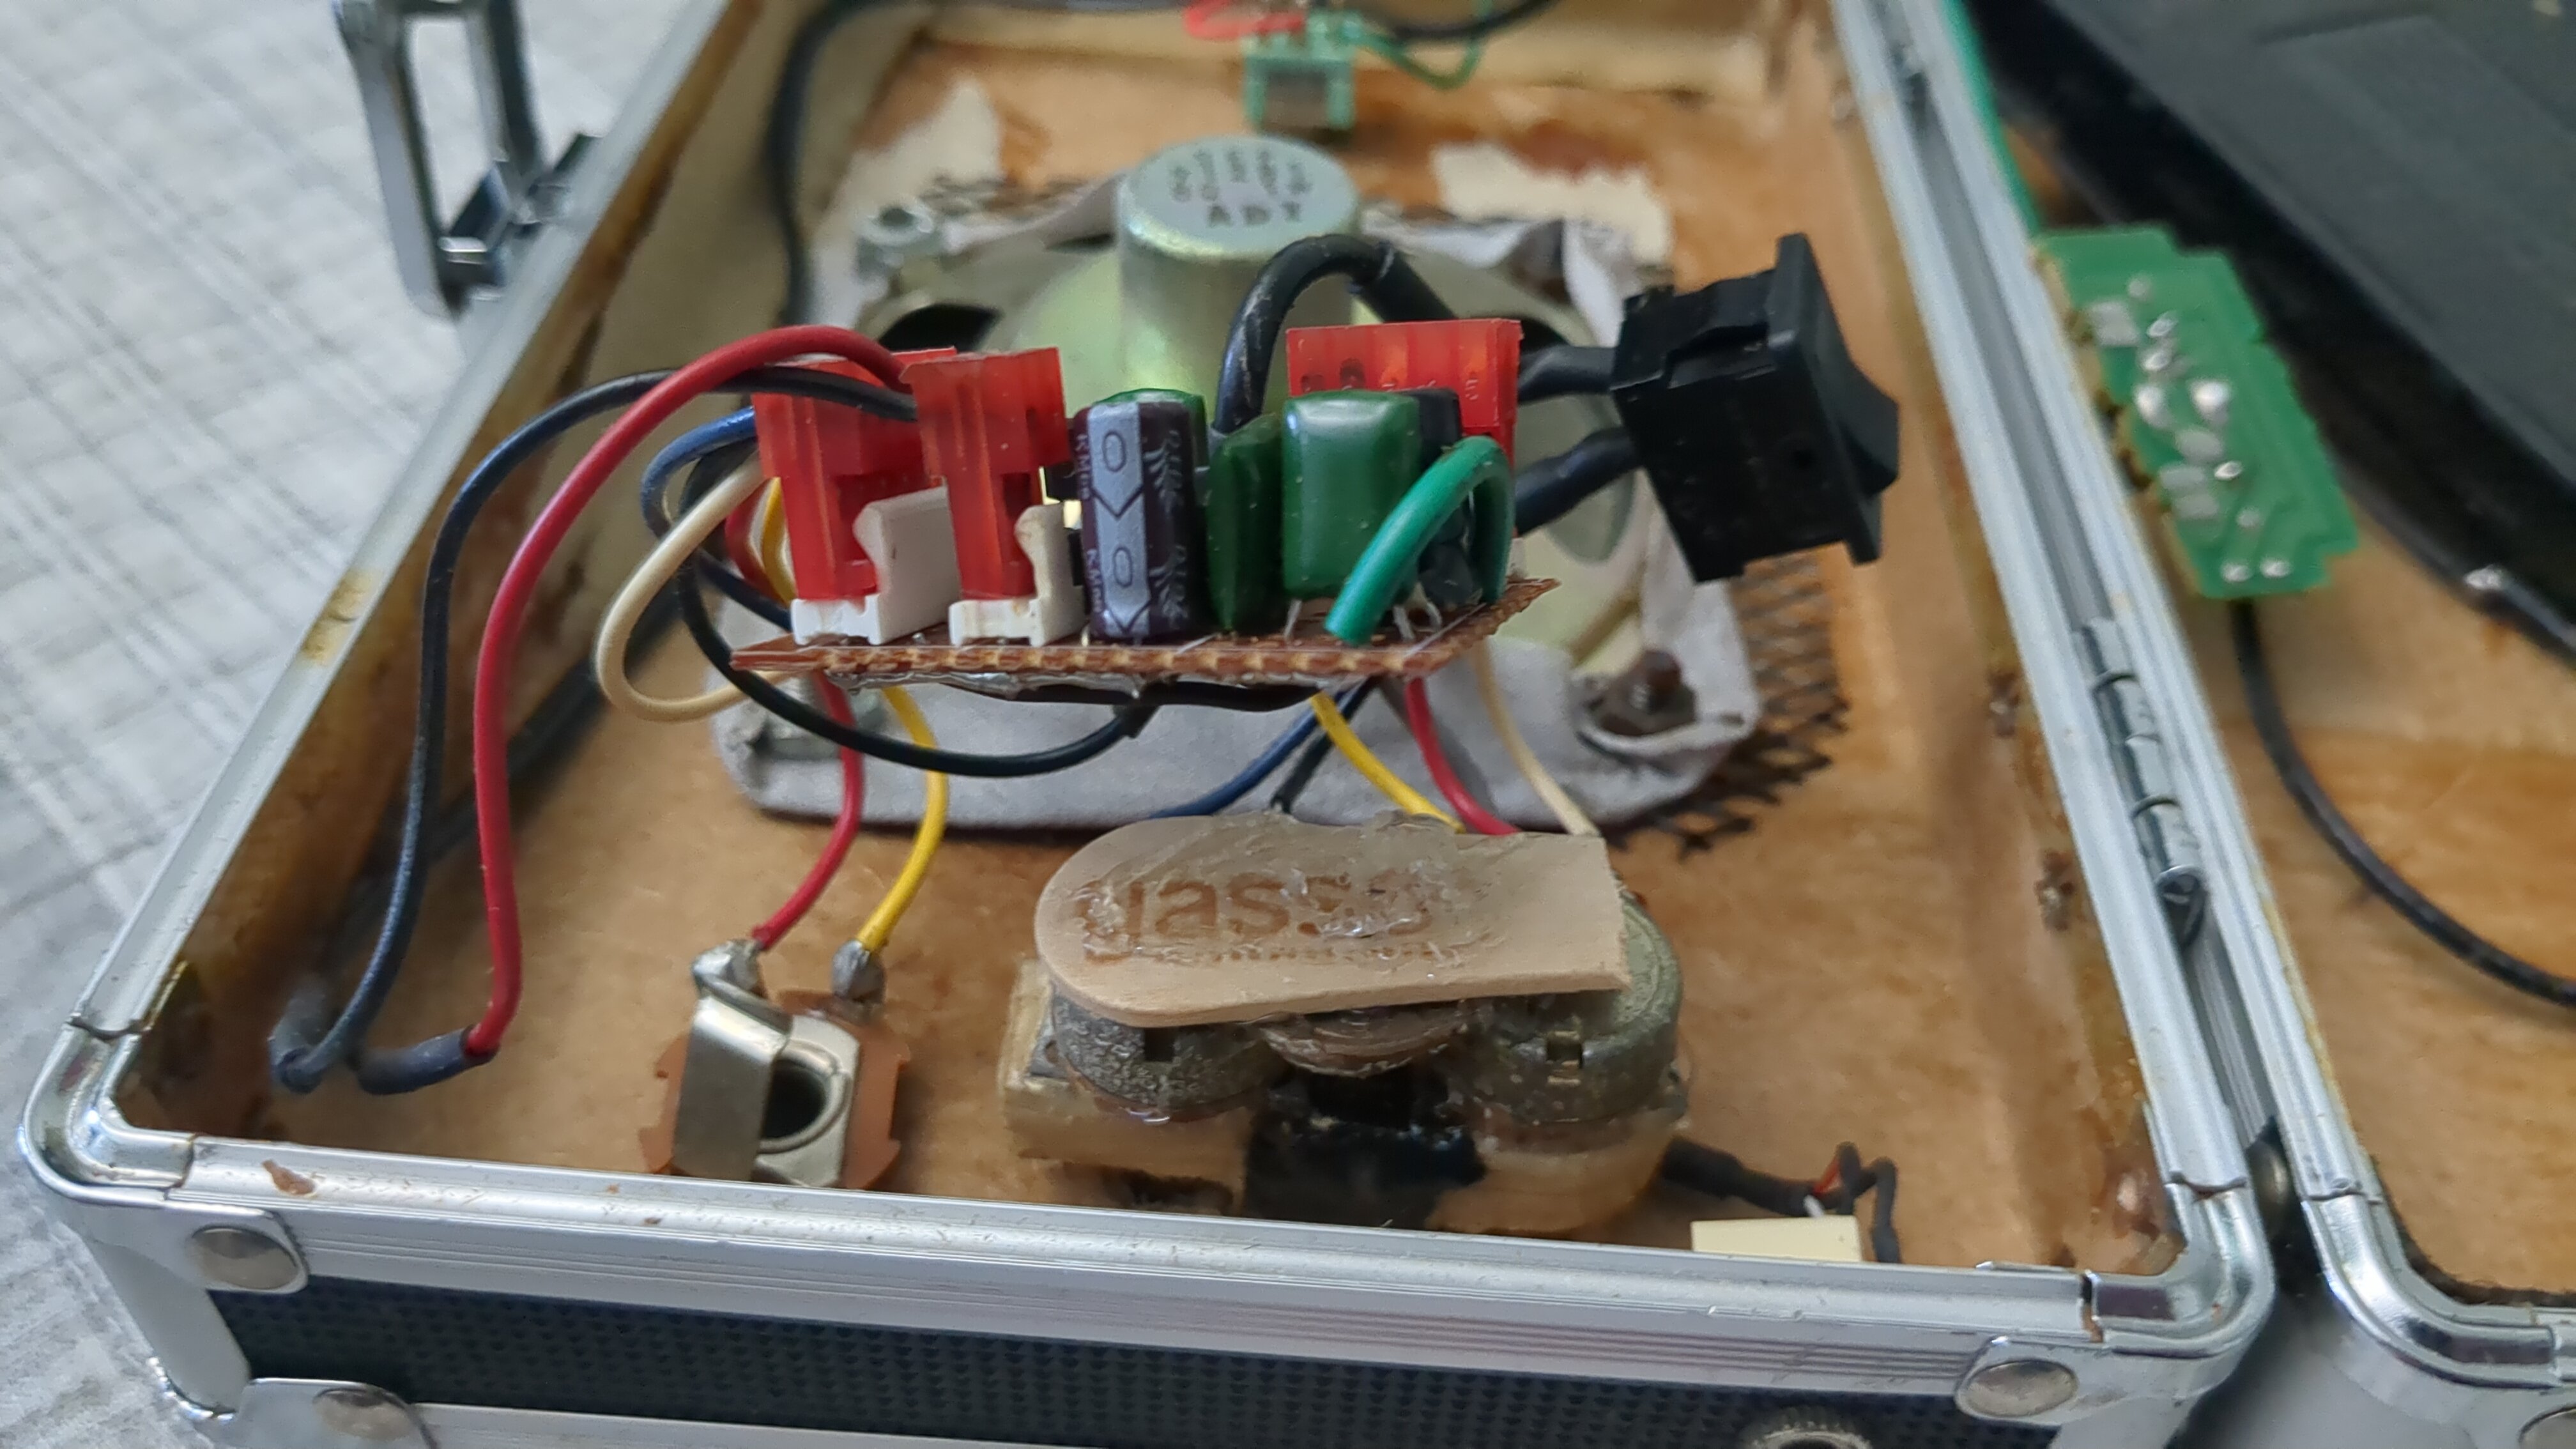
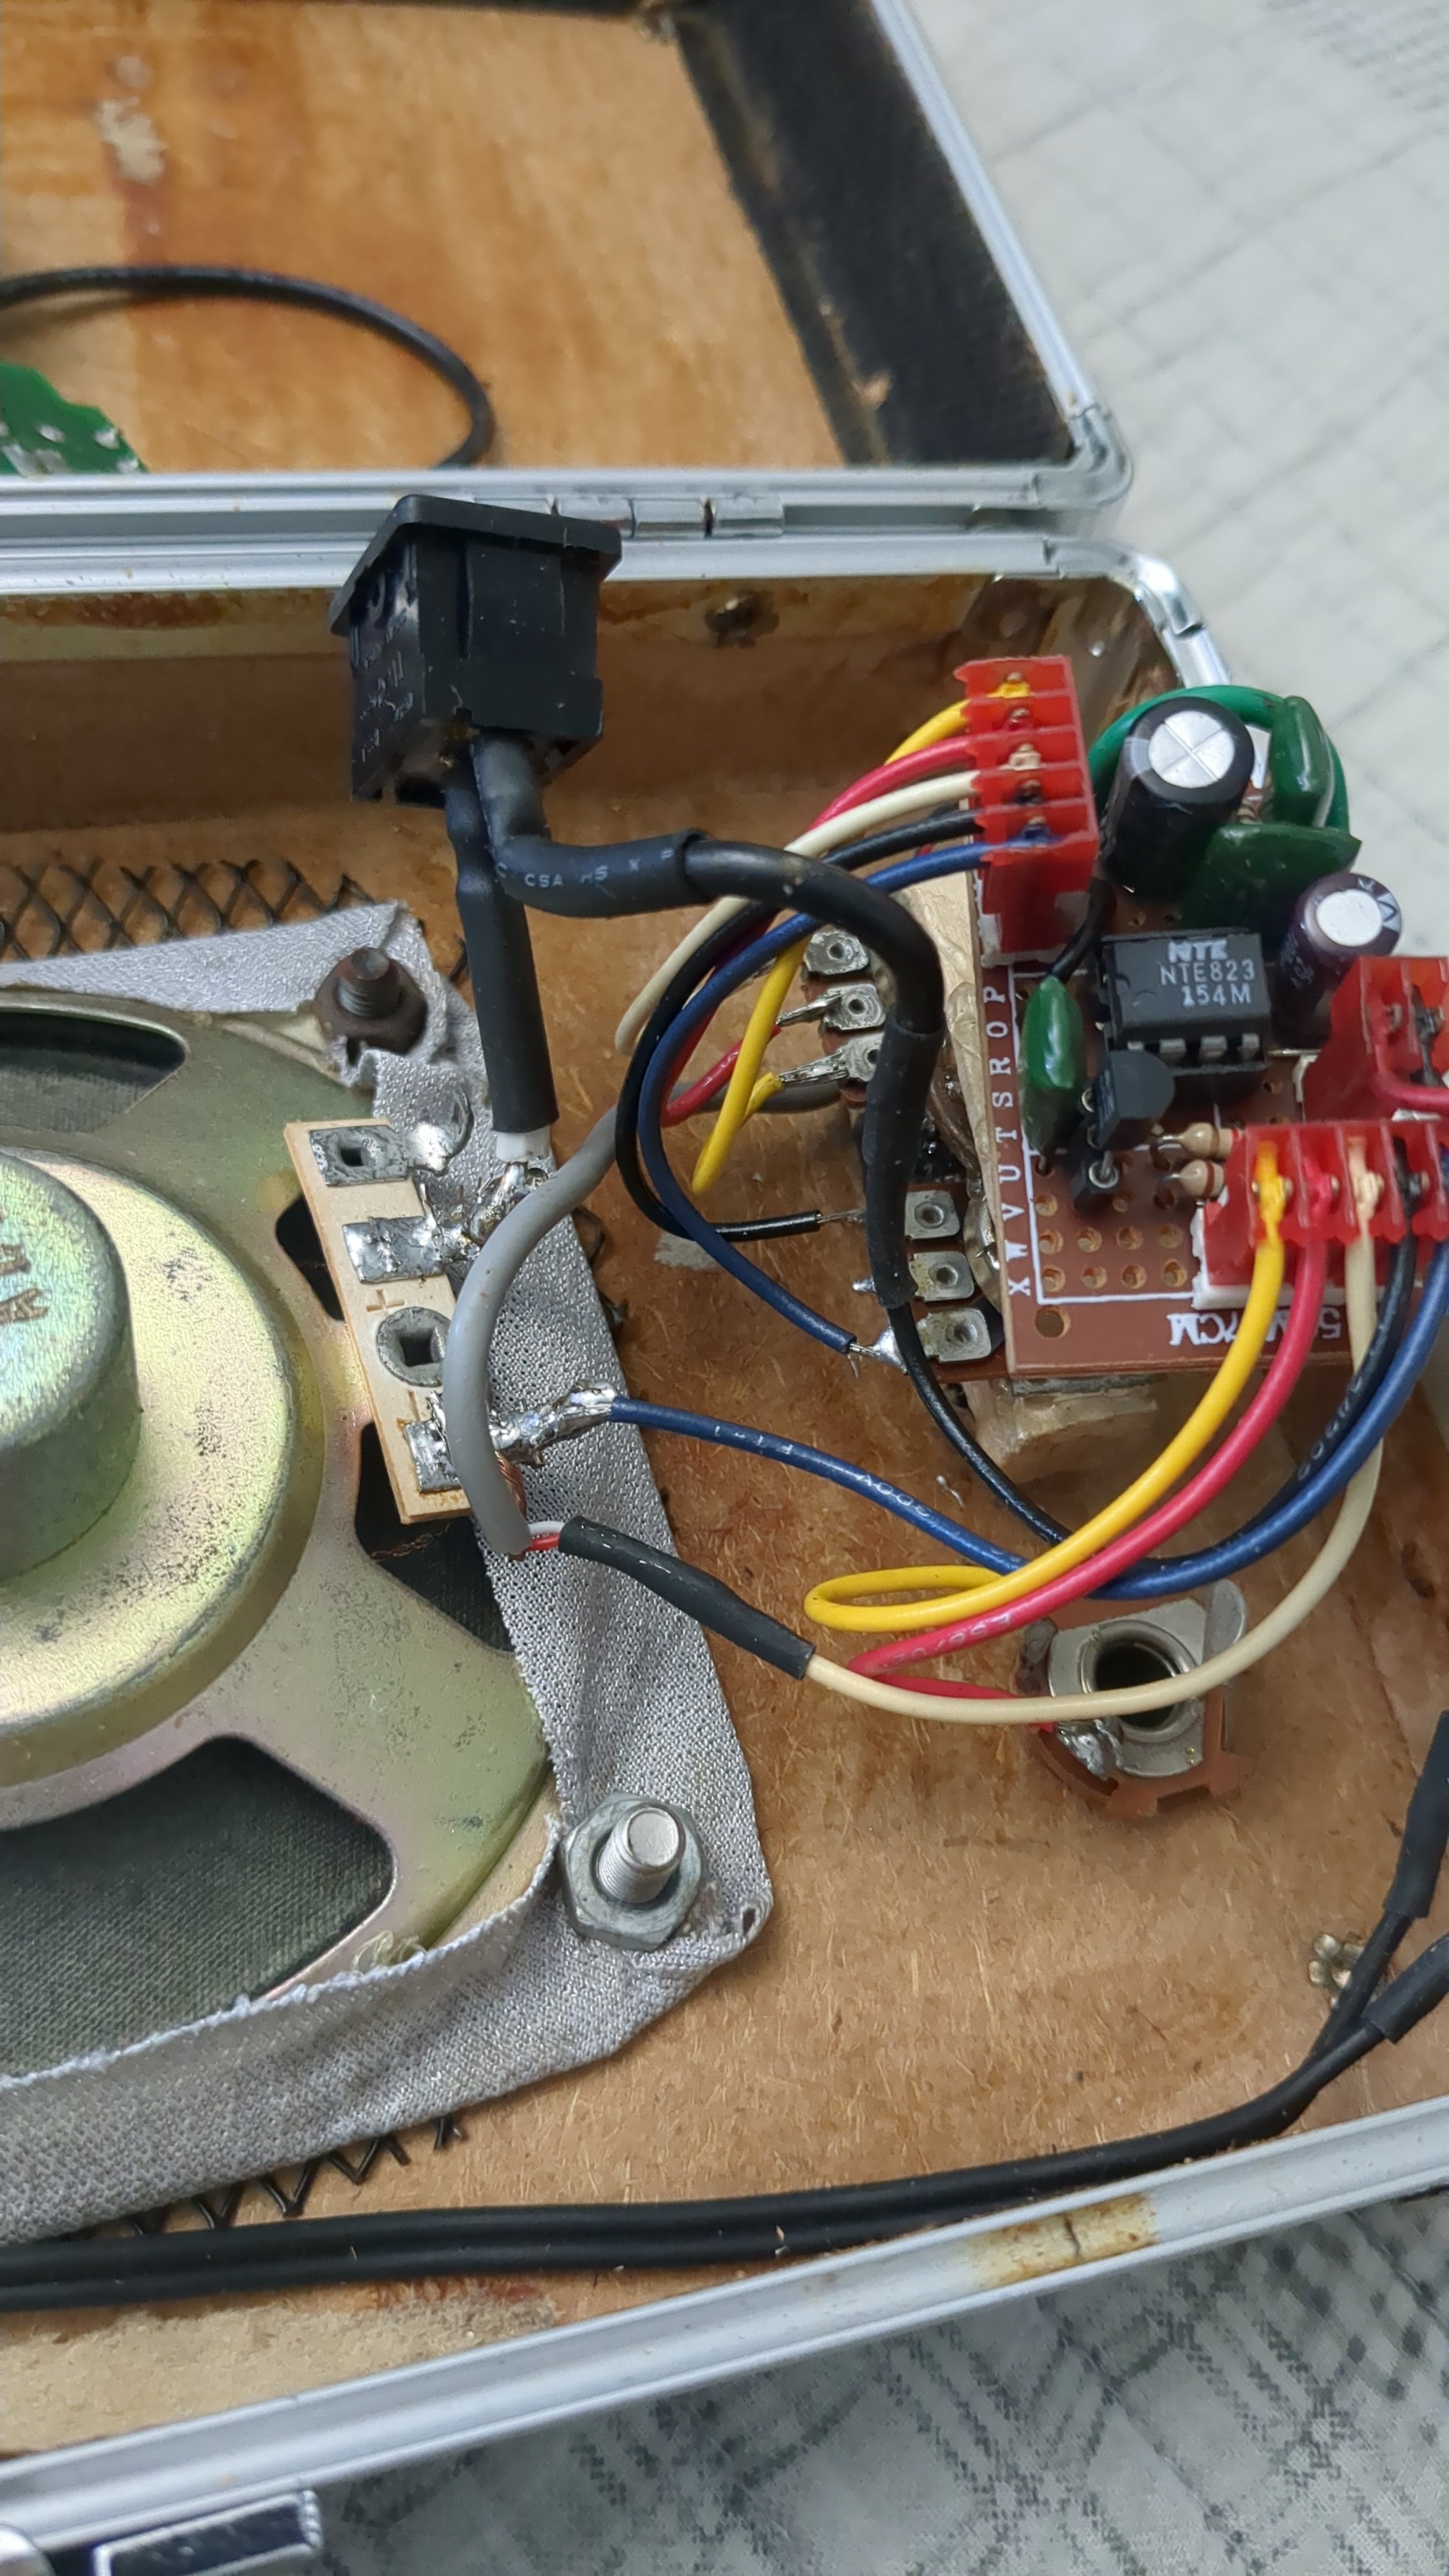
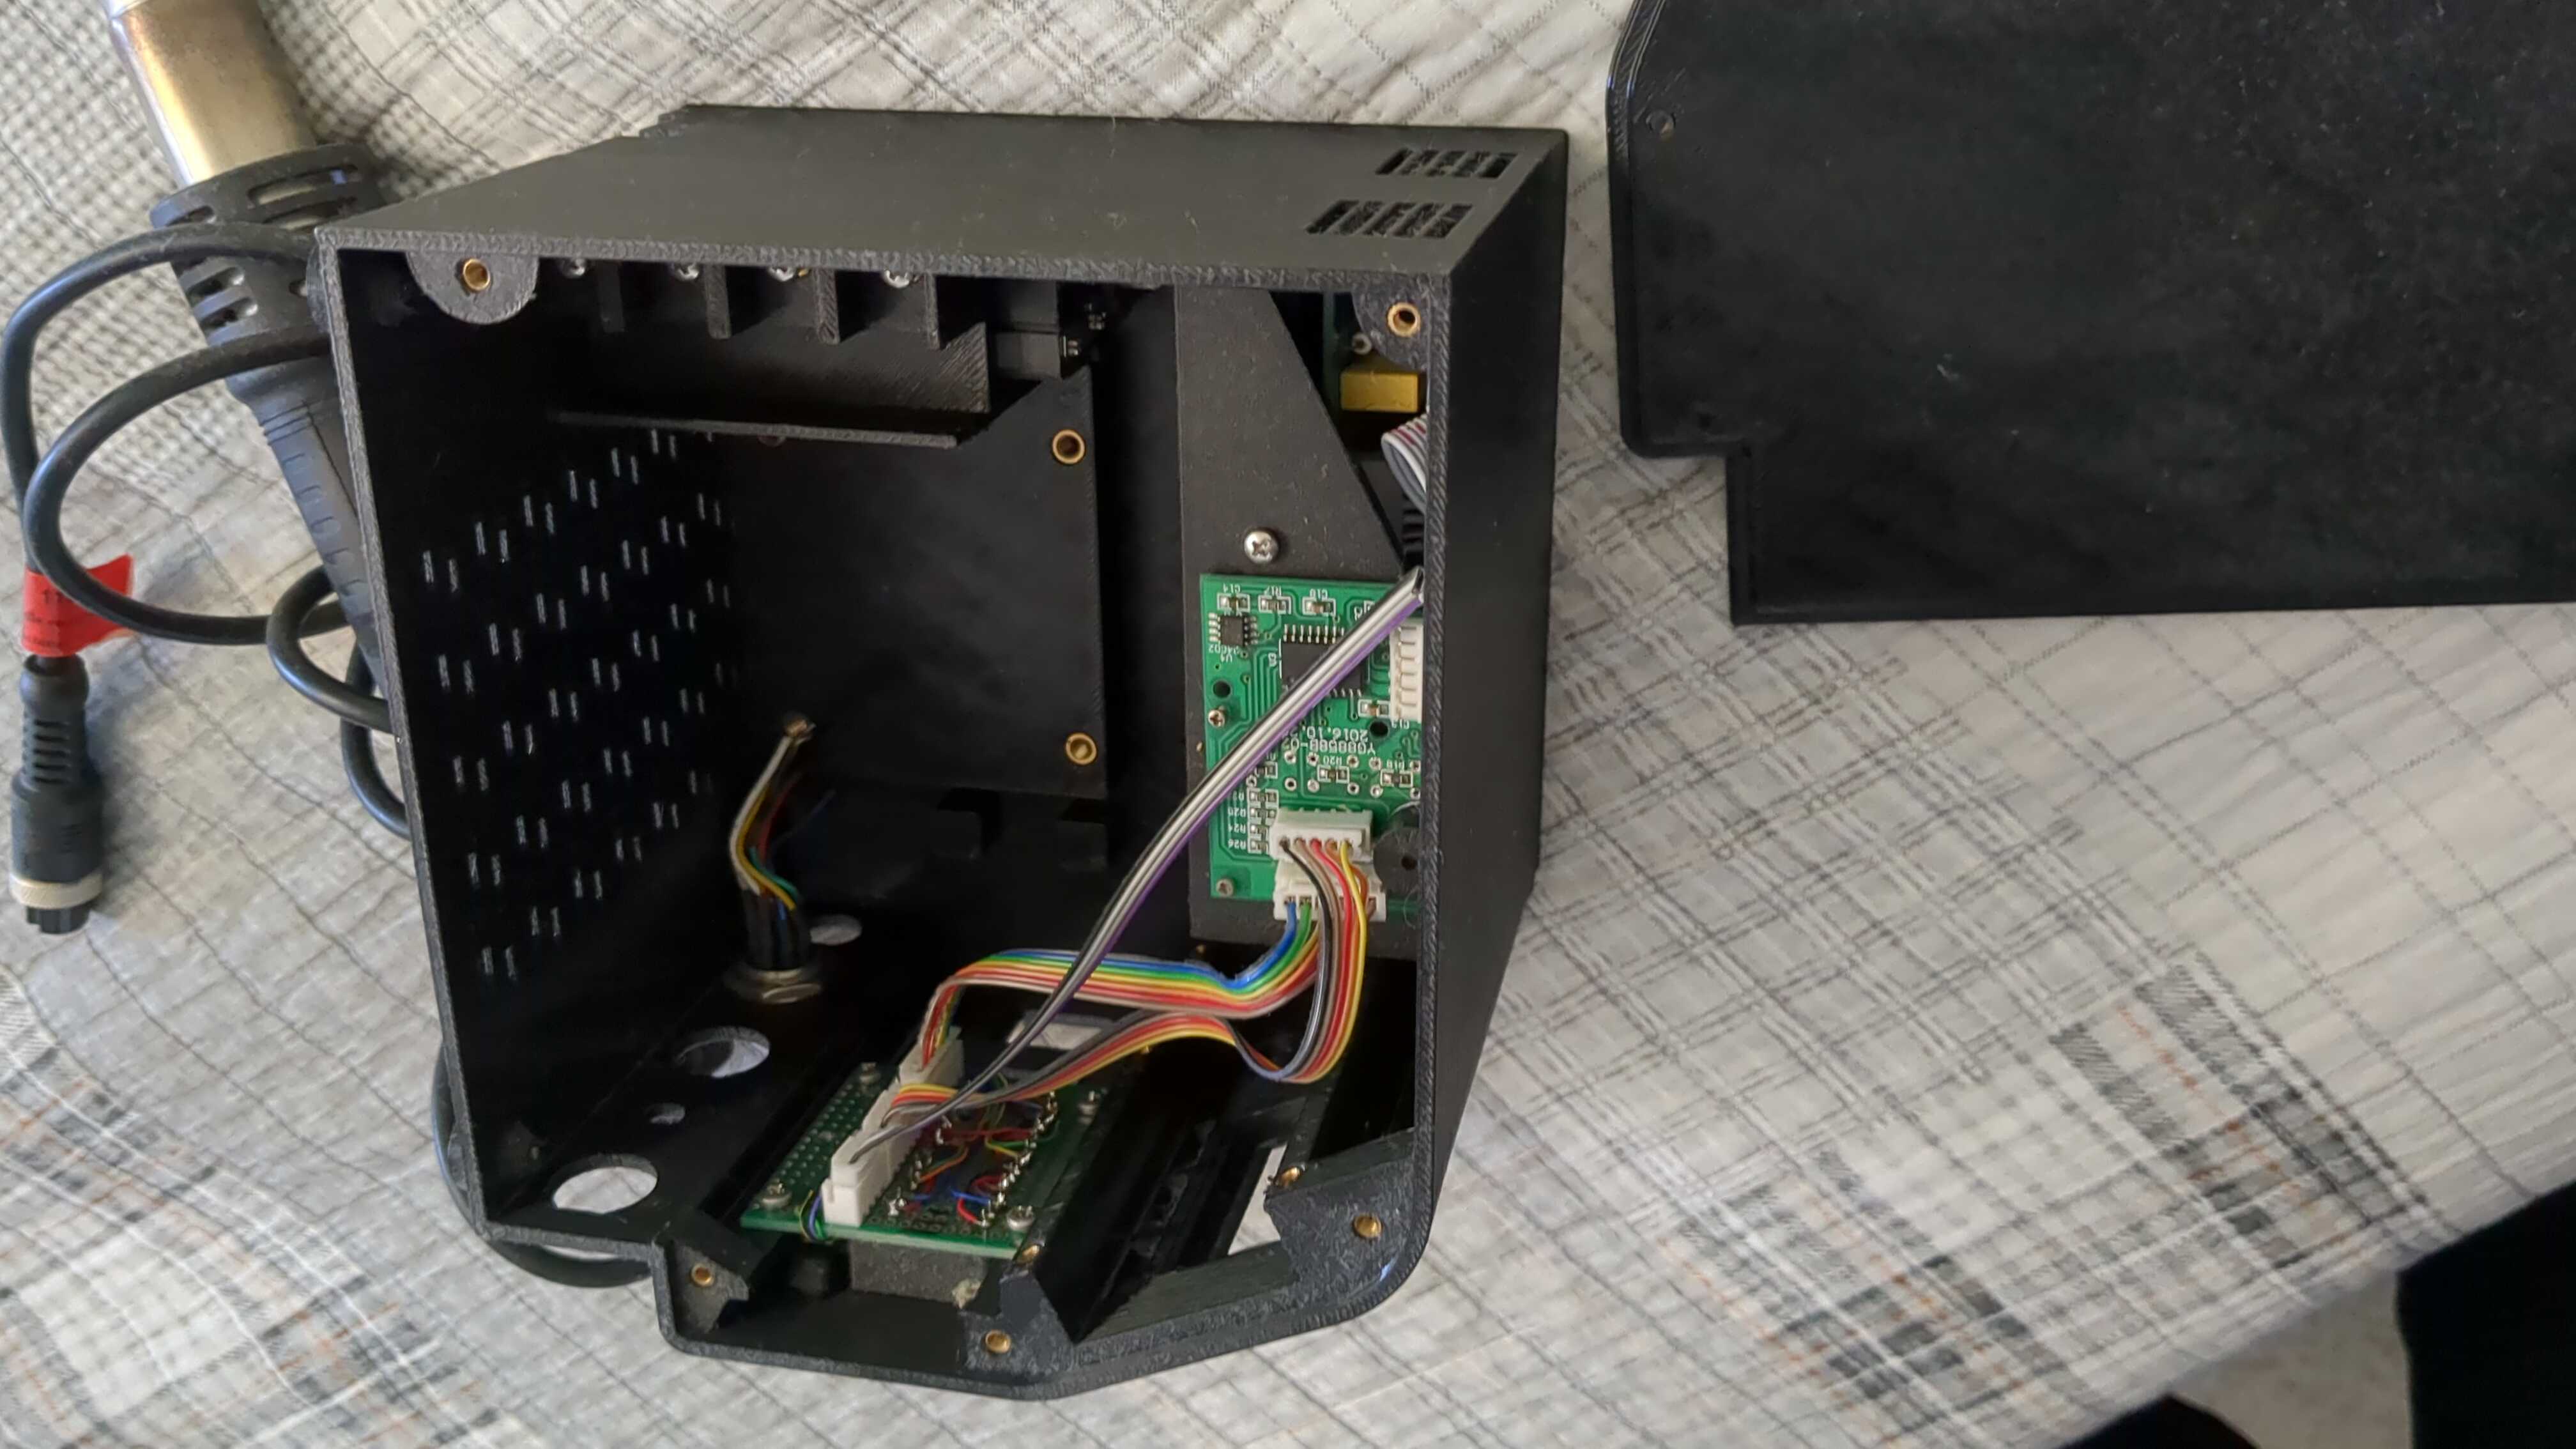
I was working on integrating my thrift store junk iPod radio into my laptop bedstand side table when I realized I had never taken apart this old junky Logitech computer speaker set someone threw away. It sounds terrible because the monitor speakers are large tweeters. They are good tweeters, but terrible as a primary driver. After taking apart the little woofer that came with them, I got the little three channel amp pictured. The iPod clock radio I'm using in my bedside stand is just a two channel audio amp and I would like to have some better sound, and I might like to use these tweeters with a woofer. So I started making an enclosure design to 3d print for that amp to work in parallel and fit into my laptop stand to make a 5 channel setup with the flexibility to remove this 3 channel amp if I want to use it for anything else. I don't want a wire to my audio jack on my laptop so I want to have a Bluetooth option, and that is what lead me here.

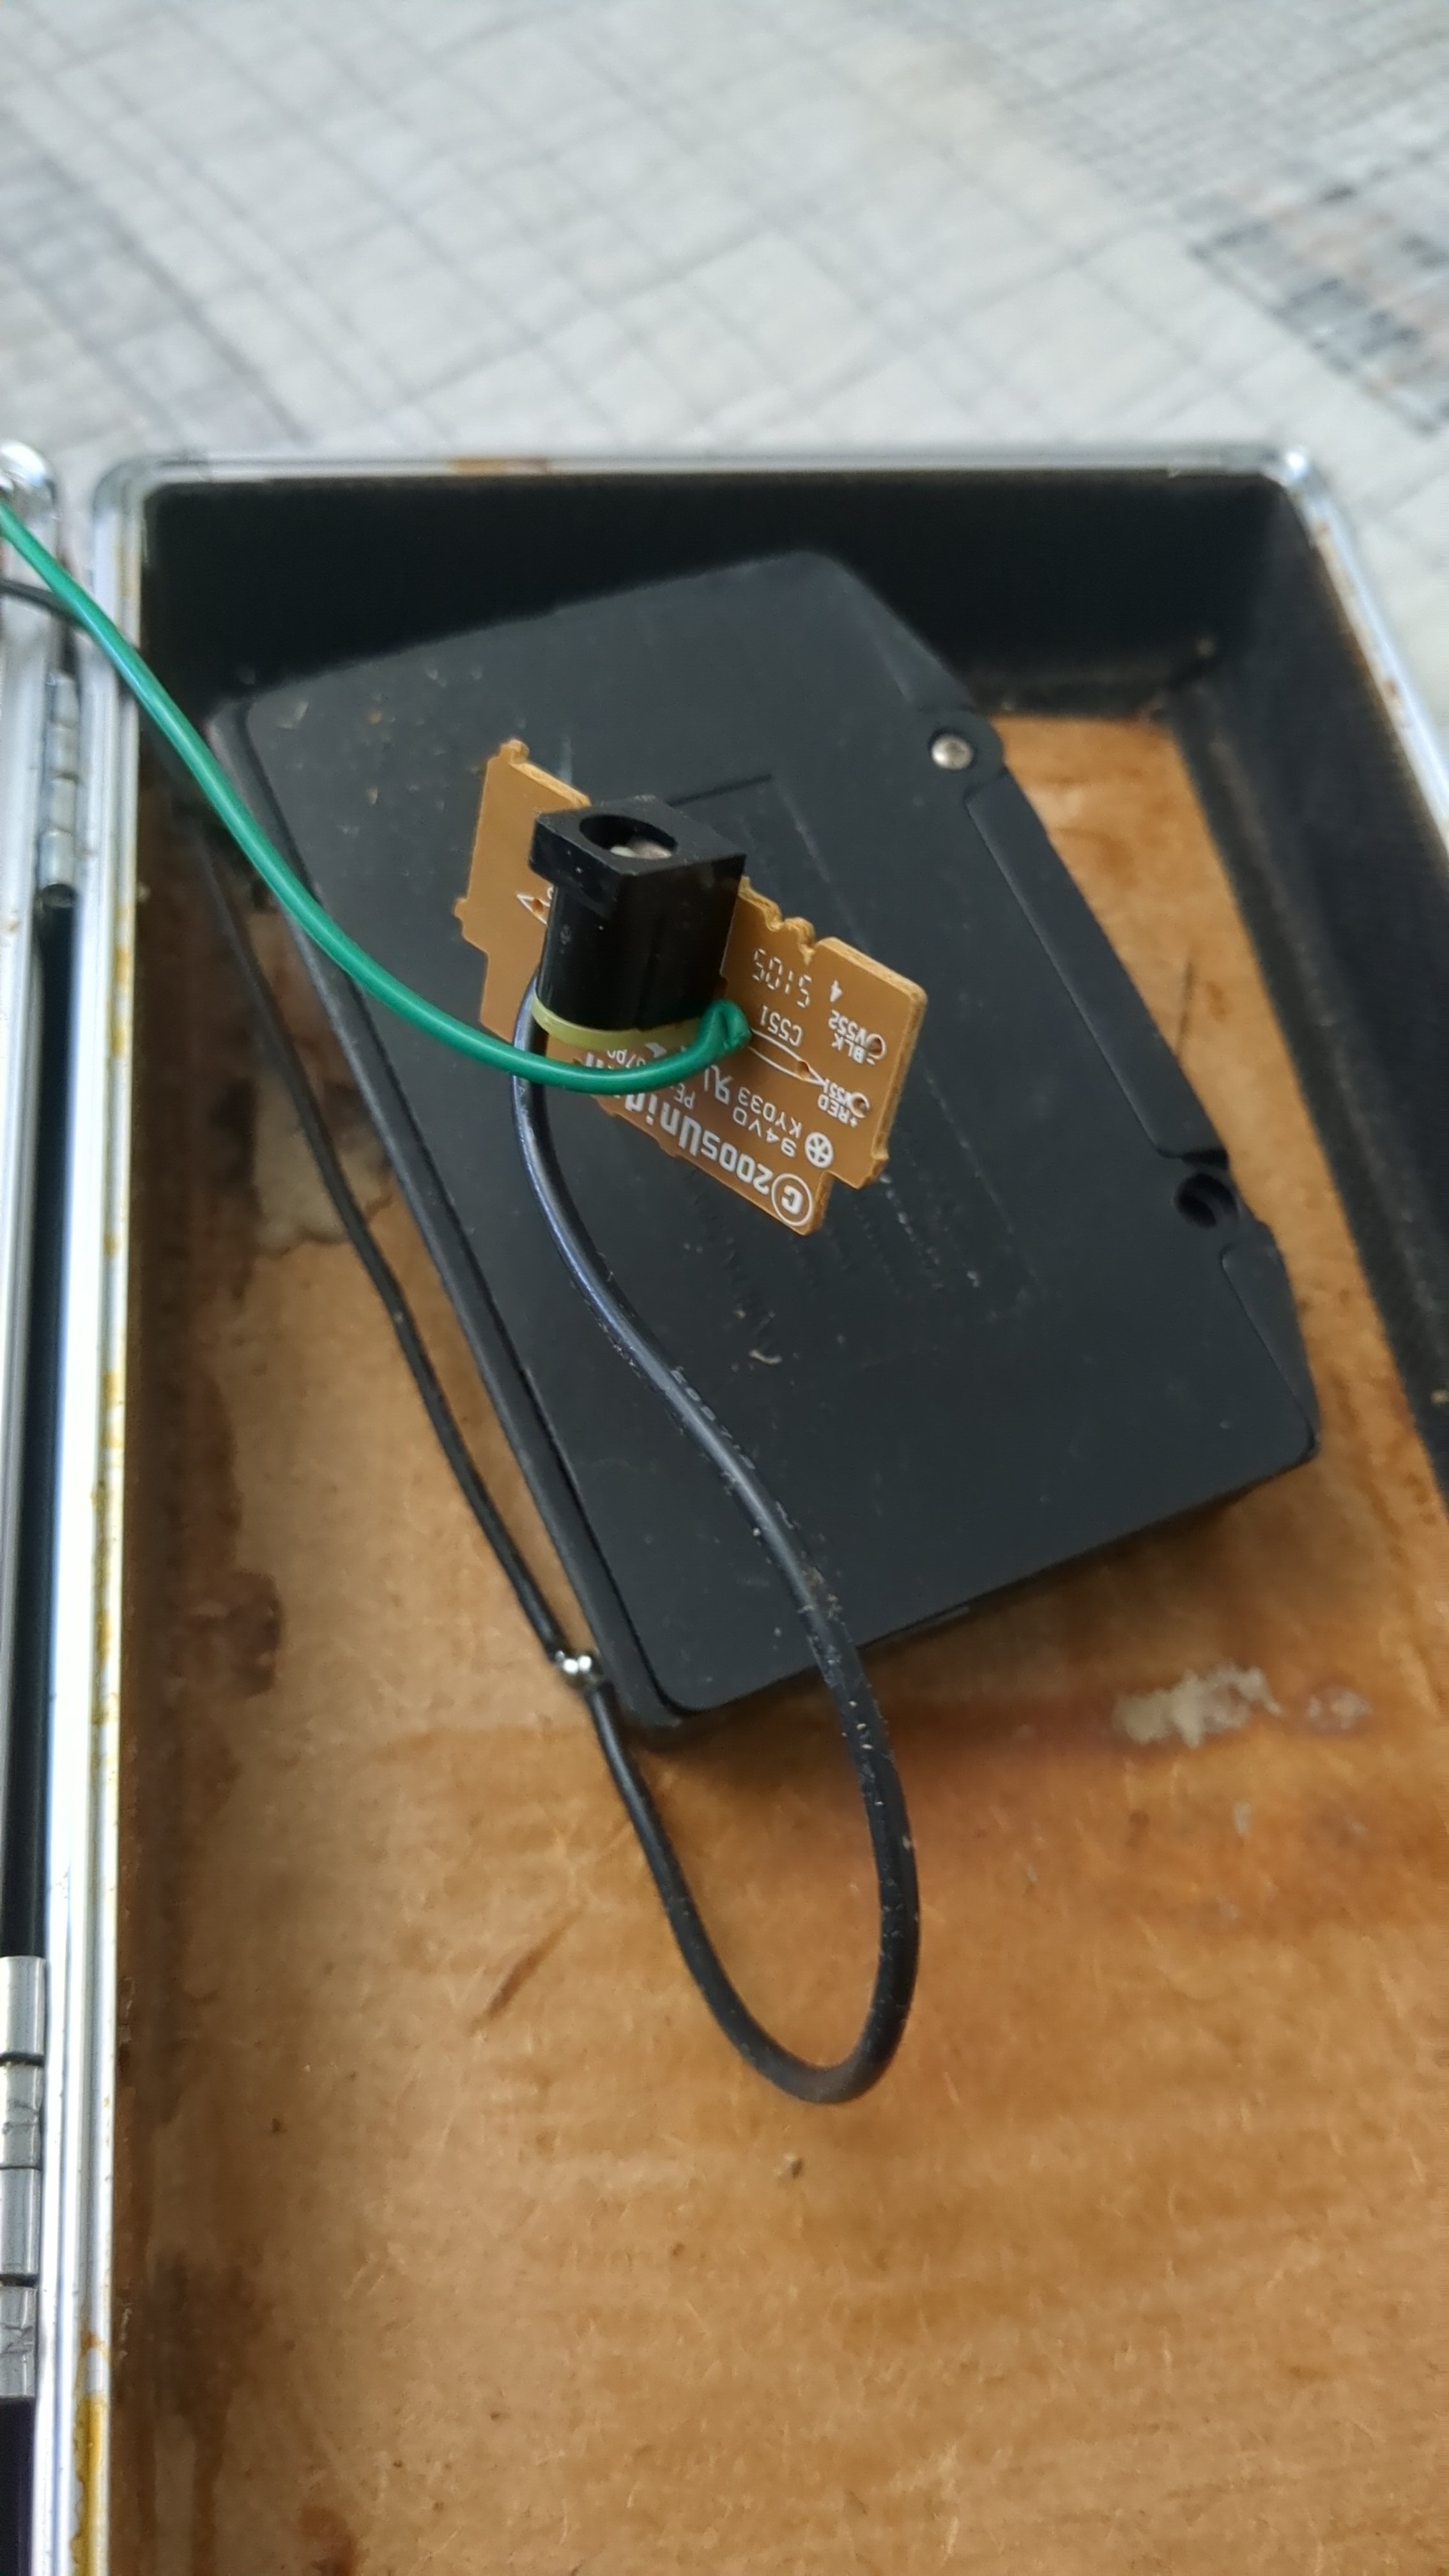
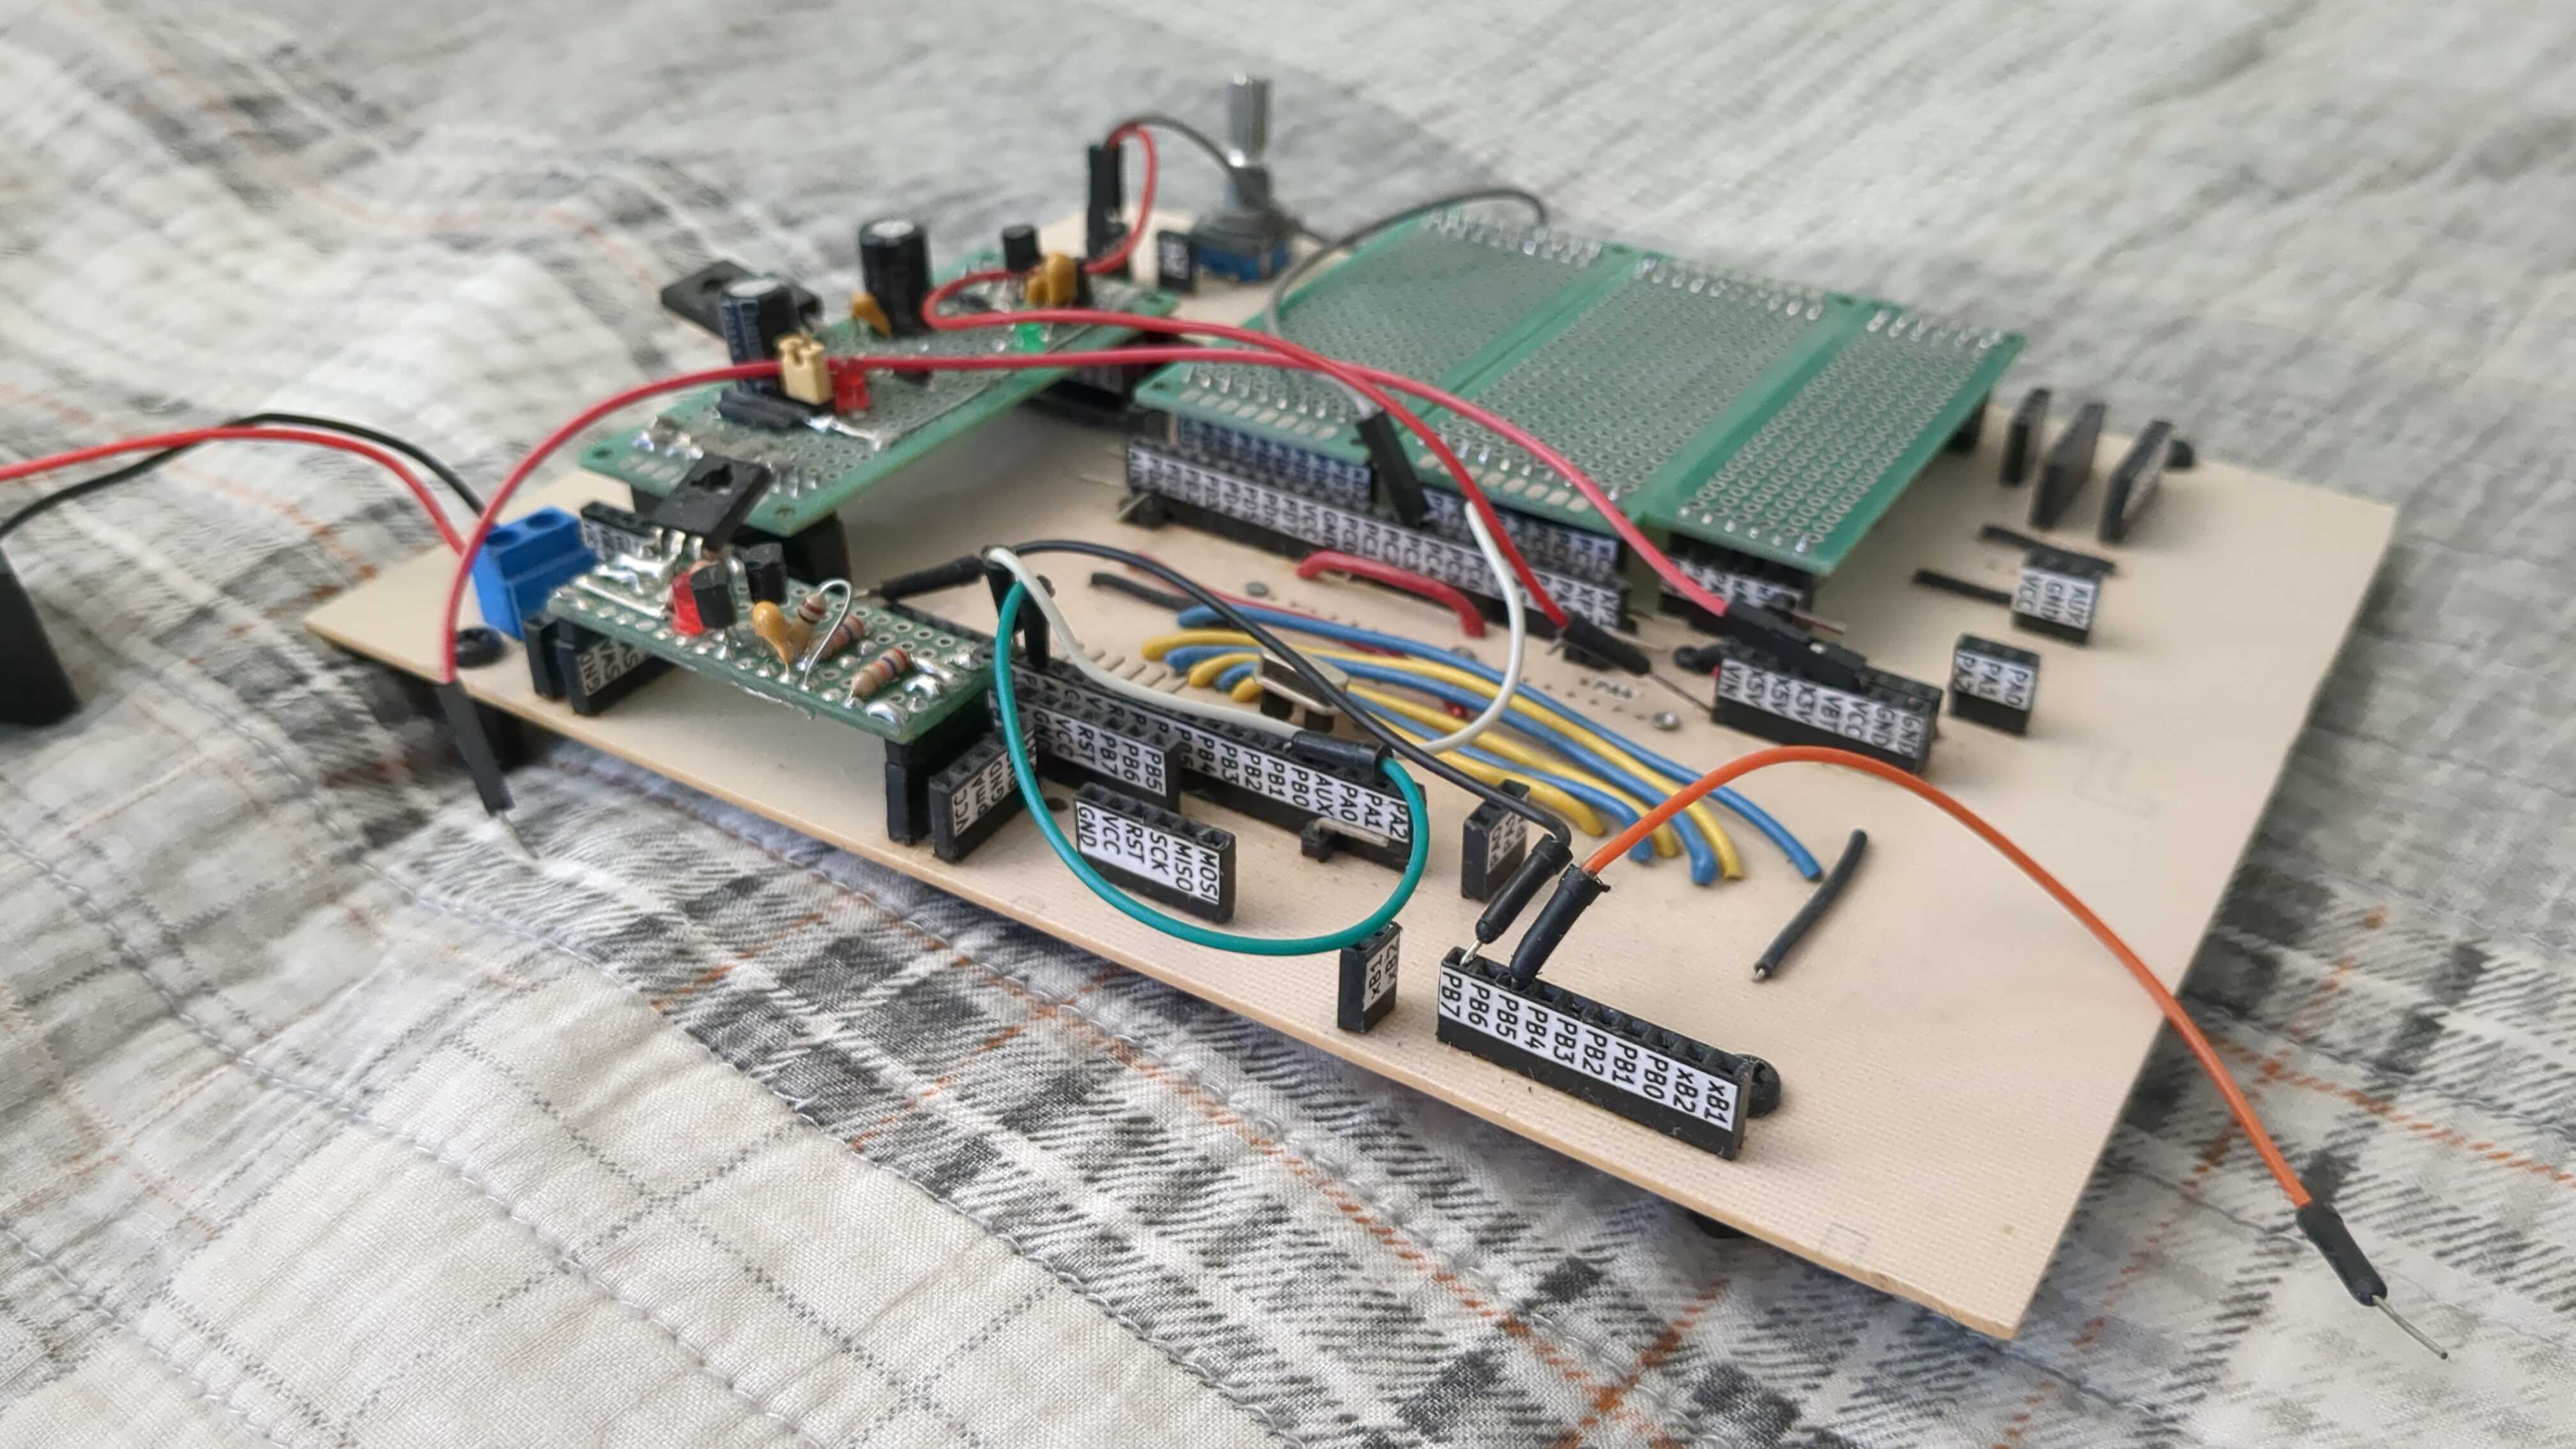
Actually, yesterday I started building with the other Bluetooth module pictured above. That was from some active noise cancelling headphones. Its wiring looks much more complicated because it had 3 mics. I was building an enclosure for it, but I think I would like to see how well it works in a more dedicated project. I wonder if the noise canceling can work in the open room. I think it might work in my little alcove space and with the way I am setting up my laptop stand.

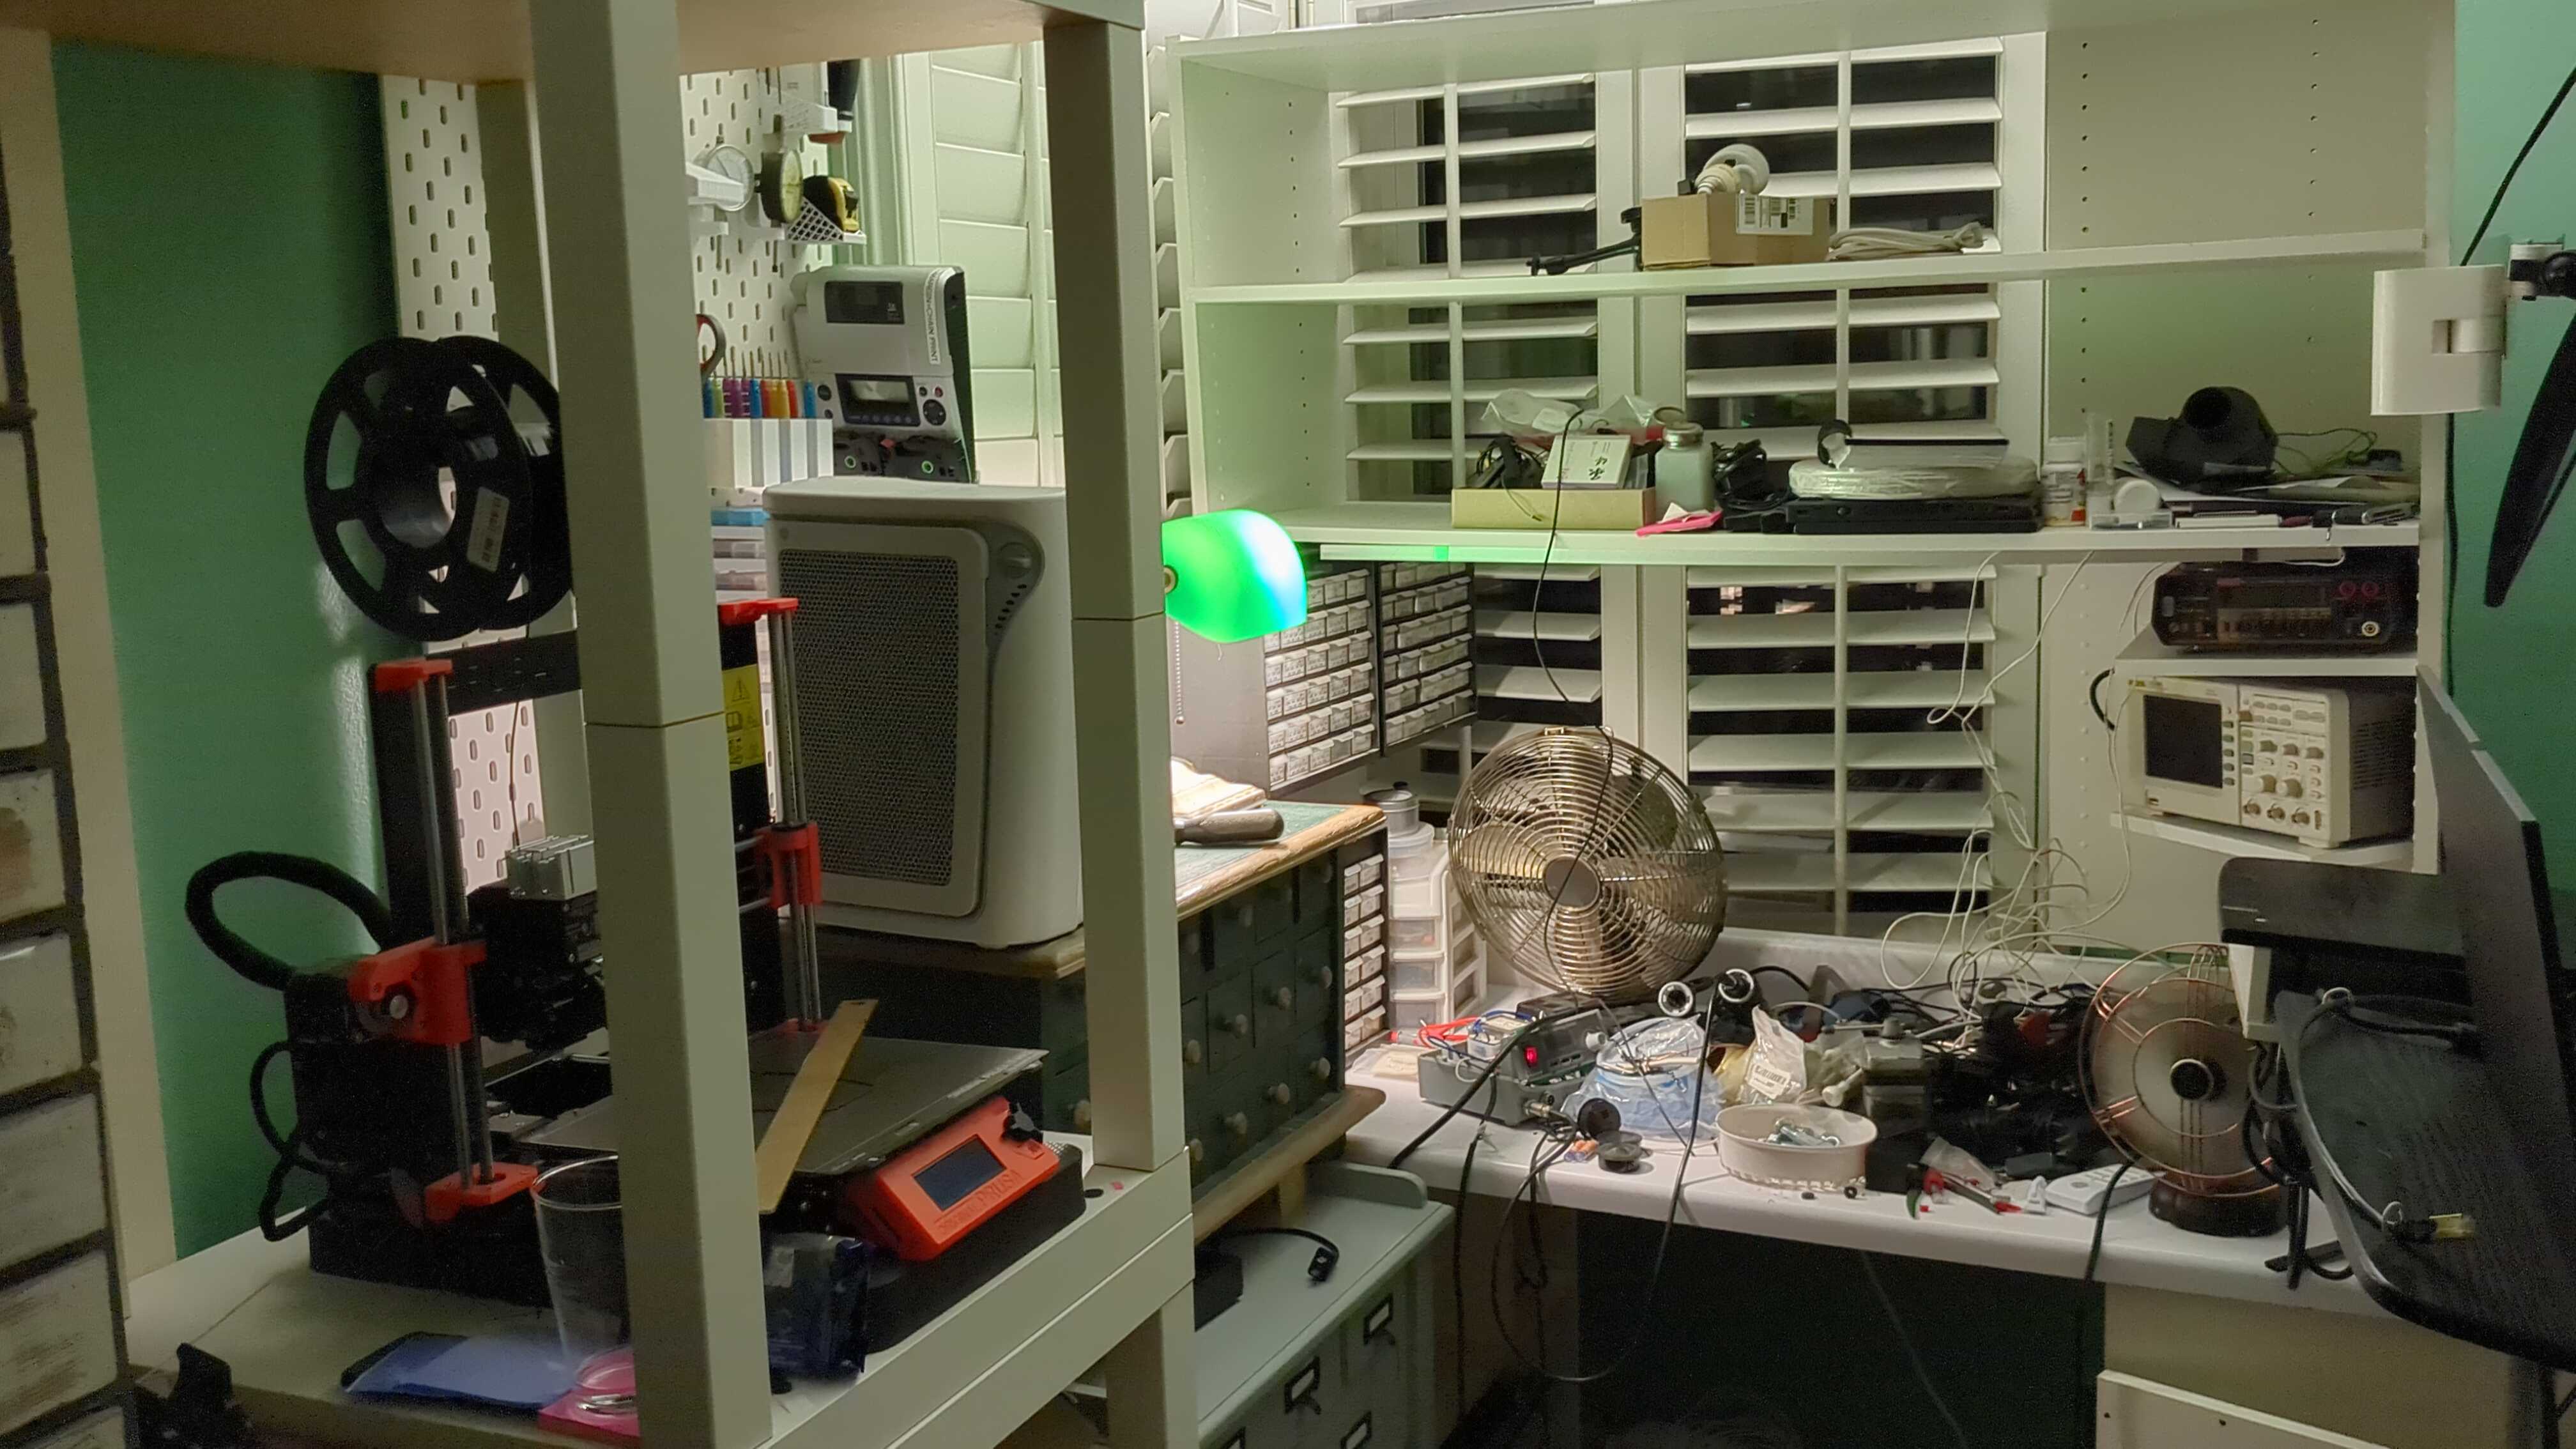
I'm still planning on trying to make some cardboard pulped and pressed tiles of some sort for the GPU water cooler but I need a junk store blender first. As soon as I have the stereo amp figured out, I have all the other pieces modeled and just need to fit an enclosure around them... just... Life's about the journey not the destination.

Anyways, another post in the Lemmy be dead rn hours.

2


Back when I was learning KiCAD and before I learned to make jumpers only at 90 degree angles. No idea what I was thinking with C-B-A-D but this was in the hazy years of trying pain killers of every sort after the broken neck and back... But I managed to figure out circuit design, op amps, offset currents, shunts, PCB layout, soldering, single and double sided boards, and both laser toner transfer (bottom) and photoresist (top) based circuit etching, plus using toner transfer like a screen print.

3


It turns out that a printed pleat former is critical for holding the fabric in place and stretching it. Each of the comb clips is interlocking in multiple directions. There is a little dimple that can be seen barely on the lower clips near the tip that falls into a divot in the opposite side and through the fabric. The top and bottom are interchangeable except that there are unique end clips. It takes some force to unsnap everything when fabric is in the comb and it holds tightly.

The frame sidewall assembly clips are what I am working on now. I am trying to clamp the sides of the fabric securely while having a toolless assembly with no hardware just for design kicks and giggles.

I never imagined how a pleated filter might take such a complicated build. Currently at 32 parts. Forgive the poor print qualities in multiple parts. I sped things up and made massive layer heights for drafting purposes. This is the third full scratch iteration.

4


I failed again on a couple of levels, but am figuring out the problem...

I think for the next design I am going to attack each pleat segment as an assembly like a Lego build. I need to shape the pleat and secure both top and bottom in a way that allows the fabric to pass through the ends. Then mount that brick assembly into a frame that pulls tension along the pleat length.

I'm kinda at a mental impasse at the moment because the alternative idea I have is to melt a bead of PLA into the top and bottom edge of the fabric to allow assembly with the fabric already cut to length.

With the Lego bricks-like clipping assembly, the conundrum is how to trim the excess and still create a filer frame that is easy to build into a larger air box assembly.

My goal is to have taut pleats with no cardboard or material forming them. This is actually a second project and attempt at such a thing. I could easily buy something, but screw that. Amazon won't list dimensions of filters because that would be honest, when branding is exploitable for price fixing. I would rather cut up an old tee shirt for a better filter media anyways, or toy with more complexity in sensors with a microcontroller or filtration media later down the road.

5


pic of it mounted through the bedside stand

I'm actually quite surprised that it is doing so well on the first design and prints. It is printed in polycarbonate.

Here is the inner ring with a cover for if the cooler is removed.

I still need to make some parts, like a better cap cover for the water block, the enclosure for the power supply, radiator, and fan. And I need a guide that keeps the hoses near the table top, but the hardest parts are done now.

This is one of the largest GPUs ever to come in a laptop. I use it for AI stuff, but it often throttles from temperature. A laptop is ideal for my ergonomic needs with physical disability. That's the why.

6


So I have this old CPU water cooler and my laptop still throttles from some AI workloads on the GPU due to thermals. There is a nearly flat spot directly above the GPU heat pipes. So I'm making a way to connect the water cooler block.

After cutting a hole in the laptop enclosure cover, I need a way to attach the water cooler block securely. I have come up with a ring that can use the enclosure hole as the mount for the water block. I still need to design this mount. However, I needed to test and iterate the inner enclosure mounting ring before creating a mechanical mount for the cooling block, so I decided to design a cover for the hole when the laptop is not on my bedside stand, (physically disabled/laptop is for ergonomic needs/never actually leaves the bedside stand).

I went with a bit of a Dune theme with some asymmetric implied symbolism that harkens the Arab undertones of Arrakis and House Atreides.

I was also working on dialing in the finest details I can achieve with a 0.25mm nozzle and polycarbonate. I need to lower the first layer z a few thousandths as this came out with too many visible layer lines, but overall it is okay. I'm working on ways of adding infill like patterns in the slicer but making them appear nicer. I still haven't nailed that one yet as this print has minor deviations between the geometric art pattern and the infill like screen. I did this one by brute force in FreeCAD but I think I can do better infill like mesh patterns after watching some tutorials on the Lattice 2 workbench.

I am going to create an insert of another color or texture for the House Atreides symbol.

I had to build my printer enclosure to print these in PC too.

7


Working on the 3d print designs to hold the water block, radiator/fan, and a little alignment connector and cover for the hole in the laptop enclosure at the GPU. I already did grizzly extreme thermal grease, and modified the enclosure in several places to allow better fan airflow. The water block will hopefully stop the throttling with CNNs and keep the GPU from going offline when under sudden loads like loading a new model.

I had the water block from an old comp I was given, so why not try to use it. This is a 16 GB 3080Ti, so it gets pretty hot with a CNN. I won't even use Flux models because they run so hot.

8


IIRC that NTE chip is a classic LM386 amp. This was one of my first electronics projects. Other than the chip and a few passives, it is all junk. I was building a center divider so that a small cord could be kept in the other half of the case and to mount the battery holder, switch, and barrel jack for using a DC wall wart instead of batteries, but never got that far.

9
4
submitted 7 months ago* (last edited 7 months ago) by [email protected] to c/[email protected]


Overhead LED strips wired and lots more junk shuffled. The critical test of whether the corset would alter my mobility substantially seems to be passing so far. I can still sleep after being upright most of the day. I still need to wire the strips under the bottom desk-shelf, and have a ton of junk to sort and organize properly. Does anyone else here treat a bedroom like a tiny house lab?

10
 
 
11


Early wannabe EE aspires to stuff too much into too little and gets carried away. I actually got sidetracked with a dumb idea of making complex animations on a character display, called the thing "Juice Box," set it up to play the Mario theme song on a piezo and did a whole intro thing that kinda took away my motivation to program the voltage monitoring and digital potentiometer, or something like that. I forget what the hiccup was exactly. This was back when I was still willing and naively going through massive physical ups and downs with disability from my broken neck/back. I probably put it away in one of the 3-6 week stretches without much sleep at all and never managed to come back to it. It is the same story with most of my hardware projects, and why I may seem quite capable, but will readily admit I'm pretty much useless in my physical shape overall.

12


I never did fit it into the final enclosure despite ridiculous plans that were almost as overcomplicated as my etch mask art.

13
 
 
14


Printed button details for good engagement and function are hard. Didn't have an ideal wiring multi conductor available. Solid proje is maturing well with 2 years of dust.