1
Microscopy
401 readers
8 users here now
Anything related to things that are too small to see them with the eye, and the tools used to observe them.
This space is quite general in scope - microscopes, microbiology, small component electronics, questions about buying optical components, etc.
founded 2 years ago
MODERATORS
2
3
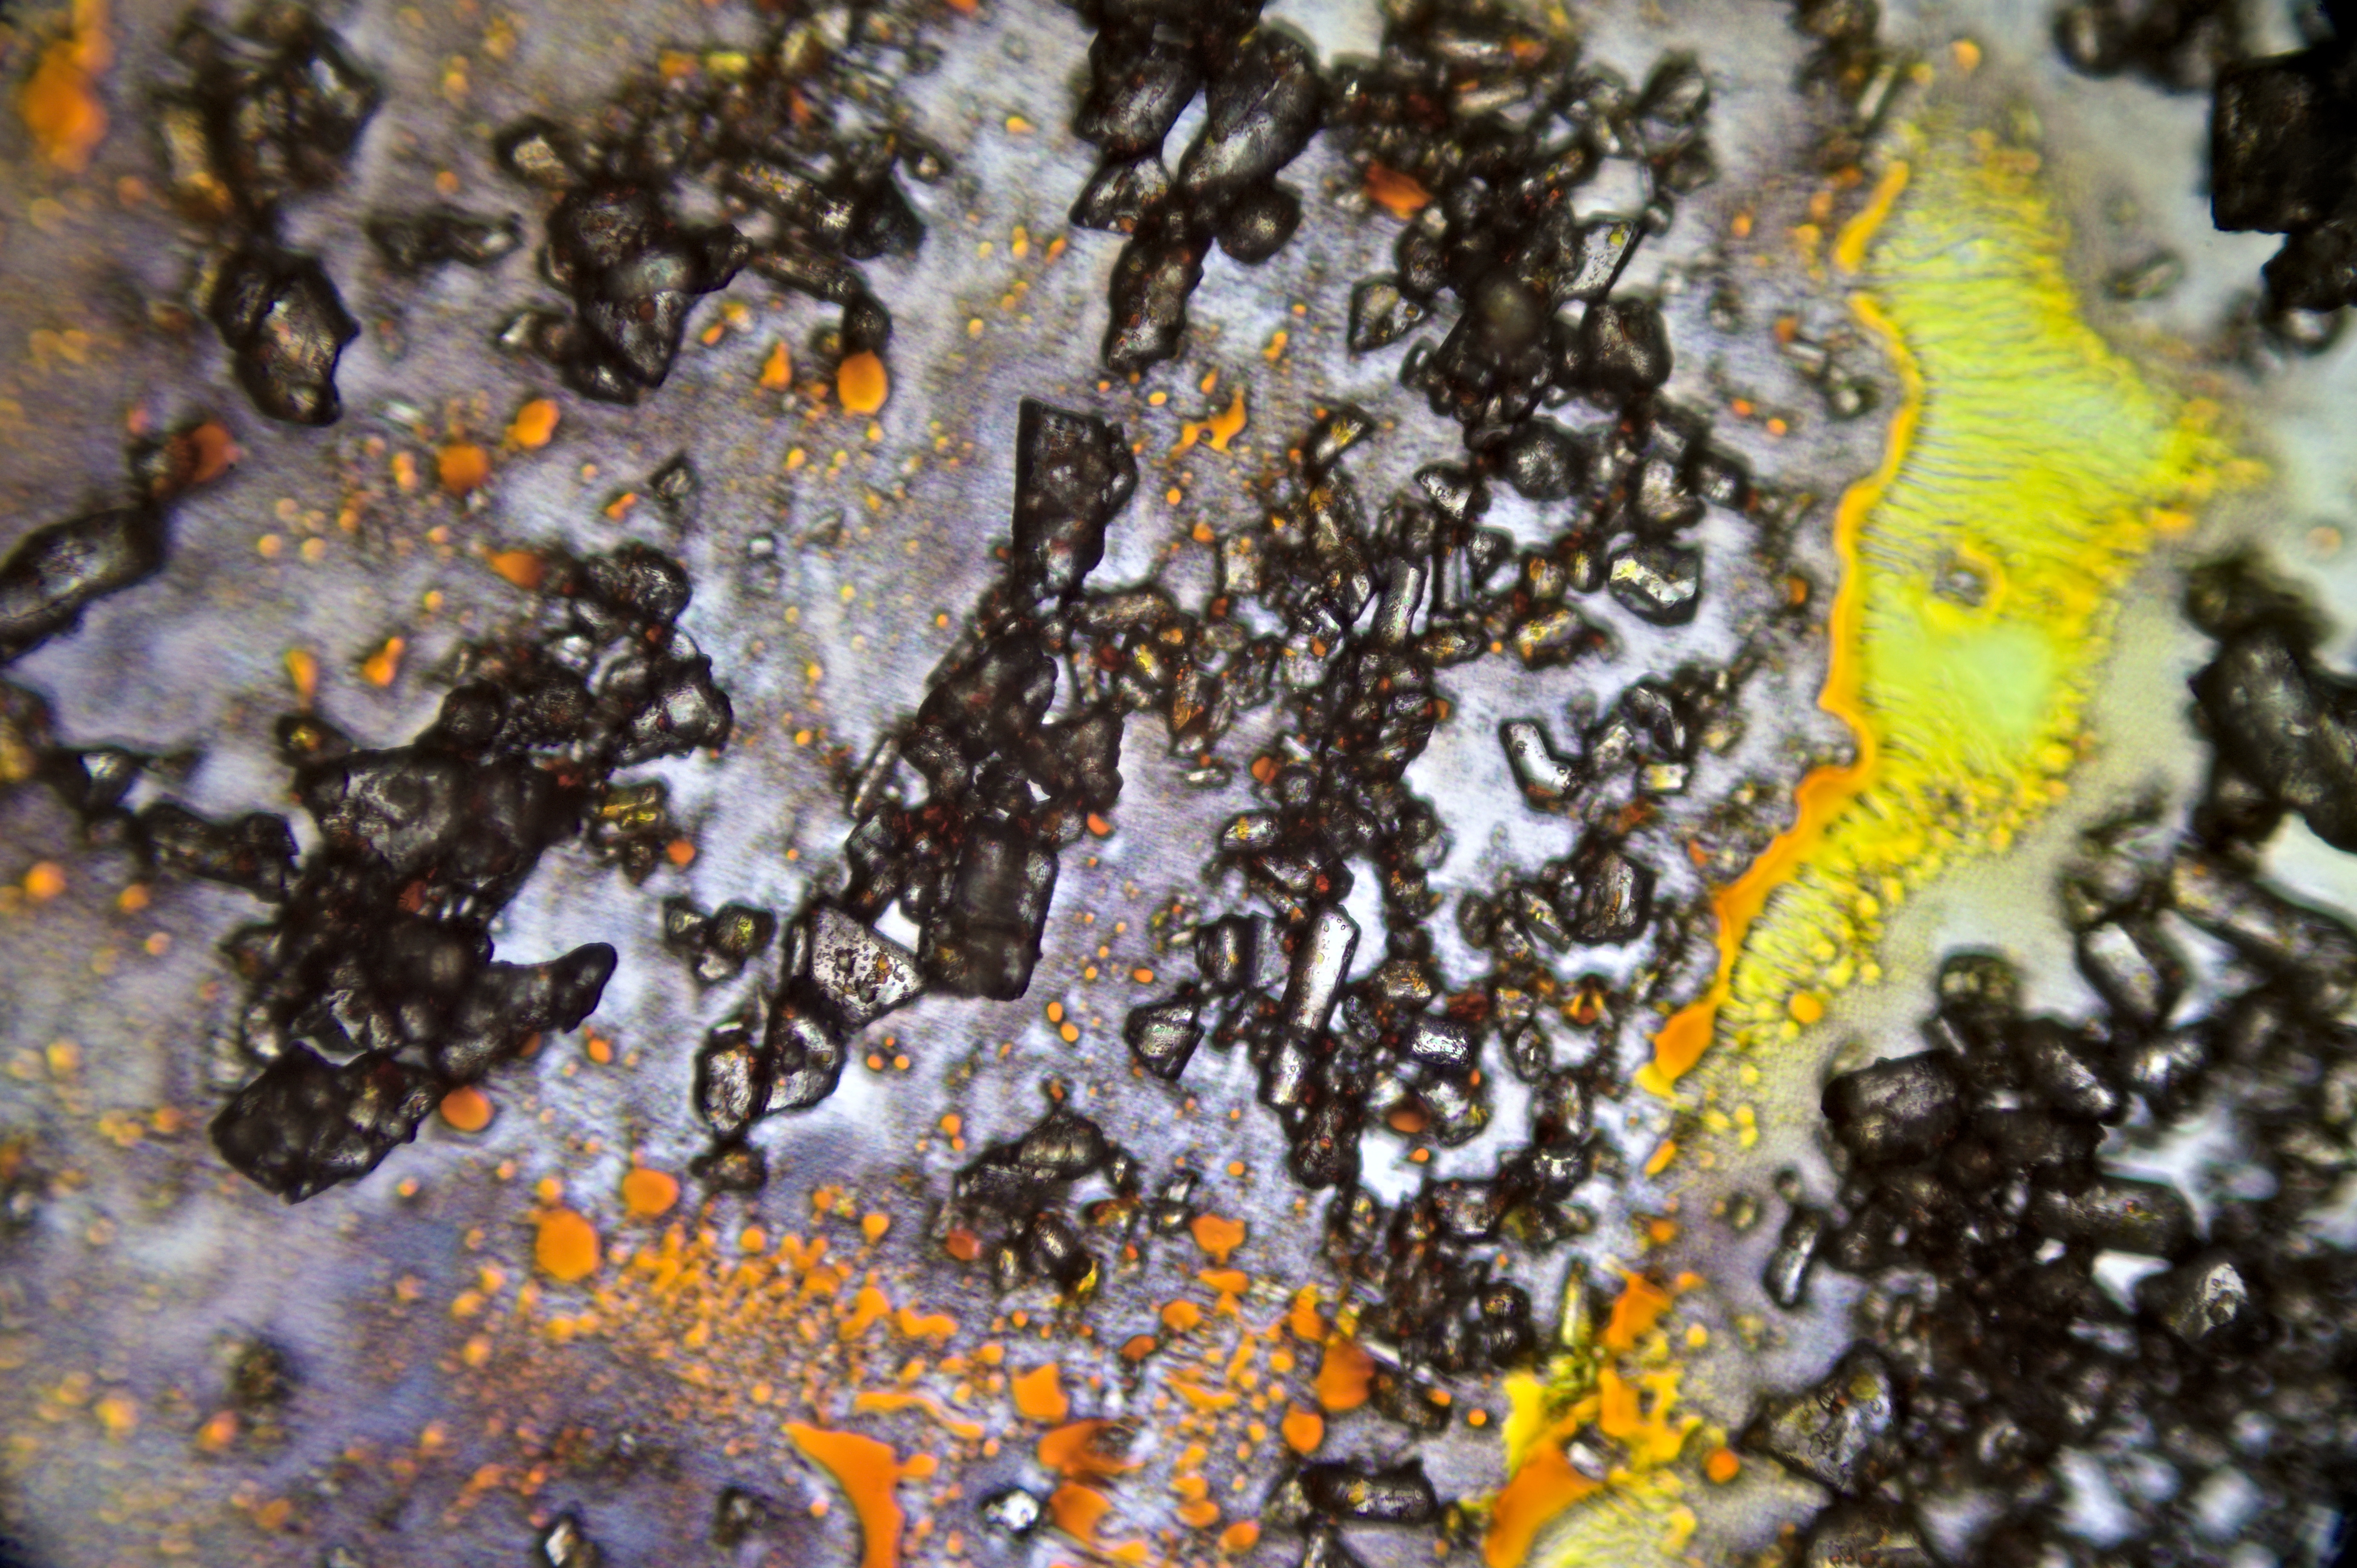
This weekend I did some experiments with turmeric powder. Here are some images of the results, and the description of how to create these microscopic chemical landscapes is given below.


Turmeric powder is a fantastic material to play with. The powder has a high concentration of colored and fluorescent curcuminoids and volatile turmerone oils.
When you use a polar solvent to extract these compounds, what you get is a kind of fluorescent oily resin called a turmeric 'oleoresin'.
The curcuminoids are yellow at acidic and neutral pH, but they become bright red at high pH due to keto-enol tautomerization. There is a lot of cool things you can do with the curcuminoids in terms of photo/electrochemistry.
I have been playing with very simple chemistry under the microscope, and I have noticed that you can create some cool-looking micro-landscapes. During this process you can also see different types of physico-chemical processes happening in real time.
Procedure to do this:
- Place a few grams of turmeric powder into a glass container
- Add enough isopropanol to cover the material, and a bit more
- Mix
- Wait for the solids to settle
- Collect a bit of the isopropanol liquid from the top and place on a glass coverslip
- Wait for the isopropanol to evaporate.
At this time, you can see under the microscope that golden oil droplets have been deposited, and that the surroundings are also yellow. The drops are oleoresins, which consist of curcuminoids suspended in turmerones and other oily compounds. Thin curcuminoid films might also be forming in between these droplets.
-
Add a sprinkle of baking soda crystals (sodium bicarbonate) on top of the coverslip. You can blow on the coverslip if you accidentally add too much.
-
Add a small drop of water, and wait a bit.
At this time you can see that the crystals are dissolving under the microscope, but the colors are not changing. The water and oils are not mixing, and so you get this film of alkaline water surrounding the oil droplets, but nothing is yet really changing.
- After waiting a few minutes, add a drop of isopropanol.
Now the isopropanol will re-dissolve the oleoresin and mix with the alkaline water. The carbonate ions are now able to react with the curcuminoids, and when they do, they go into the ketone form and instantly turn red. Under the microscope you can see quite dramatic movements of yellow and rad streaking as well as turbulent movements of the baking soda crystals.
-
Wait some time for the liquids to evaporate again
-
You will end up with a landscape that combines yellow resins, red resins, sodium bicarbonate crystals, and several different patterns.
You can vary the parameters - the amount of sodium bicarbonate, the position and size of the drops, you can pre-mix the water and isopropanol, etc. Small changes can drastically affect the resulting landscape.

4
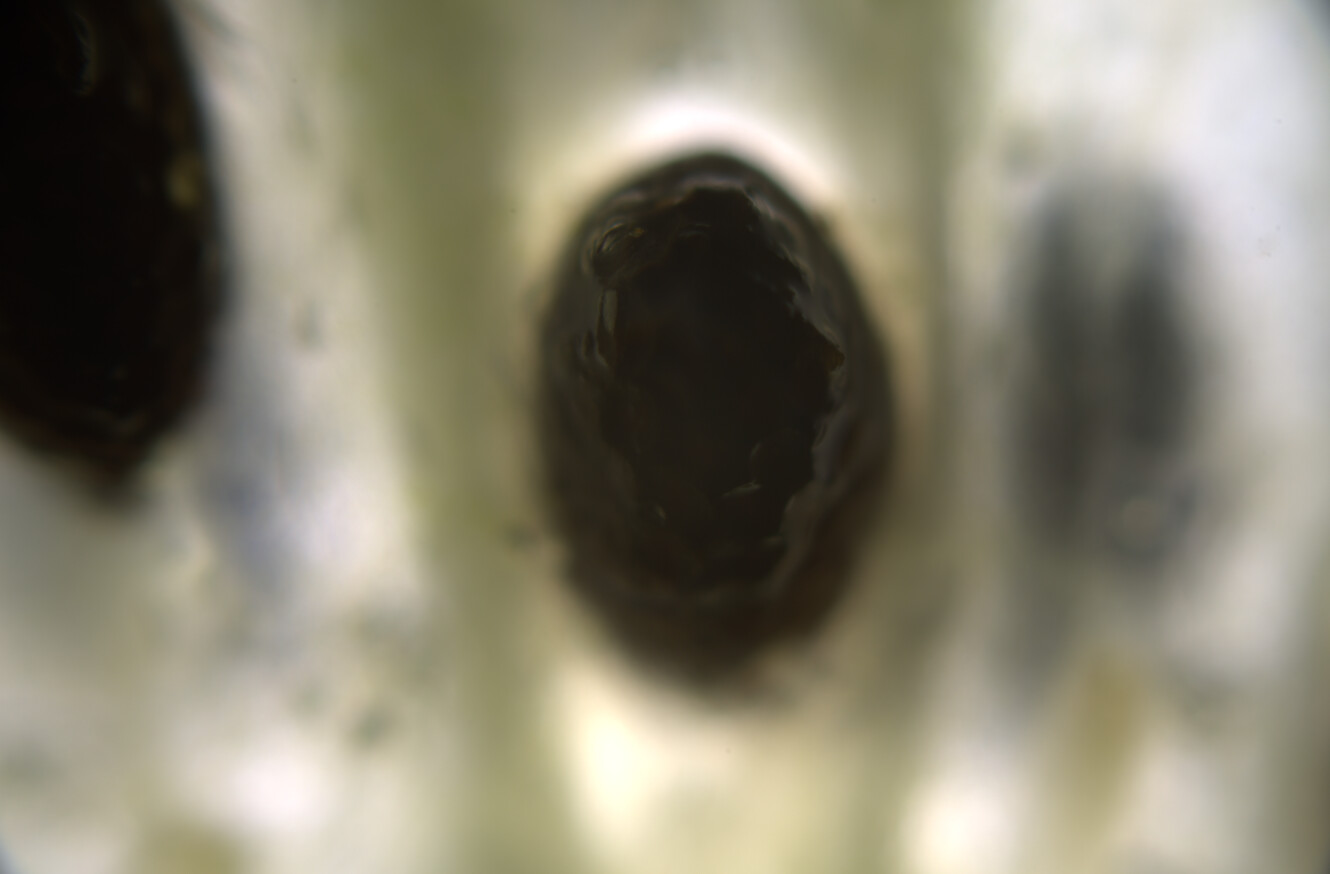
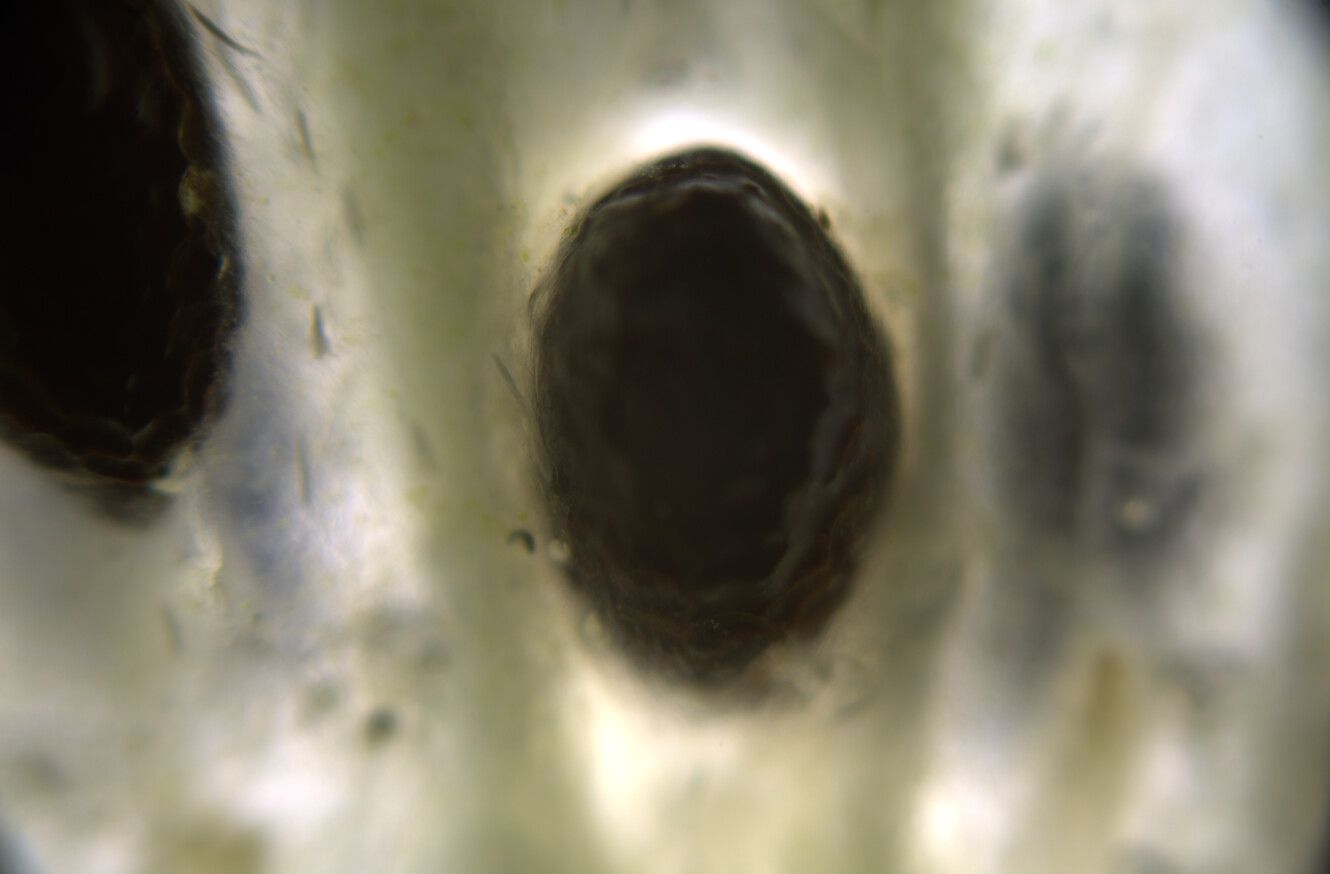
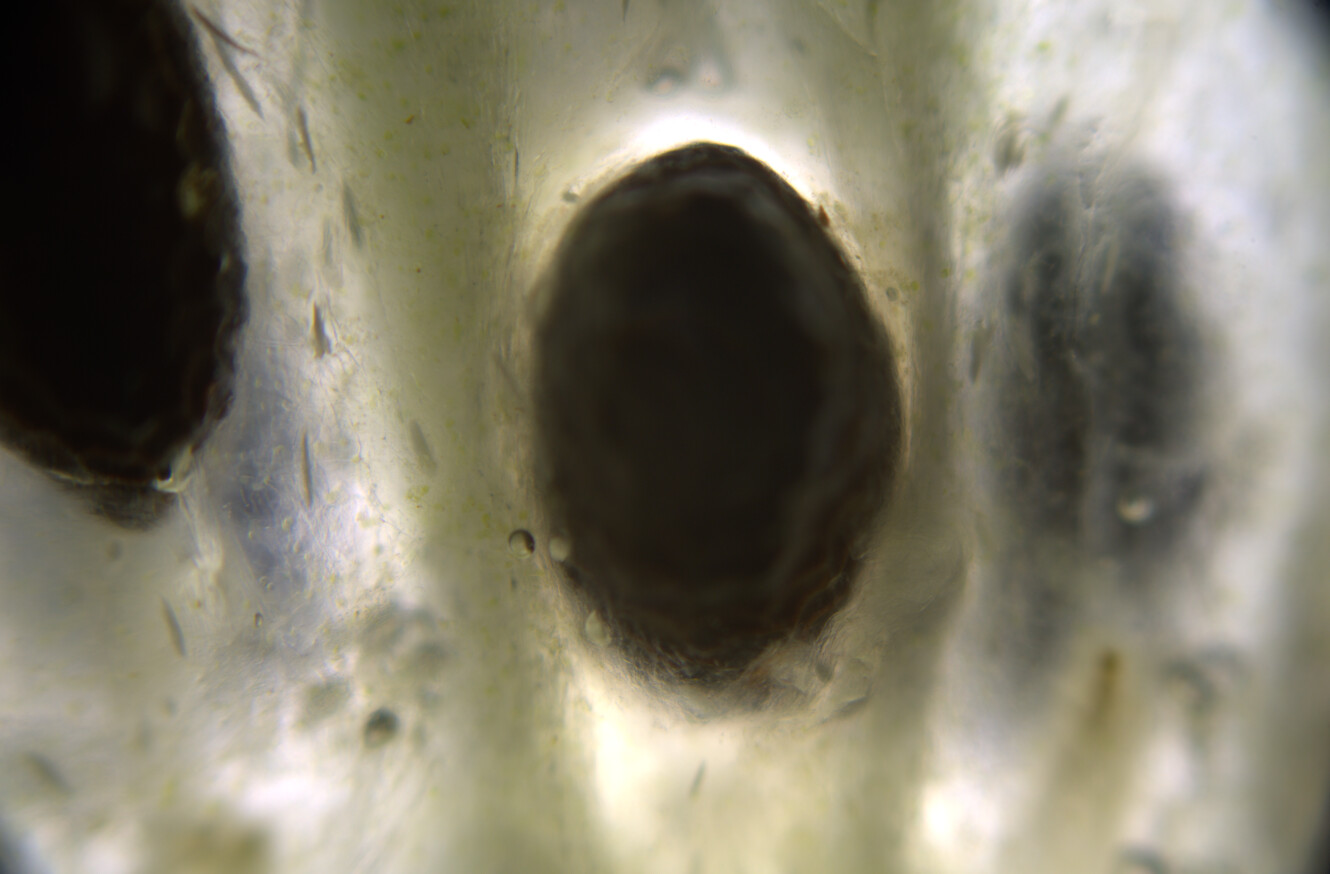
This is a stack of 7 images, you can click on the image to see the full resolution and guess what the subject is :D
The photos were taken using a Nikon D7500 camera connected through a T2 adapter tube with 2X magnification (NDPL-1(2X)). Microscope is the Swift SW380T. The objective is a 4x Plan objective.
For stacking the images together I use three tools: ImageMagick's mogrify to transform from the raw NEF files to .tif, Hugin's align_image_stack function to align the images, and enfuse to blend the images together.
The output .tif file was post-processed using rawtherapee in order to increase local contrast and tune some other parameters.
The process of focus stacking a set of images is rather simple in Linux. The programs above can be installed via the package manager. Then, you copy the raw files to focus-stack into a folder, and run the following sequence of commands:
(1) Convert from RAW to TIF:

mogrify -format tif *NEF

(2) Align images

align_image_stack -a aligned_ -v -m -g 10 -C *.tif

(3) Focus stack

enfuse -o result.tiff --exposure-weight=0 --saturation-weight=0 --contrast-weight=1 --hard-mask aligned_*
Below are the images used for the stack after alignment, for reference:


5
6
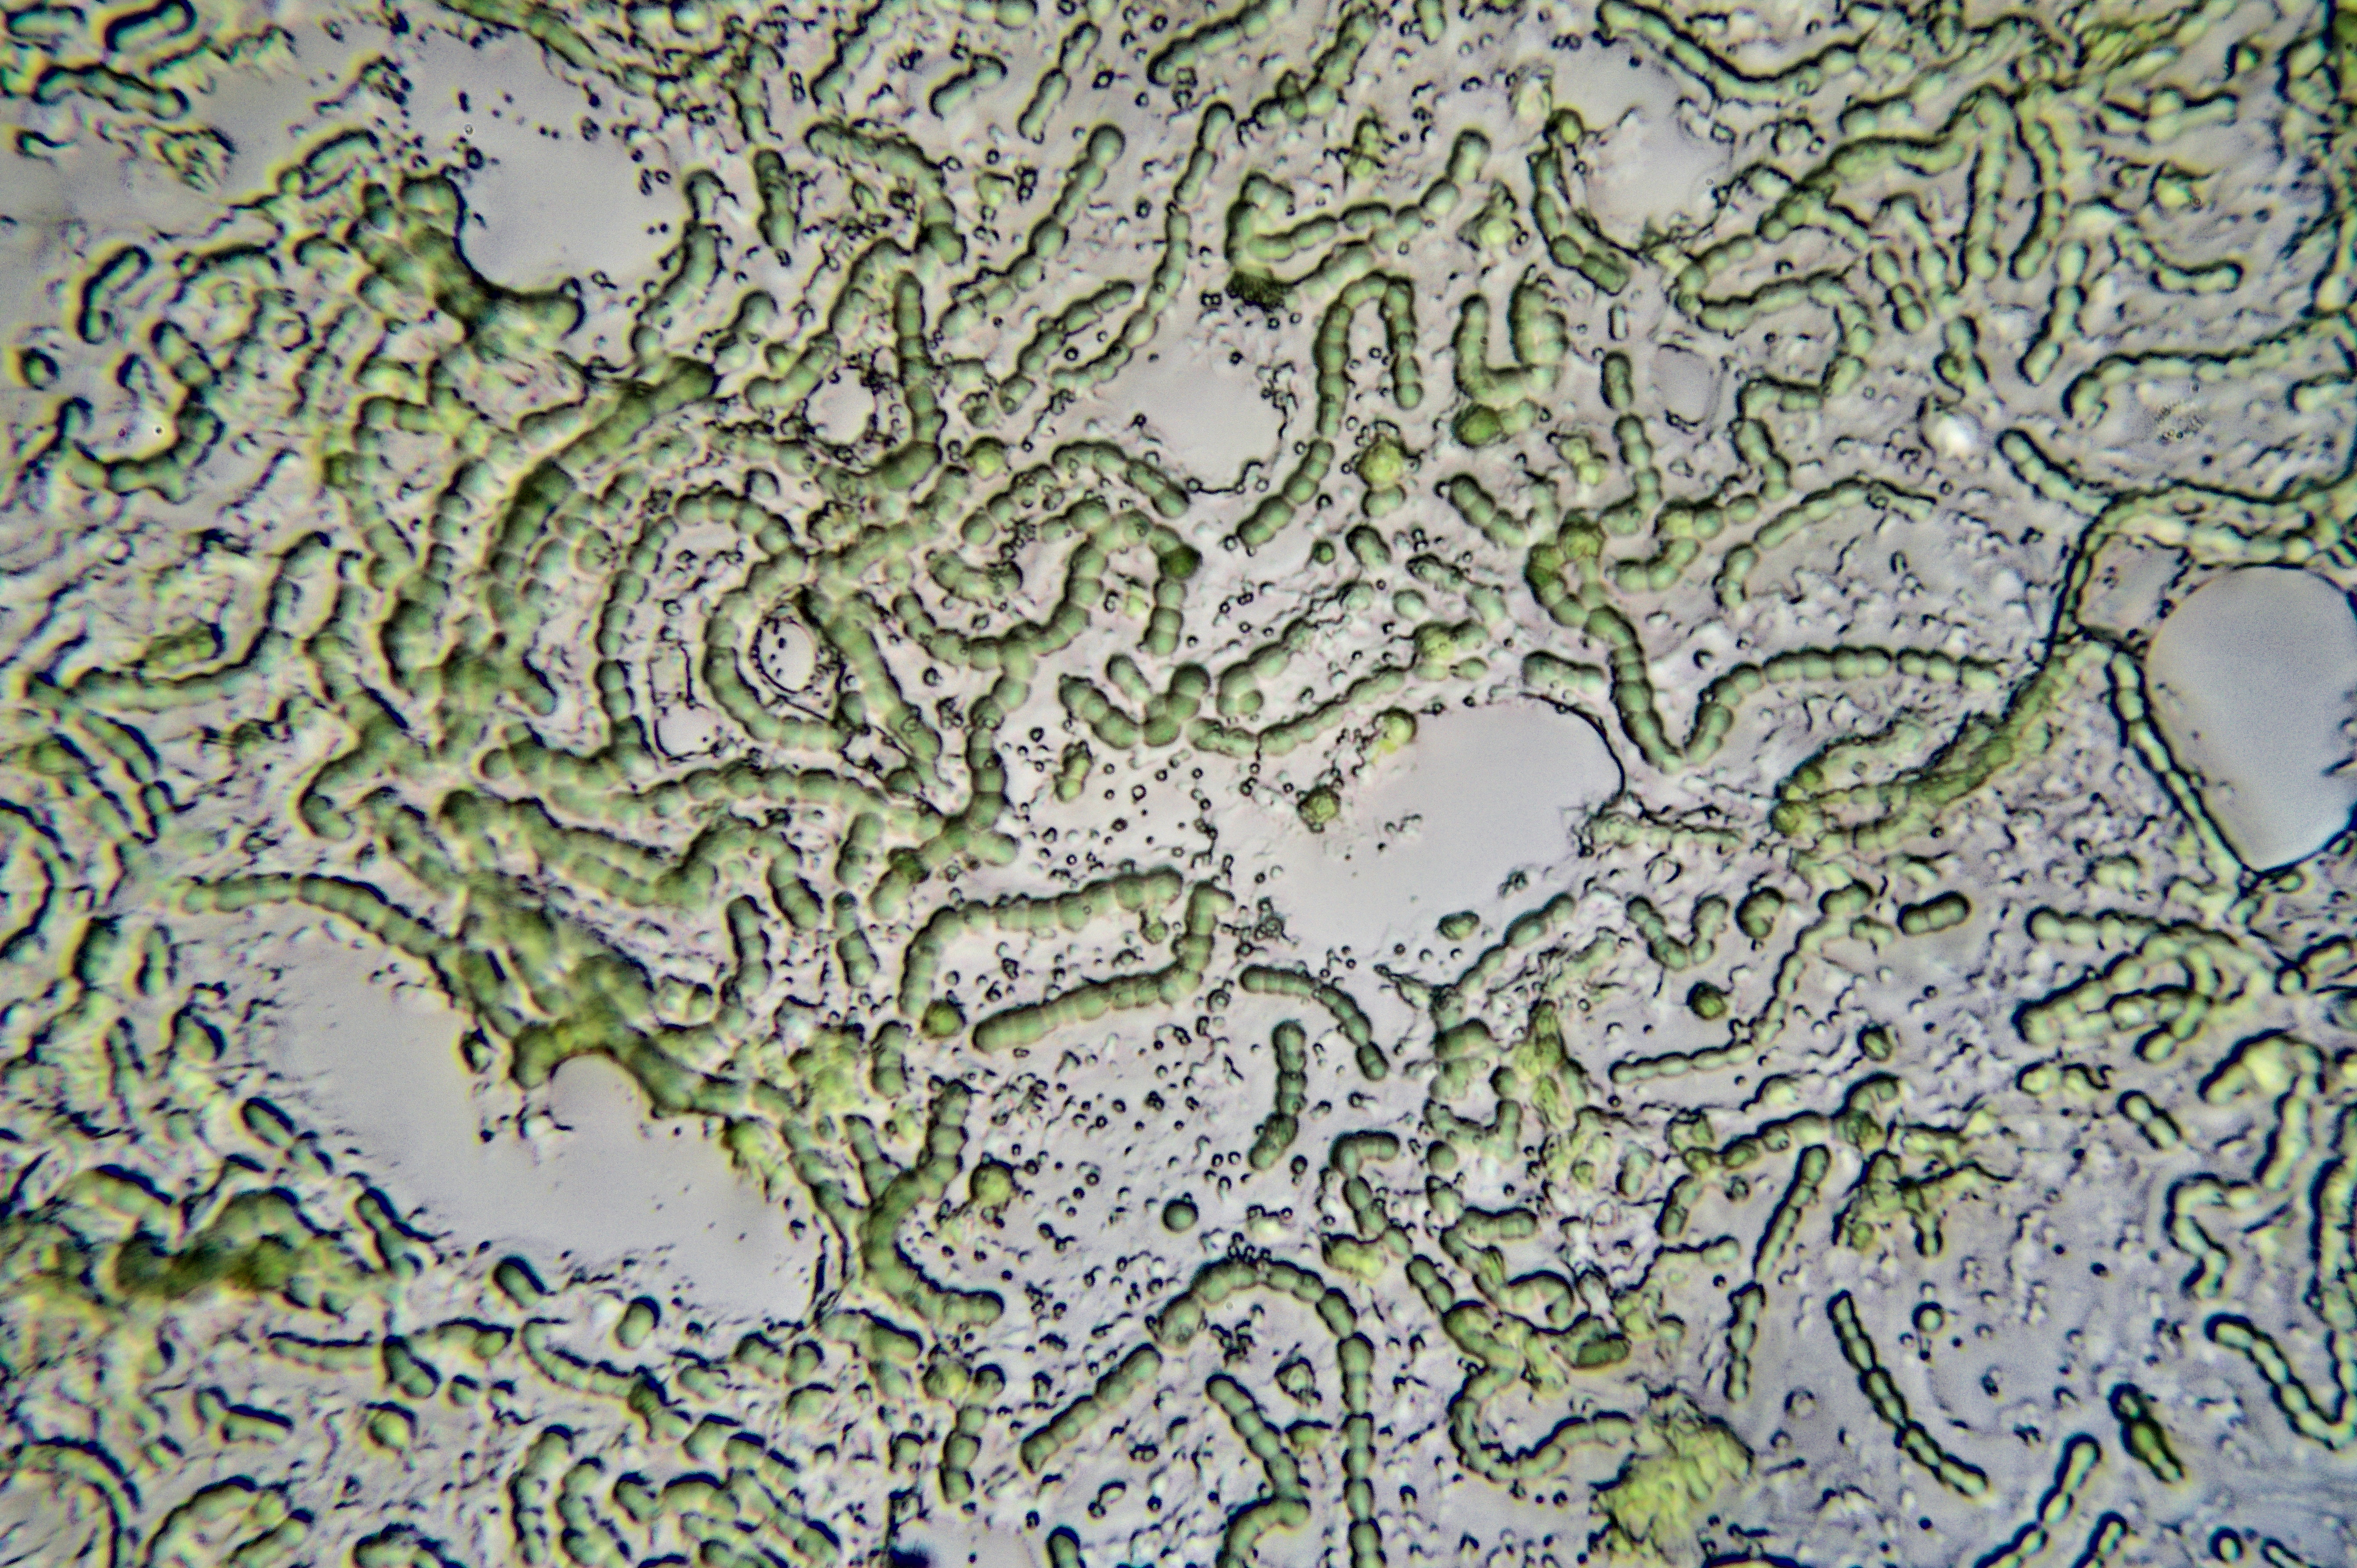
This specimen came from a slimy film of algae that grew in one of my algal cultures. I think that it is a Nostoc. Objective is 40x/0.65
7
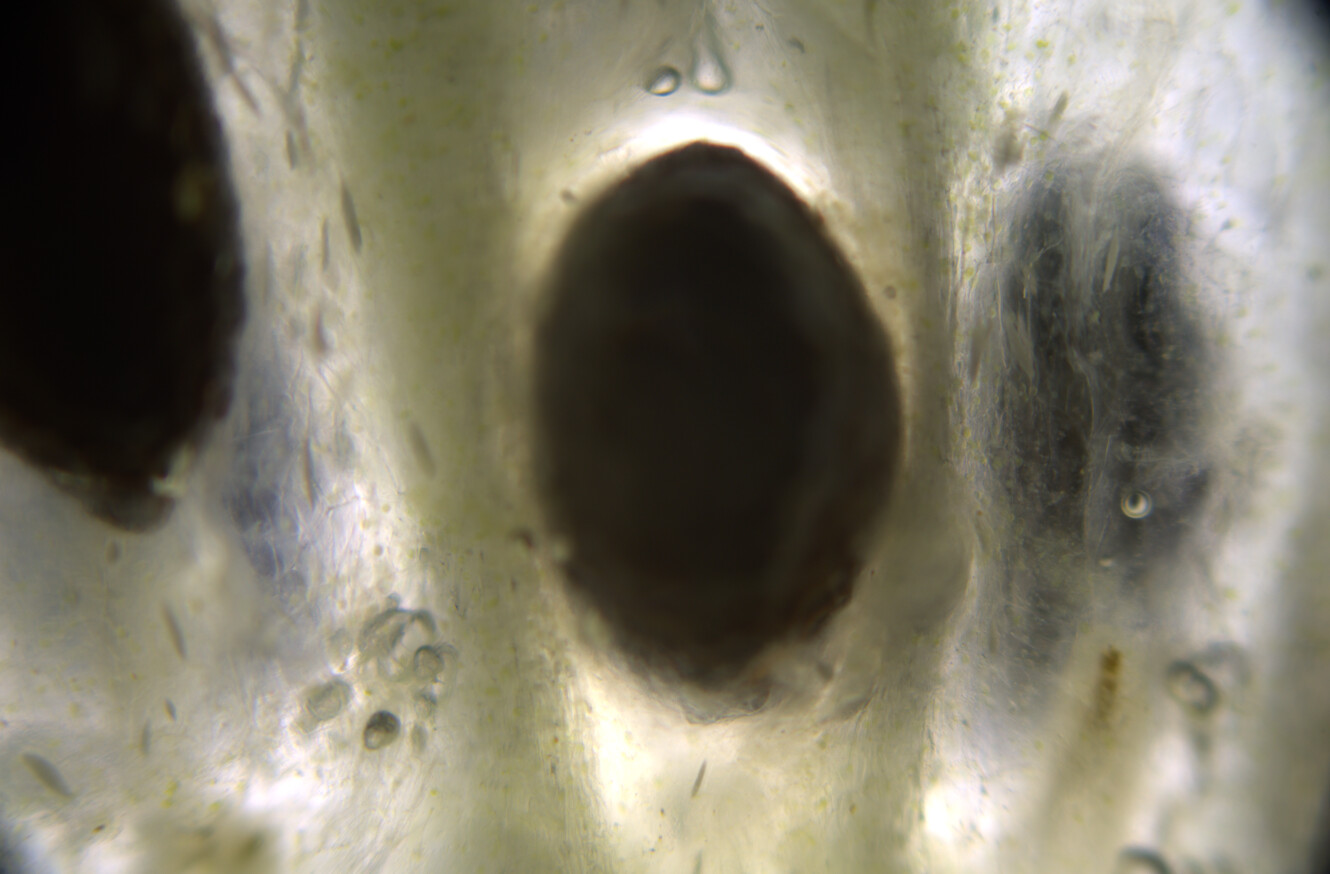
This image was taken through the 100x oil objective and a 2x camera adapter projecting the image into a Nikon D7500. The sample is a leaf from one of my plants (Dioscorea elephantipes, but I don't think this picture would look very different for other plant species)
The edges of he leaf were already yellowish brown. Here is a photo of that area with much less chlorophyll:

And here is a photo through the 40x objective using oblique illumination:

If you want to see some really fantastic photos of plant stomata I recommend having a look at Rolf Vossen's photographs here: https://microscopyofnature.com/stomata
I am looking through his documentation trying to understand how he managed to get those images. They are spectacular.

8
This is a photograph of a small trichome on the surface of a seedling through the 40x objective. Not sure if it is a happy trichome looking up at what it will become or a sad trichome looking down 😆 I liked the colors and the scene, reminds me of a painting.
Here is a photo through the 10x:


9

I prepared a 1:200 dilution of red blood cells using a ~1% NaCl solution. The imaged region contains 4 nano liters of the diluted sample. This image was taken using a 40x objective.
A count is performed by counting the number of red blood cells in a few of these sections, averaging the result, and then converting back to red blood cells per microliter by multiplying times 200 (dilution) and dividing by 0.004 (sampled volume in micoliters).
For this particular sample I estimated 3.8 million red blood cells per micro liter of blood.
I tested a few different types of hemocytometer/Neubauer chambers from China and I can recommend this specific one:

There are some even cheaper alternatives but the lines are very difficult to see.
10
I followed the Gram Staining tutorial from this video to prepare a sample of my cheek cells: https://www.youtube.com/watch?v=lMoT-FmhS6A
For preparing the staining solutions I purchased crystal violet, ethanol, potassium iodide, iodine, and an already prepared safranin solution from laboratorium discounter.
The slight 3D effect is achieved by displacing the filter holder to block the light coming from one direction and achieve oblique illumination to cast a shadow (https://www.youtube.com/watch?v=9btIpf5mjyA).
The image is post-processed using Rawtherapee to increase the contrast.
Here is another photo without using the oblique illumination trick, also post-processed with rawtherapee:


11
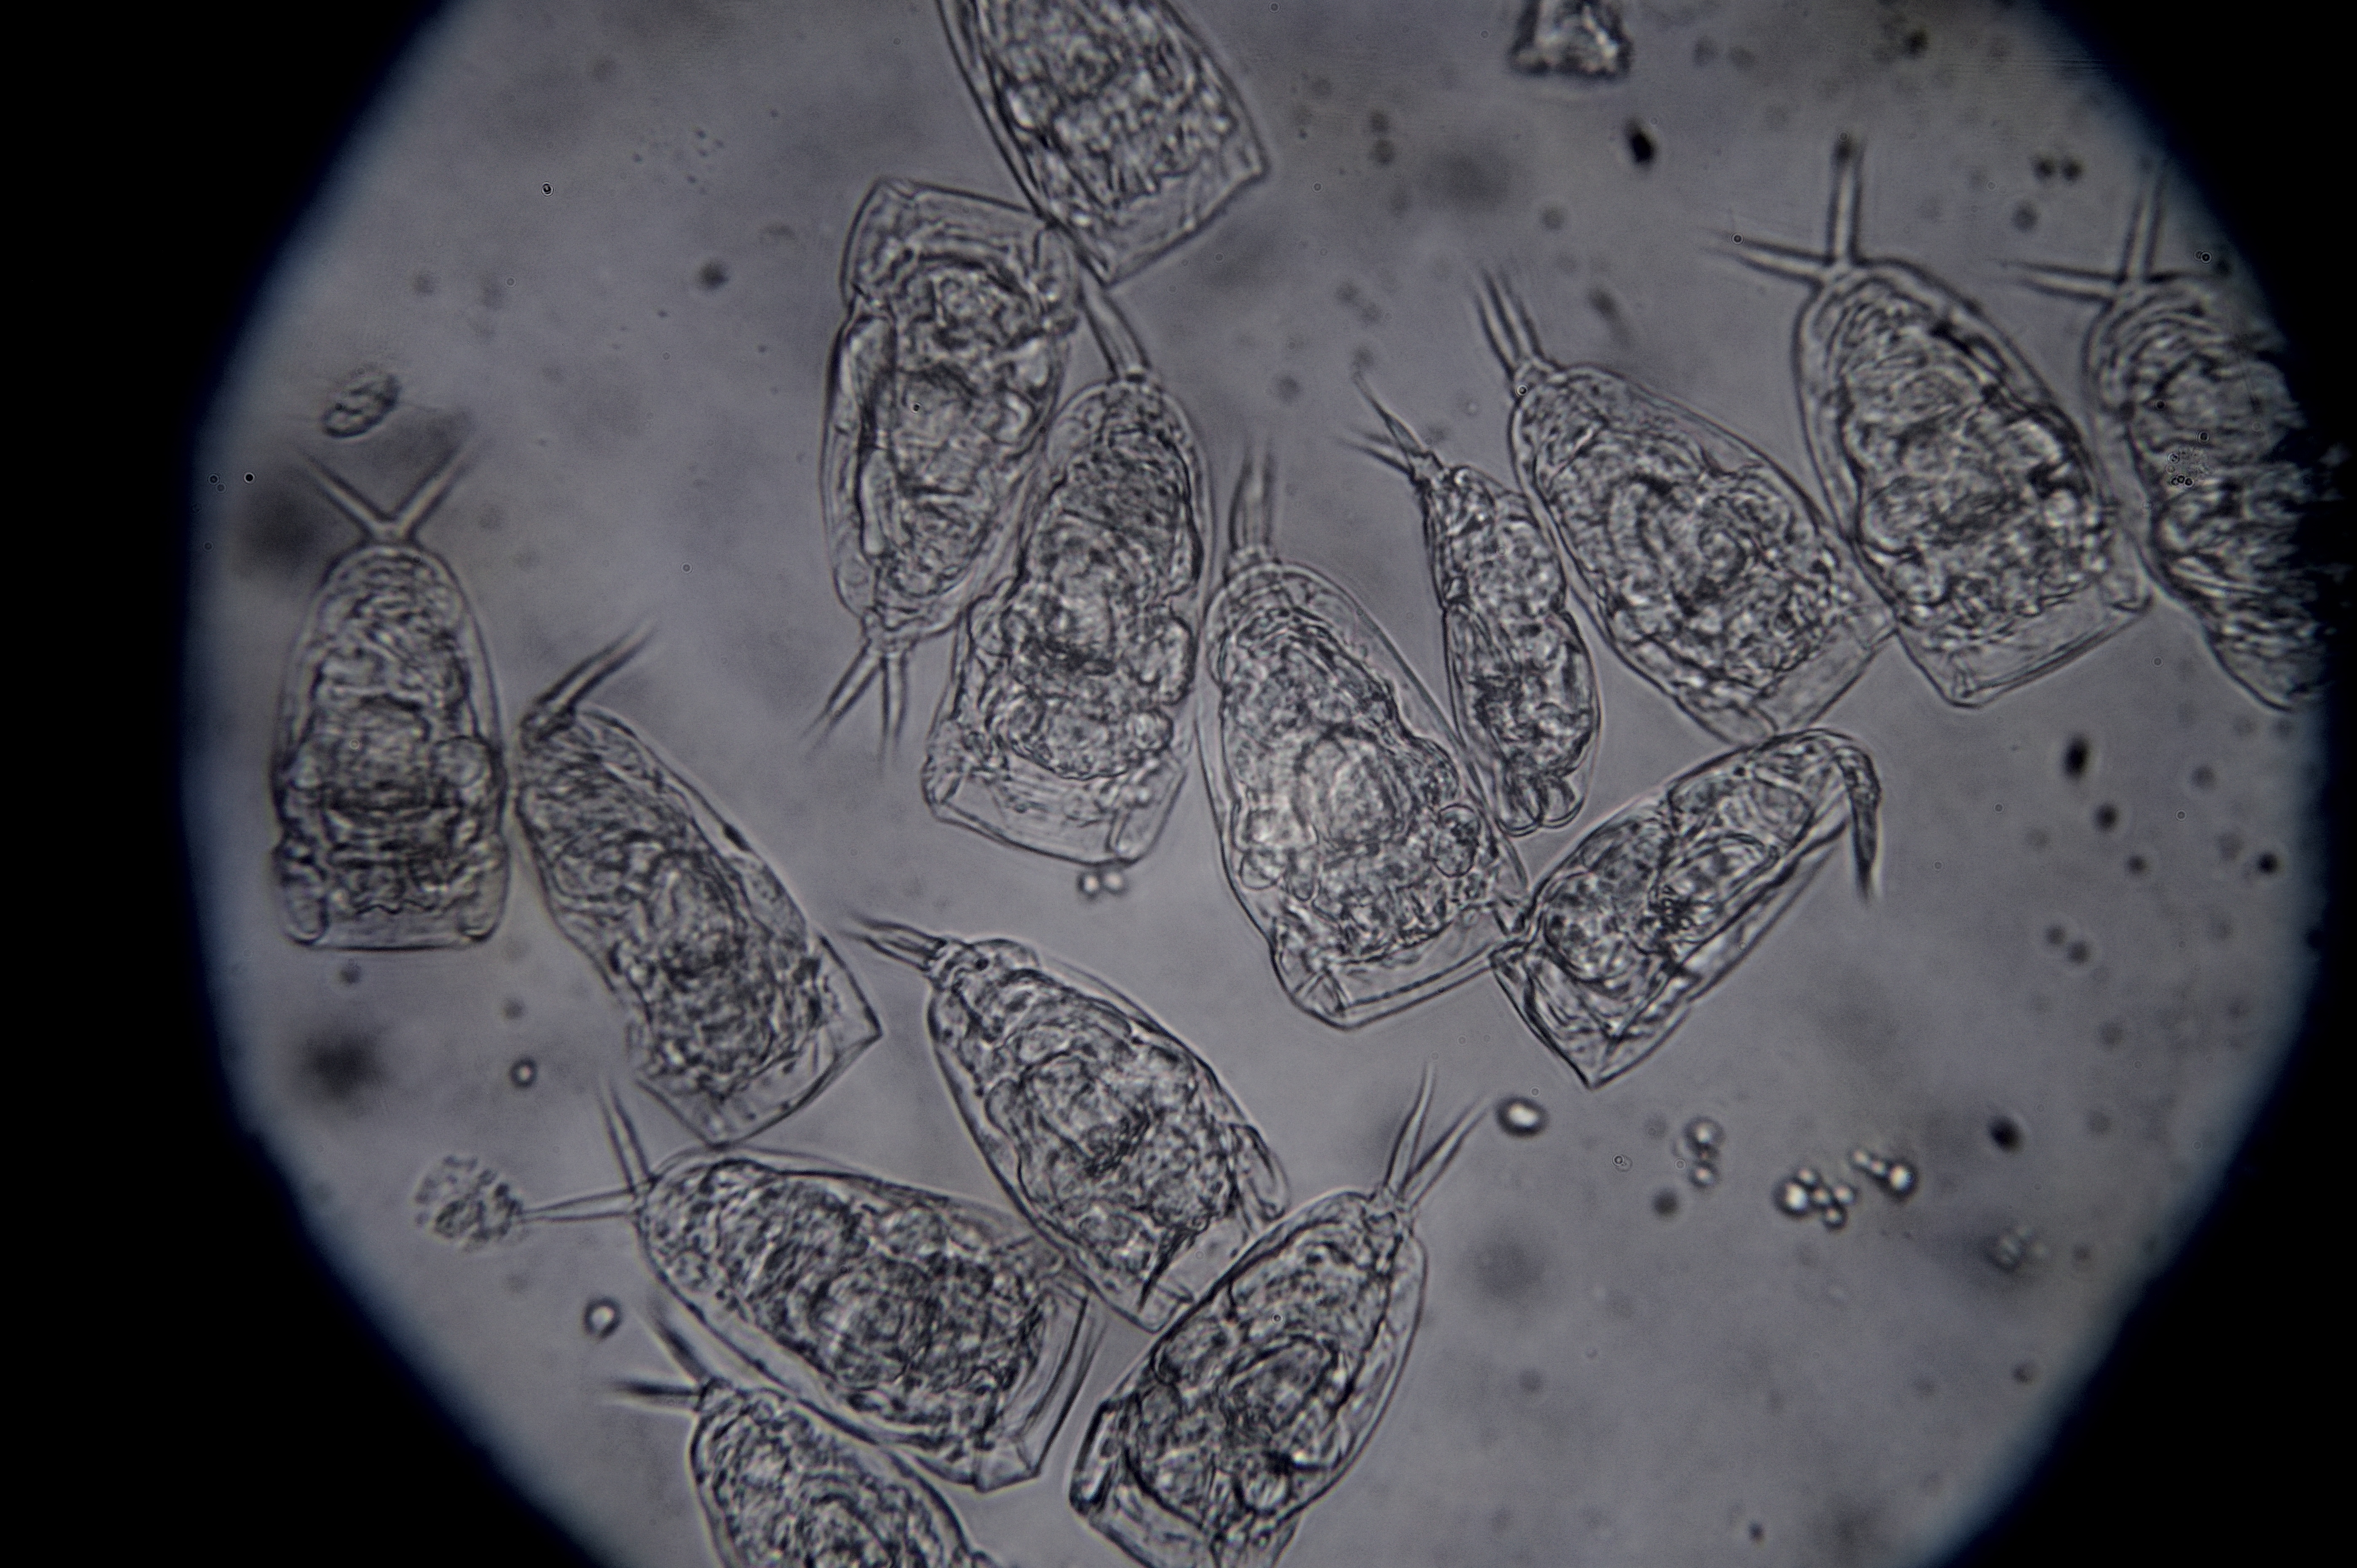
In trying to isolate Trebouxia from an Evernia lichen. I found that some of the cultures are contaminated by a what I think are rotifers. I am not sure of what kind of rotifer (or other organism) is the one pictured, so if anyone has some idea please let me know.
I also recorded a video of what I think are belloid rotifers feeding on the same lichen culture:
https://peertube.uno/w/uoSCNagVVmbuMcgXdVfPGR
I don't have much hope that the algae will survive this attack, but I might turn those jars into rotifer cultures.
12
I left a slide with some algae and rotifers sitting on the microscope. After it dried up I was able to see several of these flower-like shapes. Not a pattern that I had seen before, and I a don't know what about the drying process lead to this particular shapes forming.


14
15
17
18
19
20
21
22
23
24
25
view more: next ›